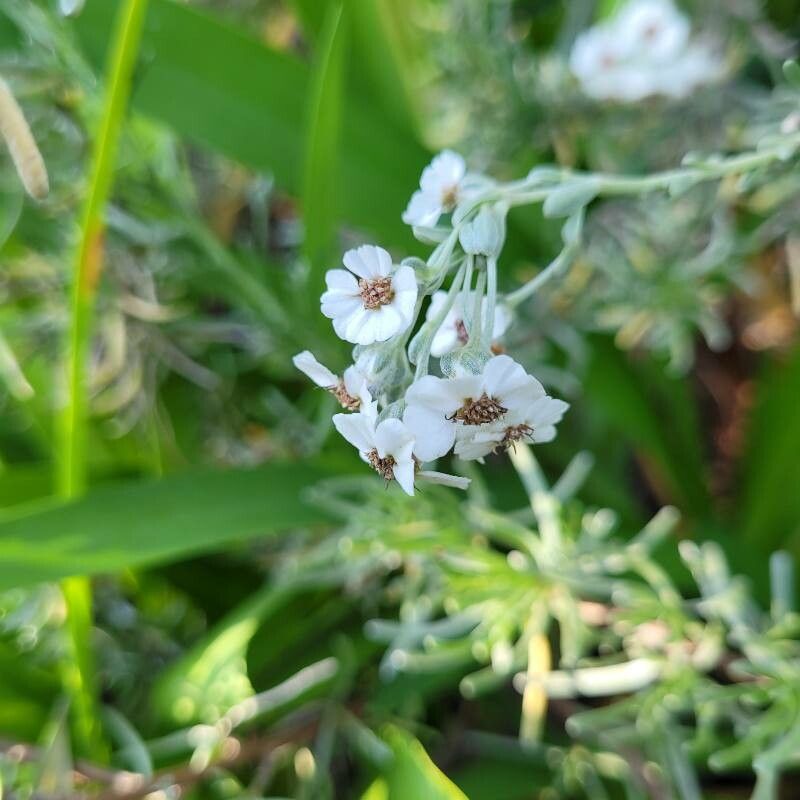
Oh, Eriocephalus africanus! You know, that lovely, rosemary-scented shrub that just makes you want to bury your face in its foliage? It’s a real gem in the garden. Sometimes called African Rosemary or Cape May, it’s got this delicate, almost wispy beauty and a fragrance that’s just divine on a warm day. And the best part? It’s surprisingly rewarding to multiply. If you’ve ever admired a particularly lush specimen and wished you had more, you’re in luck! While it’s not quite “stick it in the ground and walk away” easy, propagating Eriocephalus africanus is definitely achievable, even for those of you just starting to dip your toes into the wonderful world of plant propagation.
The Best Time to Start
When it comes to getting those new Eriocephalus babies going, I find that late spring to early summer is your sweet spot. This is when the plant is actively growing, producing those nice, semi-hardened new stems that are perfect for cuttings. You want stems that have grown a bit but aren’t yet woody and tough – think of them as being in that perfect in-between stage. Trying to take cuttings when the plant is dormant or stressed just doesn’t yield the results we’re looking for.
Supplies You’ll Need
Before we dive into the how-to, let’s gather our gear. Having everything ready makes the process so much smoother!
- Sharp Pruning Shears or a Craft Knife: Clean cuts are essential for happy, quick healing.
- Rooting Hormone (Optional but Recommended): A little boost never hurt anyone, especially for those trickier cuttings. Gel or powdered forms work well.
- Appropriate Potting Mix: I usually go for a well-draining mix. A good blend of peat moss or coco coir with perlite or coarse sand is perfect. Avoid anything too heavy that will hold too much moisture. You can even buy specific propagation mixes.
- Small Pots or Trays: Clean, small pots (around 3-4 inches) or seed trays with drainage holes are ideal.
- Plastic Bags or a Propagation Dome: To create a humid microclimate once your cuttings are planted.
- Watering Can or Spray Bottle: For gentle watering.
- Labels and a Pen: To keep track of what you’ve planted and when!
Propagation Methods
Eriocephalus africanus is a champion when it comes to stem cuttings. It’s the method I rely on most, and it consistently gives me great results.
Stem Cuttings:
- Select Your Stems: Head out to your Eriocephalus bush and look for those healthy, new shoots that have started to firm up a bit. You want stems that are about 4-6 inches long. If a stem bends easily without snapping, it might be a bit too soft. If it snaps stiffly, it’s likely too old.
- Make the Cut: Using your clean pruning shears or craft knife, make a clean cut just below a leaf node. A leaf node is where a leaf attaches to the stem – this is where the magic happens for root development.
- Prepare the Cutting: Gently remove the leaves from the lower two-thirds of the cutting. You don’t want any leaves below the soil line, as these will just rot and invite trouble. You can leave 2-3 sets of leaves at the top to help the cutting photosynthesize.
- Dip in Rooting Hormone (Optional): If you’re using rooting hormone, lightly dip the bottom end of the cutting into the powder or gel. Tap off any excess.
- Plant Your Cuttings: Fill your pots or trays with your well-draining potting mix. Make a small hole in the center of the mix with your finger or a pencil. Gently insert the prepared cutting into the hole, ensuring the leaf nodes you removed are buried. The soil should touch the stem where the leaves were.
- Water Gently: Water thoroughly but gently until you see water draining from the bottom of the pot. You don’t want to dislodge your cuttings.
- Create Humidity: This is key! Either place a clear plastic bag loosely over the pot (making sure the leaves don’t touch the plastic) or cover your tray with a propagation dome. This creates a humid environment that helps prevent the cuttings from drying out before they can establish roots. Place the pots in a bright spot out of direct sunlight.
The “Secret Sauce” (Pro Tips)
Here are a couple of little tricks I’ve picked up over the years that really make a difference.
- Bottom Heat is Your Friend: If you have a heat mat designed for propagation, use it! Applying gentle bottom heat (around 70-75°F or 21-24°C) can significantly speed up root formation. It mimics the warmth of the earth and gives those little root initials a real nudge. Just make sure your pots aren’t sitting in soggy soil on the mat.
- Don’t Be Afraid to Pinch: Once your cuttings have started to establish and you see some new growth at the top, pinch out the very tip. This encourages the plant to branch out, making for a bushier, more attractive plant in the long run. It’s like giving your baby plant a little trim to help it grow stronger.
Aftercare & Troubleshooting
The waiting game is often the hardest part, but patience is rewarded! After a few weeks, you can gently tug on a cutting. If you feel resistance, you’ve got roots! You’ll also start to see new growth.
Once roots have formed, it’s time to gradually acclimatize your new plants. Start by opening the plastic bag or propagation dome for a few hours each day, slowly increasing the time over a week. Then, you can transplant them into individual small pots with a good quality potting mix. Continue to keep them in bright, indirect light.
The main culprit of failure with stem cuttings is rot. If your cuttings turn black and mushy, it’s a sign of too much moisture and not enough air circulation. Make sure your soil mix is airy, and don’t overwater. If you see mold on the soil surface, gently scrape it off and ensure good airflow.
A Encouraging Closing
Propagating Eriocephalus africanus is such a satisfying way to expand your collection or share these fragrant beauties with friends. Don’t get discouraged if your first attempt isn’t perfect; plant propagation is a journey and every gardener learns from experience. Just keep trying, enjoy the process, and you’ll soon have a little Eriocephalus forest of your own! Happy gardening!
Resource:
https://identify.plantnet.org/k-world-flora/species/Eriocephalus%20africanus%20L./data