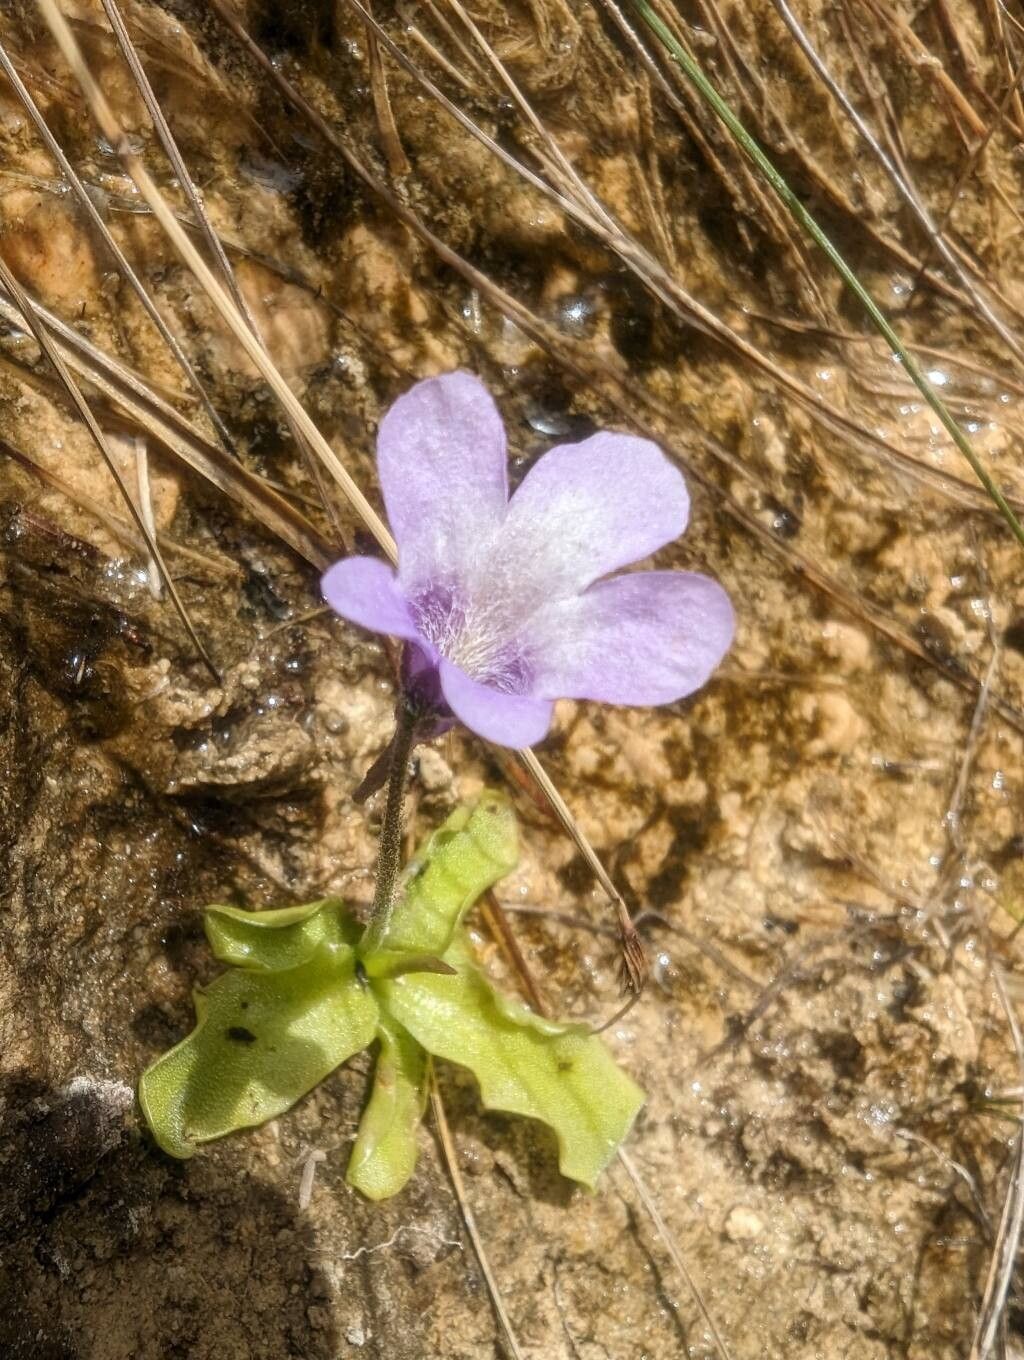
Ah, Pinguicula dertosensis! If you’re drawn to the unique charm of carnivorous plants, and particularly those with a delicate, almost otherworldly beauty, then this little butterwort is sure to capture your heart. Their sticky, unsuspecting leaves are perfect for trapping tiny gnats, but it’s their elegant rosette form and often lovely flowers that really draw me in. And the best part? Propagating them is incredibly rewarding, and far less intimidating than you might think. Don’t worry, we’ll get you started with plenty of confidence!
The Best Time to Start
For Pinguicula dertosensis, your best bet is to aim for late spring or early summer. This is when the plant is in its most vigorous growth phase, meaning it has plenty of energy to put into new roots and leaves. You’ll see plump, healthy leaves and often a few lovely blooms. Starting during this time gives your new Pinguiculas a long growing season to establish themselves before cooler weather arrives.
Supplies You’ll Need
- Small pots or trays: Orchid pots with plenty of drainage are great, or even just small plastic pots (2-3 inches).
- Specialized potting mix: A carnivorous plant mix is essential. You can buy a pre-made blend or create your own by mixing equal parts peat moss and perlite or horticultural sand. Absolutely no fertilizers in this mix!
- Sharp, clean scissors or a razor blade: For taking cuttings. Sterilize them with rubbing alcohol.
- Distilled water, rainwater, or reverse osmosis (RO) water: Pinguiculas are sensitive to minerals, so tap water is a no-go.
- A spray bottle: For misting.
- Optional: Rooting hormone: While not strictly necessary for Pinguiculas, a tiny bit can sometimes speed things up.
Propagation Methods
There are a couple of wonderfully effective ways to multiply your Pinguicula dertosensis. My favorite is leaf cuttings, as it’s so straightforward.
1. Leaf Cuttings (My Go-To!)
This is how I’ve had the most consistent success. It’s like magic watching a whole new plant emerge from just a single leaf!
- Select a healthy leaf: Look for mature, healthy leaves near the outer edge of your Pinguicula. Avoid any that look yellowed, damaged, or are in the very center of the rosette.
- Gently remove the leaf: This is a crucial step. You need to get the entire base of the leaf. Don’t just tear it off. Wiggle the leaf gently side-to-side. If it doesn’t come away cleanly with a small piece of the crown attached, try another leaf. You can also use your sterile scissors or razor blade to carefully cut the leaf at its base, or even make a clean slice just above the soil line.
- Prepare your pot: Fill your small pot with your prepared carnivorous plant mix. Moisten the mix thoroughly with your special water.
- Plant the leaf: Take your leaf cutting. If you’ve managed to get a tiny bit of the crown attached, you can gently press this portion into the surface of the soil. If it’s just a clean leaf, lay it flat on top of the soil, with the cut end just slightly peeking out or touching the surface. Some growers prefer to let the cut edge lightly touch the soil.
- Mist gently: Lightly mist the surface of the soil and the leaf.
- Provide humidity: I like to cover the pot with a clear plastic bag or place it in a small propagation tent. This creates a humid microclimate that the cutting loves. Just make sure there’s a little air circulation to prevent mold.
2. Division (When Your Plant is Plump!)
If your Pinguicula has started to form offsets (little baby plants around the base), division is a neat way to get several new plants at once.
- Gently remove from pot: Carefully tip your Pinguicula out of its pot.
- Locate offsets: You should see small plantlets developing.
- Separate the offsets: Using your clean fingers or a small tool, gently tease apart the offsets from the mother plant. Try to ensure each offset has at least a few tiny roots, but don’t worry if they don’t; they can often root from scratch.
- Pot them up: Pot each offset into its own small pot filled with your carnivorous mix. Water thoroughly as described above.
The “Secret Sauce” (Pro Tips)
Here are a couple of things I’ve learned over the years that really make a difference:
- Don’t let the leaves touch standing water: This is especially important for the leaf cuttings. While Pinguiculas love humidity, if a leaf sits in stagnant water, it’s a fast track to rot. The soil should be consistently moist, but not soggy. I usually use shallow trays for my leaf cuttings and keep the water level a good half-inch below the soil surface.
- Bottom heat can be your friend (but isn’t always required): If you have a propagation mat or can place your pots on top of a gently warming appliance (not hot!), this can really encourage root development for those leaf cuttings. It mimics the warmth of spring soil. Just be careful not to overheat, or you’ll cook your precious cuttings!
Aftercare & Troubleshooting
Once you see tiny roots or miniature plantlets forming on your cuttings, you’re well on your way!
- Continue misting: Keep the humidity high.
- Introduce to light gradually: Move them from a bright propagation area to a spot with indirect, bright light. Direct sun can scorch those delicate new leaves.
- Be patient: This is the biggest part of aftercare. It can take weeks, sometimes even a couple of months, for a cutting to really “wake up” and start growing noticeably.
- Troubleshooting: The most common problem is rot. If a leaf cutting turns mushy and black, it’s likely rotted. This usually means it was too wet, not enough air circulation, or perhaps the leaf wasn’t healthy enough to begin with. If your young plantlets look wilted and sad, check the moisture levels. Is the soil too dry? Or too wet? Occasionally, you might see tiny white mold spots – if it’s minor, you can try to gently remove it and increase air circulation.
So there you have it! Propagating Pinguicula dertosensis is a wonderfully accessible way to enjoy more of these delightful plants. Don’t be afraid to experiment a little, and remember that even experienced gardeners have failures. Each attempt is a learning opportunity. Enjoy the journey of watching these little wonders grow!
Resource: