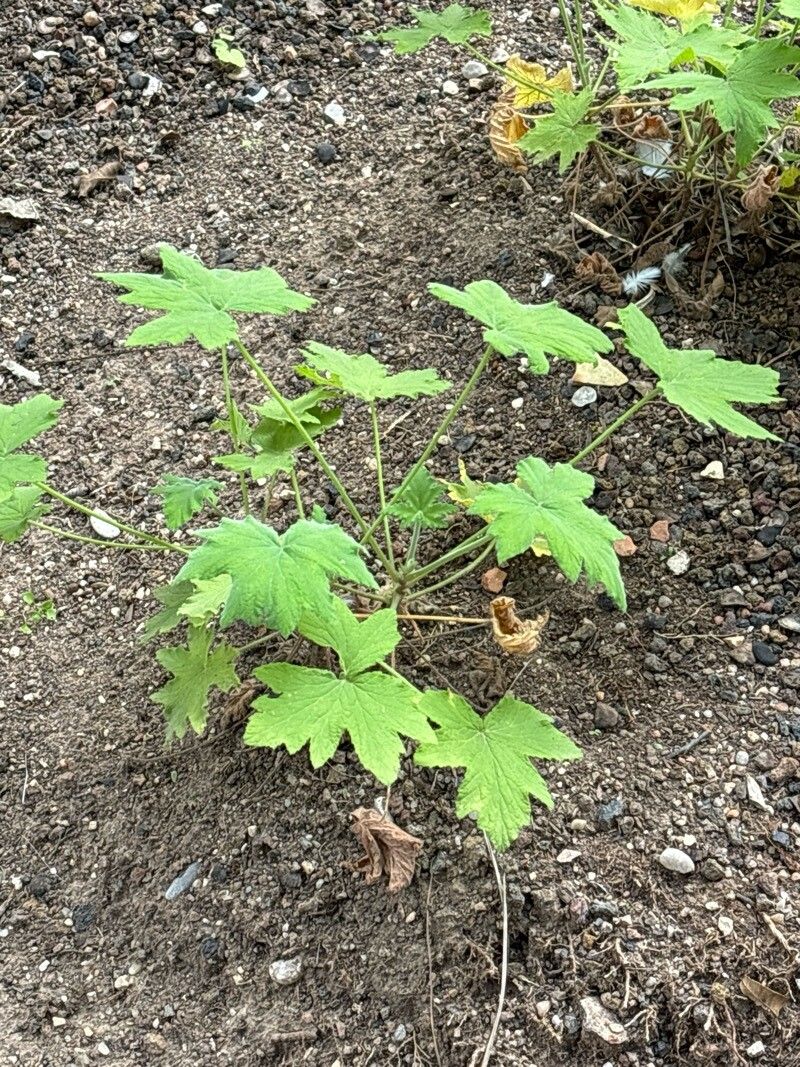
Hello, fellow plant enthusiasts! Today, I want to talk about a plant that brings such joy to my garden beds and windowsills: Pelargonium hispidum, often called the Shaggy Pelargonium. Its delicate, fuzzy leaves have a unique charm, and the soft pink, star-shaped flowers are utterly delightful. If you’ve ever admired this beauty, you’ll be happy to hear that propagating it is a wonderfully rewarding endeavor. And for those of you just dipping your toes into the world of plant propagation, you’re in luck – Pelargonium hispidum is quite forgiving and a fantastic choice for beginners!
The Best Time to Start
My favorite time to take cuttings from Pelargonium hispidum is in late spring or early summer. The plant is usually bursting with new growth then, making it easier to find healthy, firm stems. The longer, warmer days also give those cuttings a great head start in rooting. You can also take cuttings in early autumn, but be mindful of cooler temperatures indoors or out.
Supplies You’ll Need
Gathering your supplies before you begin makes the whole process so much smoother. Here’s what I always have on hand:
- Sharp, clean pruning shears or a sharp knife: Essential for clean cuts that heal better.
- Rooting hormone (optional but recommended): This can significantly speed up root development.
- Potting mix: A well-draining mix is crucial. I like a peat-based potting soil mixed with perlite or coarse sand (about a 50/50 ratio) to ensure good aeration.
- Small pots or trays: Clean pots are a must to prevent disease.
- Watering can or spray bottle: For gentle watering.
- Plastic bags or a propagation dome: To create a humid environment.
Propagation Methods
Let’s get our hands dirty! The most successful method for Pelargonium hispidum is definitely stem cuttings.
Stem Cuttings:
- Select a healthy stem: Look for a stem that is currently growing but not flowering. You want a stem that is firm and has developed some new growth, but it shouldn’t be woody.
- Make a clean cut: Using your sterilized pruners or knife, cut a piece of stem about 4-6 inches long. Make the cut just below a leaf node (where a leaf attaches to the stem). This is where roots are most likely to form.
- Remove lower leaves: Gently pull off the leaves from the bottom half of the cutting. You want to expose the nodes where roots will emerge. Leave a couple of leaves at the top to help the plant photosynthesize.
- Apply rooting hormone (optional): Dip the cut end of the stem into your rooting hormone powder or gel. Tap off any excess.
- Plant your cutting: Fill your small pot with your prepared potting mix. Make a small hole in the center with your finger or a pencil. Insert the cut end of the pelargonium stem into the hole, ensuring that the nodes where you removed leaves are buried in the soil. Gently firm the soil around the stem.
- Water gently: Water thoroughly but gently until the soil is moist.
- Create humidity: You can do this by placing a plastic bag loosely over the pot or by using a propagation dome. Make sure the leaves don’t touch the sides of the bag/dome if possible, as this can lead to rot.
- Place in bright, indirect light: Find a spot that gets plenty of bright, indirect sunlight. Avoid direct sun, which can scorch the delicate cuttings.
- Be patient! Roots typically form within 3-6 weeks. You can gently tug on the cutting; if there’s resistance, roots are forming.
The “Secret Sauce” (Pro Tips)
Here are a couple of things I’ve learned over the years that really help these cuttings take off:
- Let the cuttings “cure”: Before planting, I like to let the cut end of the stem air dry for a few hours, or even overnight. This helps to form a callus, which can prevent rot and encourage root growth. It’s a simple step but has made a difference for me.
- Bottom heat is your friend: If you have a heat mat designed for seedlings, placing your pots on it can dramatically speed up root formation. These plants love a bit of warmth from below, especially during cooler periods.
Aftercare & Troubleshooting
Once you see signs of new leaf growth or feel that resistance when you gently tug, congratulations – you have roots!
- Acclimatize slowly: Gradually remove the plastic bag or dome over a few days to let your new plant adjust to the drier air.
- Watering: Water when the top inch of soil feels dry. Avoid overwatering, as this is the most common mistake and can lead to root rot, which you’ll notice as wilting, yellowing leaves, and a mushy stem at the soil line. If you suspect rot, you might need to start over with a fresh cutting.
- Transplanting: Once the roots fill the small pot (you might see them peeking from the drainage holes), you can repot your new pelargonium into a slightly larger pot with fresh potting mix.
Taking cuttings can feel a bit nerve-wracking at first, but with this beautiful Shaggy Pelargonium, you have a wonderful chance of success. Just remember to be patient, observe your cuttings, and enjoy the process of nurturing new life. Happy gardening!
Resource:
https://identify.plantnet.org/k-world-flora/species/Pelargonium%20hispidum%20(L.f.)%20Willd./data