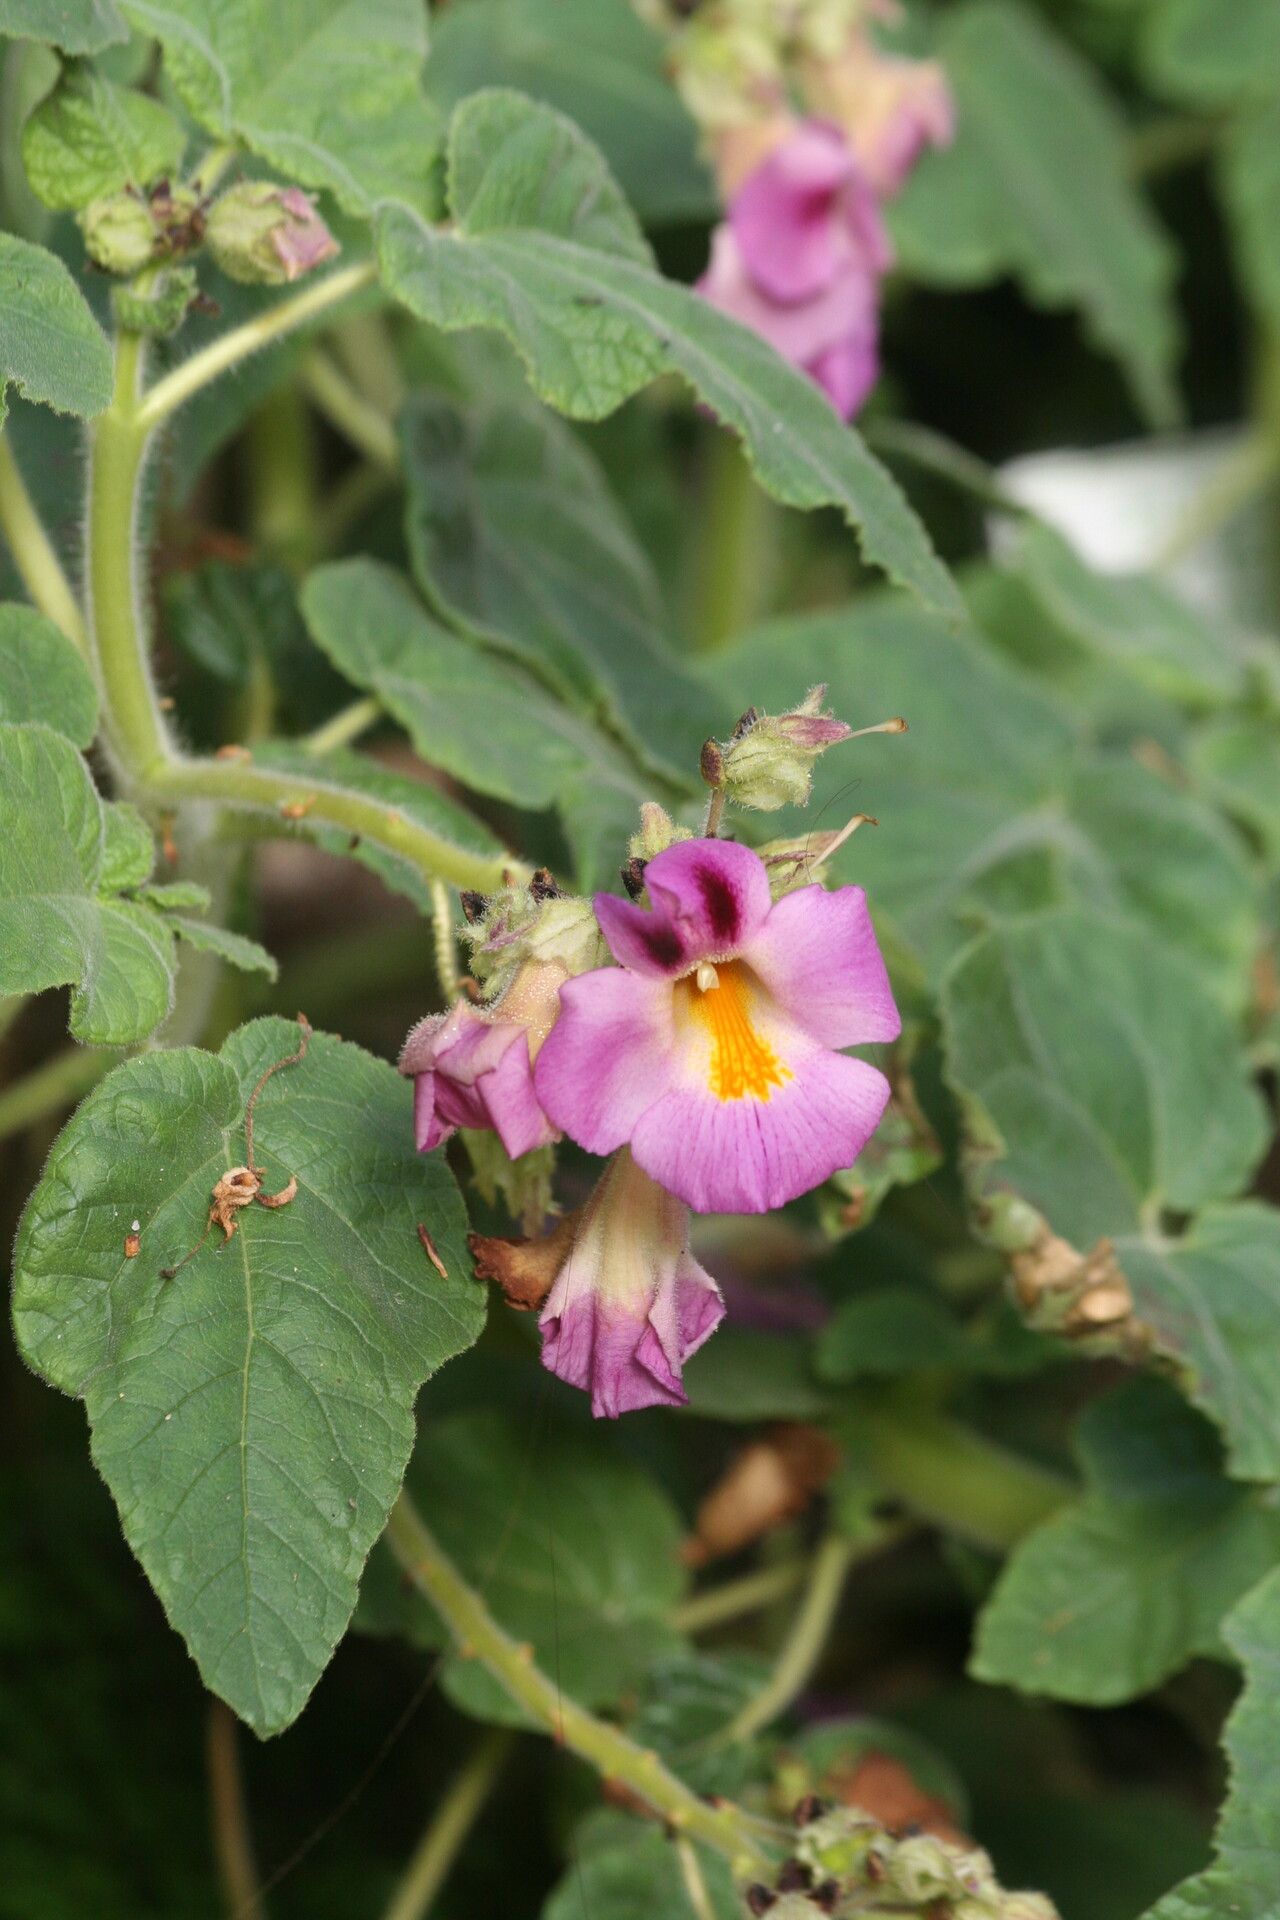
Oh, hello there! Pull up a chair. I’ve been so excited to chat with you about Proboscidea triloba. Isn’t it just a marvel? That unique, almost otherworldly structure, coupled with those delicate flowers… it’s the kind of plant that sparks curiosity and brings a real sense of accomplishment when you nurture a new one into being. If you’ve ever admired this beauty and thought about growing your own, you’re in for a treat. Propagating Proboscidea triloba can be a wonderfully rewarding experience. For us garden enthusiasts, trying our hand at a new propagation can feel a bit daunting, but honestly, with a little guidance, I think you’ll find this one quite manageable.
The Best Time to Start
Timing, as they say, is everything in the garden. For Proboscidea triloba, I find the late spring or early summer to be the sweet spot. This is when the plant is actively growing and has plenty of energy to dedicate to putting out new roots. Starting a bit later in the season might mean your new plant has less time to establish itself before cooler weather arrives, so aim to get things going when things are really warming up outside.
Supplies You’ll Need
Don’t let a long list overwhelm you; it’s just a matter of having the right tools ready. Here’s what I keep on hand:
- Well-draining potting mix. I usually go for a blend that’s about 50% peat or coir and 50% perlite or coarse sand to ensure good aeration.
- Sharp, clean pruning shears or a sharp knife. Cleanliness is crucial to prevent introducing any nasty little bugs or diseases.
- Rooting hormone (optional but recommended). A good quality rooting powder or gel can really give your cuttings a boost.
- Small pots or propagation trays. Anything that can hold your mix and provide a cozy home for your new plant. Cleanliness counts here too!
- A plastic bag or propagation dome. This helps to keep the humidity high around your cuttings.
- Watering can or spray bottle. For gentle watering.
Propagation Methods
When it comes to Proboscidea triloba, multiplication is primarily done through stem cuttings. It’s a tried-and-true method, and I’ve had great success with it.
- Take Your Cuttings: When you’re ready, select a healthy, vigorous stem from your mature plant. Look for a stem that’s not flowering but has started to mature a bit – you know, the one that’s firm but not woody. Using your clean shears or knife, take a cutting that’s about 4-6 inches long. Make your cut just below a leaf node (where a leaf attaches to the stem).
- Prepare the Cutting: Gently remove any lower leaves from the cutting, leaving just a few at the very top. This helps the plant focus its energy on rooting rather than trying to support unnecessary foliage. If you’re using rooting hormone, dip the cut end of the stem into the powder or gel according to the product’s instructions. Tap off any excess.
- Potting Up: Fill your clean pots or trays with your well-draining potting mix. Moisten the mix so it’s damp but not soggy.
- Planting the Cutting: Use a pencil or your finger to create a small hole in the potting mix. Carefully insert the cut end of the Proboscidea triloba stem into the hole, making sure the leaf node(s) you left bare are below the soil surface. Gently firm the soil around the cutting to ensure good contact.
- Create a Humid Environment: Lightly water around the base of the cutting. Then, cover the pot with a plastic bag or place it under a propagation dome. This traps moisture and creates that humid microclimate cuttings love. If you’re using a bag, you can prop it up with a few skewers so it doesn’t touch the leaves.
The “Secret Sauce” (Pro Tips)
Here are a couple of things I’ve learned over the years that can really make a difference:
- Don’t let the leaves touch the water (if water propagating): While I primarily advocate for soil propagation for Proboscidea triloba, if you’re experimenting with water, never let the leaves sit in the water. Only the cut end of the stem should be submerged. Leaves in water will rot quickly, taking your cutting down with them.
- For stem cuttings, using bottom heat can be a game-changer. A heated propagation mat placed under your pots can encourage root development much faster. It’s like giving those nascent roots a warm little encouragement to grow.
Aftercare & Troubleshooting
Once your cuttings are potted up, place them in a bright spot but out of direct sunlight. Keep the soil consistently moist – not waterlogged, but never bone dry. The plastic bag or dome will help with this, but check the moisture levels every few days. You’ll know your cutting is taking root when you see signs of new leaf growth, which can take anywhere from a few weeks to a couple of months.
The most common issue you might encounter is rot. If your cutting starts to look mushy, black, or slimy, it’s likely succumbing to rot. This is usually due to overwatering or poor drainage. In this case, unfortunately, it’s often best to discard the rotting cutting to prevent it from affecting others. If you see wilting that isn’t due to dryness, it could also be a sign of stress or potential rot, so keep a close eye.
A Encouraging Closing
Nurturing a new plant from a cutting is such a rewarding journey. There will be times when things don’t quite work out, and that’s perfectly okay. Every gardener learns through trial and error. Be patient, observe your little cuttings, and celebrate every bit of new growth you see. Happy propagating!
Resource: