Hey there, fellow plant enthusiasts!
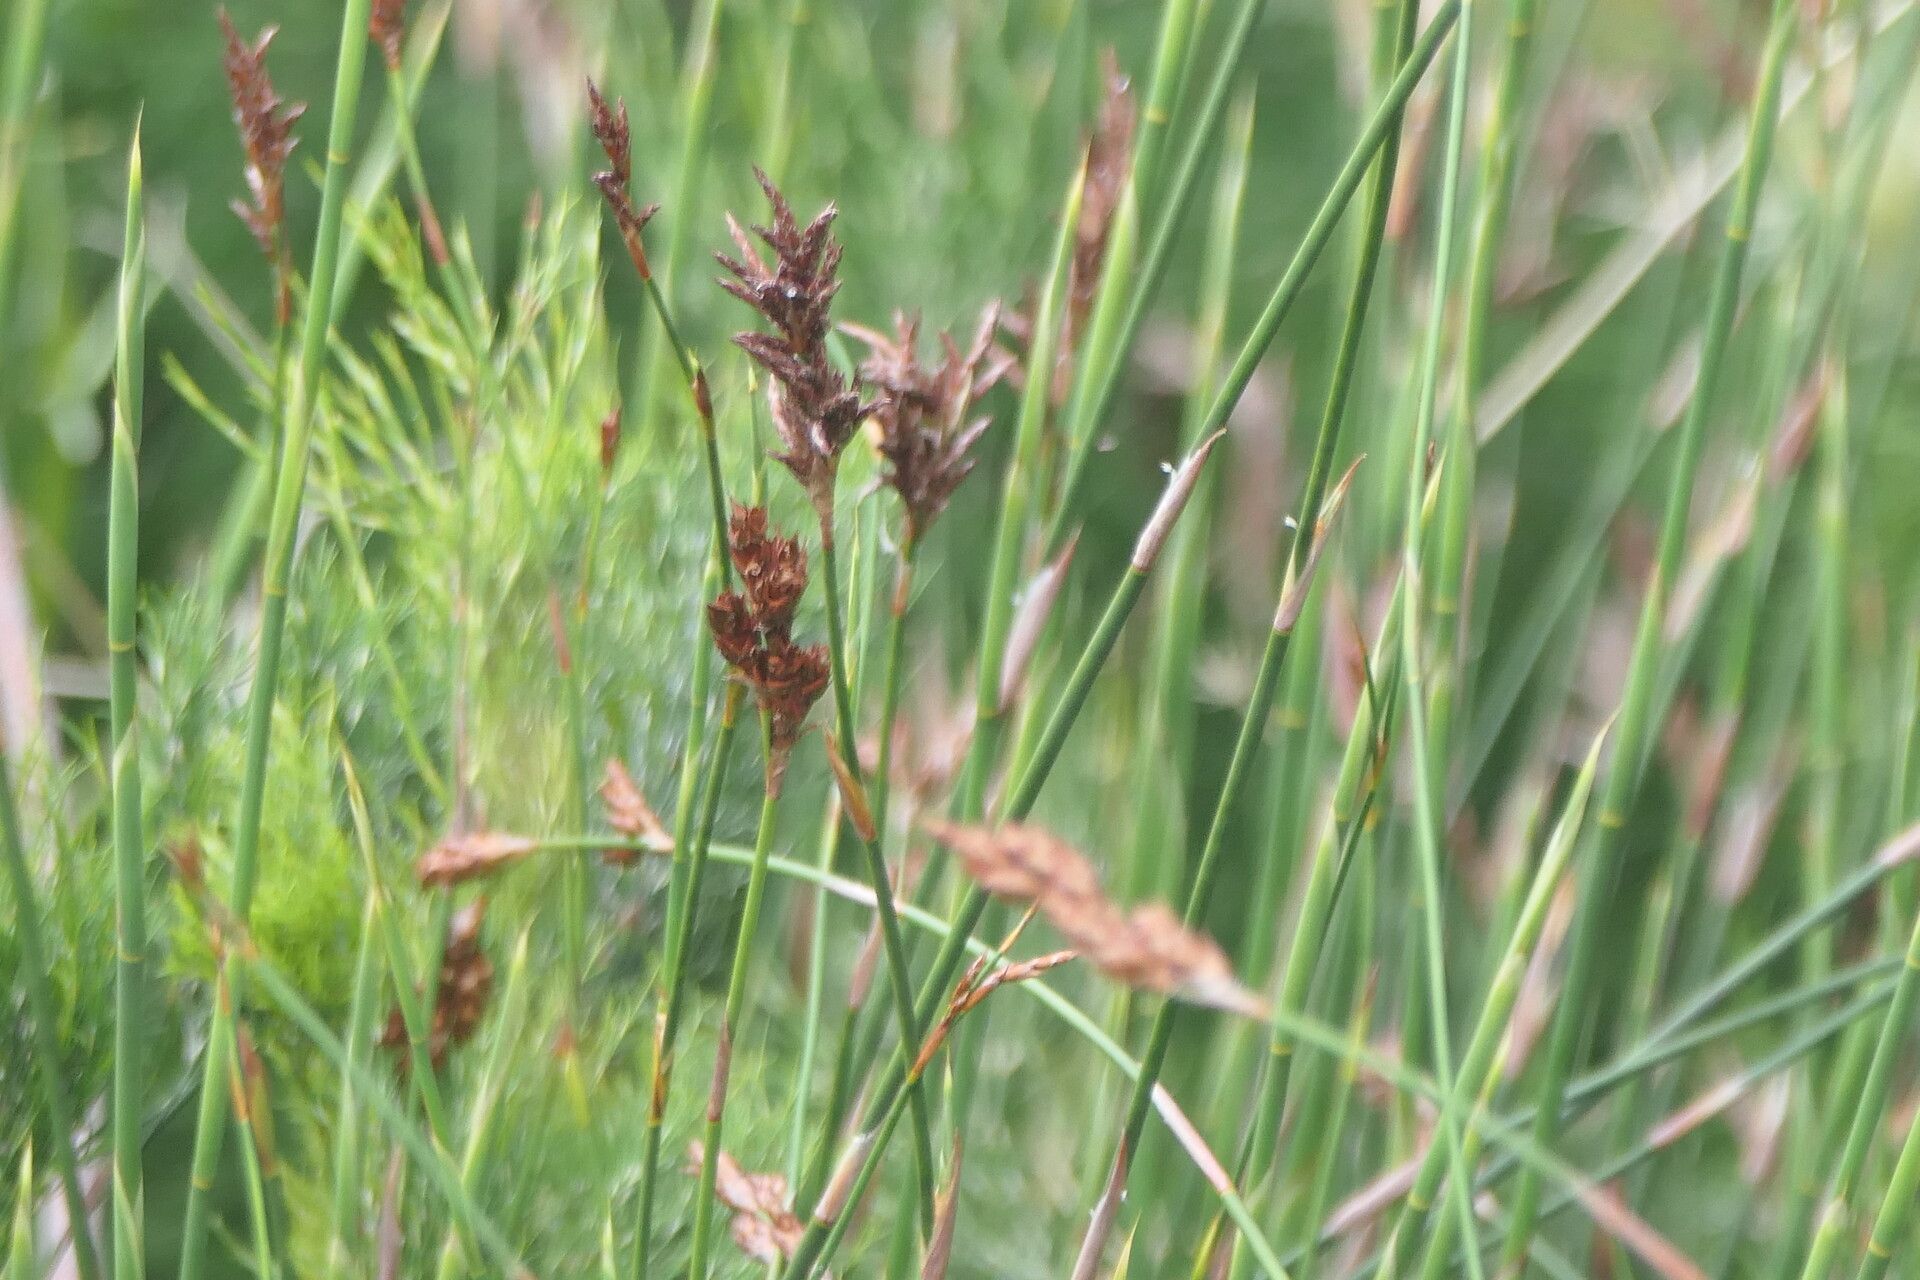
Let’s talk about a real gem: Askidiosperma andreaeanum. You know, the one with those stunning, often jewel-toned leaves that just seem to glow? I’ve been growing these beauties for years, and honestly, they bring such a unique splash of color and intrigue to any space. The real joy, though, comes from being able to multiply them. Propagating Askidiosperma andreaeanum is incredibly rewarding. You get to watch new life emerge from just a snippet, and it’s a fantastic way to share these gorgeous plants with friends, or simply expand your own collection without breaking the bank.
Now, is it a beginner-friendly plant to propagate? I’d say it’s moderately easy. It requires a little patience and attention to detail, but with this guide, you’ll be well on your way to success.
The Best Time to Start
When it comes to getting your new Askidiosperma andreaeanum babies going, spring and early summer are your best friends. This is when the plant is in its most vigorous growth phase, meaning it has plenty of energy to put into developing new roots. You’re looking for healthy, actively growing stems, not old woody ones or brand new, super-soft sprouts.
Supplies You’ll Need
Before we get our hands dirty, let’s gather our artillery:
- Sharp, clean pruning shears or a sharp knife: For making precise cuts.
- Well-draining potting mix: A good blend for Aroids or a homemade mix of peat, perlite, and orchid bark works wonders.
- Small pots or propagation trays: Clean ones, of course!
- Rooting hormone (optional but helpful): The powdered form is my go-to.
- Clear plastic bag or a small propagation dome: To create a humid environment.
- Spray bottle: For misting.
- Peat moss or perlite: For some added aeration and moisture retention in your substrate.
Propagation Methods
Let’s dive into the fun part! The most reliable way to propagate Askidiosperma andreaeanum is through stem cuttings.
Stem Cuttings:
- Select a healthy stem: Look for a stem that has at least two to three healthy leaves and is roughly pencil-thick. Avoid anything that looks weak or diseased.
- Make the cut: Using your clean shears or knife, make a clean cut just below a leaf node. A node is that little bump where a leaf attaches to the stem. This is where the magic happens, where roots will form.
- Prepare the cutting: Gently remove the bottom one or two leaves. This exposes the nodes and also prevents them from rotting in the soil.
- Apply rooting hormone (optional): If you’re using rooting hormone, lightly dip the cut end into the powder. Just a gentle dab is all you need.
- Plant your cutting: Fill your small pot with your well-draining potting mix. Make a small hole in the center with your finger or a pencil. Insert the cutting, ensuring the nodes are buried under the soil. Gently firm the soil around the stem.
- Water gently: Lightly water the soil. You want it moist, but not soggy.
- Create humidity: Now, cover the pot with a clear plastic bag or place it under a propagation dome. This traps moisture and creates a mini-greenhouse effect, which is crucial for cuttings.
- Find a good spot: Place the pot in a bright location, but out of direct sunlight. Think of it as a cozy corner where the sun’s rays won’t scorch its delicate new beginnings.
Water Propagation (for the extra patient):
While stem cuttings are my preference for Askidiosperma, you can try water propagation.
- Follow steps 1-3 above for preparing your cutting.
- Instead of planting, place the cutting in a clean jar or glass of room-temperature water.
- Make sure the leaf nodes are submerged, but not the leaves themselves. Leaves in the water will rot quickly.
- Place the jar in a bright location away from direct sun.
- Change the water every few days to keep it fresh and oxygenated.
- Patience is key here; roots can take longer to appear than in soil. Once you see a good network of roots, you can then pot it up into soil.
The “Secret Sauce”
Here are a few insider tips that have made all the difference for me:
- Bottom Heat is Your Friend: If you have a seedling heat mat, using it under your propagation pots is a game-changer. It keeps the soil consistently warm, which encourages root development much faster. It’s like a little spa treatment for your cuttings!
- Don’t Over-Mist: It sounds counterintuitive, but constantly drenching the leaves can actually promote fungal issues. A light misting when you first cover the cutting, and then only if the soil looks dry, is usually enough. Aim for condensation on the inside of the plastic bag – that’s a good sign of humidity.
- Consider a “Zombie” Cutting: Sometimes, even a small piece of stem with just one or two nodes, if healthy, can sprout. Don’t discard those seemingly insignificant bits! They can surprise you.
Aftercare & Troubleshooting
Once you start seeing new growth and feel resistance when gently tugging on the cutting (a sign of roots!), it’s time to transition.
- Acclimatize: Gradually remove the plastic bag or dome over a week or so. Start by opening it for a few hours each day, then leave it off for longer periods. This helps the new plant adjust to normal humidity levels.
- Watering: Water your new plant when the top inch of soil feels dry. Continue to water it as you would a mature plant.
- Light: Keep it in bright, indirect light.
- Troubleshooting: The most common issue is rot. If your cutting turns mushy or black and falls apart, it’s usually due to too much moisture and poor air circulation. If you see rot developing, gently remove the affected part with clean shears and try again, making sure your soil is well-draining and you’re not overwatering. Yellowing leaves can sometimes indicate too much or too little water, or insufficient light. Observe your plant closely!
A Little Encouragement
Growing new plants is a journey, and sometimes it takes a few tries to get it just right. Don’t get discouraged if your first attempt doesn’t work out perfectly. Each cutting you try teaches you something new. Be patient, observe your plant, and most importantly, enjoy the process of bringing new life into your home. Happy propagating!
Resource: