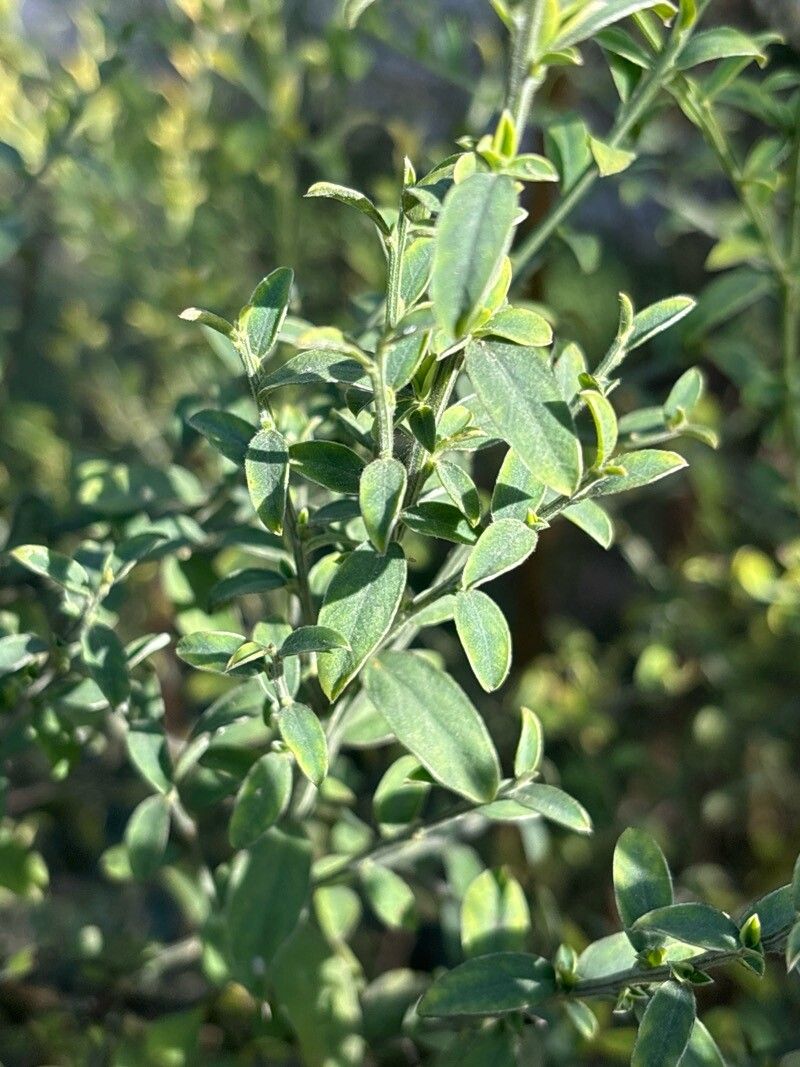
Oh, hello there! Come on in, pull up a chair. I’ve got a fresh pot of coffee brewing, and I thought we’d chat about one of my favorite little beauties: Cytisus cantabricus. You know, the Cantabrian Broom? That gorgeous, low-growing shrub with the explosion of sunny yellow flowers in spring. It’s such a cheerful plant, and honestly, coaxing a new one into existence from a parent is just pure gardening joy.
Now, if you’re new to the whole propagating dance, don’t be intimidated. Cytisus cantabricus is generally a pretty forgiving plant to get started with. It’s not one of those finicky types that makes you question your life choices!
The Best Time to Start
For me, the sweet spot for propagating Cytisus cantabricus is late spring to early summer. Think after the main bloom has finished. We’re looking for young, softwood cuttings. These are the new, supple shoots that have emerged this season and are still easily bent. They haven’t started to harden off into woody stems yet, which makes them prime candidates for rooting.
Supplies You’ll Need
Before we dive in, let’s make sure we have everything on hand. It always makes things smoother!
- Sharp pruning shears or a clean knife: For taking nice, clean cuts.
- Small pots or seed trays: Anything that can hold your cuttings and retain some moisture.
- Well-draining potting mix: I like a blend of seed-starting mix and perlite (about 50/50). This helps prevent soggy roots.
- Rooting hormone (optional but recommended): A powdery or gel formula will give your cuttings a helpful boost.
- Plastic bags or a propagator lid: To create a humid environment.
- Watering can with a fine rose or spray bottle: For gentle watering.
- Labels and a marker: To remember what you planted and when!
Propagation Methods: Taking Stem Cuttings
This is the most reliable way to get new Cytisus cantabricus plants. It’s straightforward, and you can often get several new plants from a single parent shrub.
- Select your cuttings: Head out to your plant on a mild day and locate those supple, non-flowering shoots from the current season’s growth. You’re looking for pieces that are about 4-6 inches long.
- Make the cut: Using your clean shears, take a clean, angled cut just below a leaf node. A leaf node is where a leaf or bud attaches to the stem. This area is rich in growth hormones.
- Prepare the cutting: Gently remove the lower leaves from the bottom 2 inches of the stem. If there are any tiny flower buds lurking, pinch those off too; we want all the plant’s energy to go towards root development.
- Dip in rooting hormone: If you’re using rooting hormone, moisten the cut end of the stem slightly with water, then dip it into the powder or gel. Tap off any excess.
- Pot them up: Fill your small pots or trays with your prepared potting mix. Make a small hole in the center with your finger or a pencil.
- Insert the cuttings: Gently place the prepared cutting into the hole, making sure the bottom few leaf nodes are buried in the soil. Firm the soil gently around the base of the cutting.
- Water them in: Water gently but thoroughly. You want the soil to be moist, but not waterlogged.
- Create humidity: The crucial step! Cover the pots with a clear plastic bag, securing it loosely around the rim, or place them inside a propagator with a lid. This keeps the moisture from escaping and creates a mini-greenhouse.
The “Secret Sauce” (Pro Tips)
Here are a couple of things I’ve learned over the years that really seem to make a difference. Don’t be afraid to experiment a little!
- Bottom warmth is your friend: If you have an old seedling heat mat, or even just a warm spot away from direct sun, providing a little gentle warmth from below the pots can significantly speed up root formation. It’s like giving those roots a cozy little wake-up call.
- Don’t let them droop: While you want to maintain humidity, if you notice leaves on your cuttings are touching the inside of the plastic bag, gently prune them off. Leaves touching moist surfaces can easily invite fungal issues, and we want to avoid that at all costs! Air circulation is key.
- Patience is, well, a virtue: Sometimes, I’ll gently tug on a cutting after a few weeks. If there’s a little resistance, that’s a good sign the roots are starting to form. But don’t be tempted to yank it out to check every day – that can do more harm than good!
Aftercare & Troubleshooting
Once you see those little roots starting to peek out from the drainage holes (or feel that resistance when you gently tug), it’s time to adjust their care.
Gradually acclimate them to less humidity. Start by lifting the plastic bag for a few hours each day, then remove it entirely over a week or so. Continue to keep the soil consistently moist but not soggy. You can move them to a brighter location, but still avoid harsh, direct sunlight for a bit longer.
The main trouble you might encounter is rot. If you see your cuttings turning brown and mushy, or developing black spots, it’s usually a sign of too much moisture and not enough air circulation. It’s sad, but it happens! Make sure your soil is draining well and try to ensure there’s a bit of airflow around your plants. If it’s early days, you can try repotting into fresh, drier soil.
A Encouraging Closing
Taking cuttings is such a rewarding part of gardening. It’s a direct connection to the life force of your plants. Be patient with your Cytisus cantabricus cuttings. Some will root quickly, others will take their sweet time. Just keep them happy, provide a little warmth and humidity, and enjoy watching them grow. Happy propagating!
Resource: