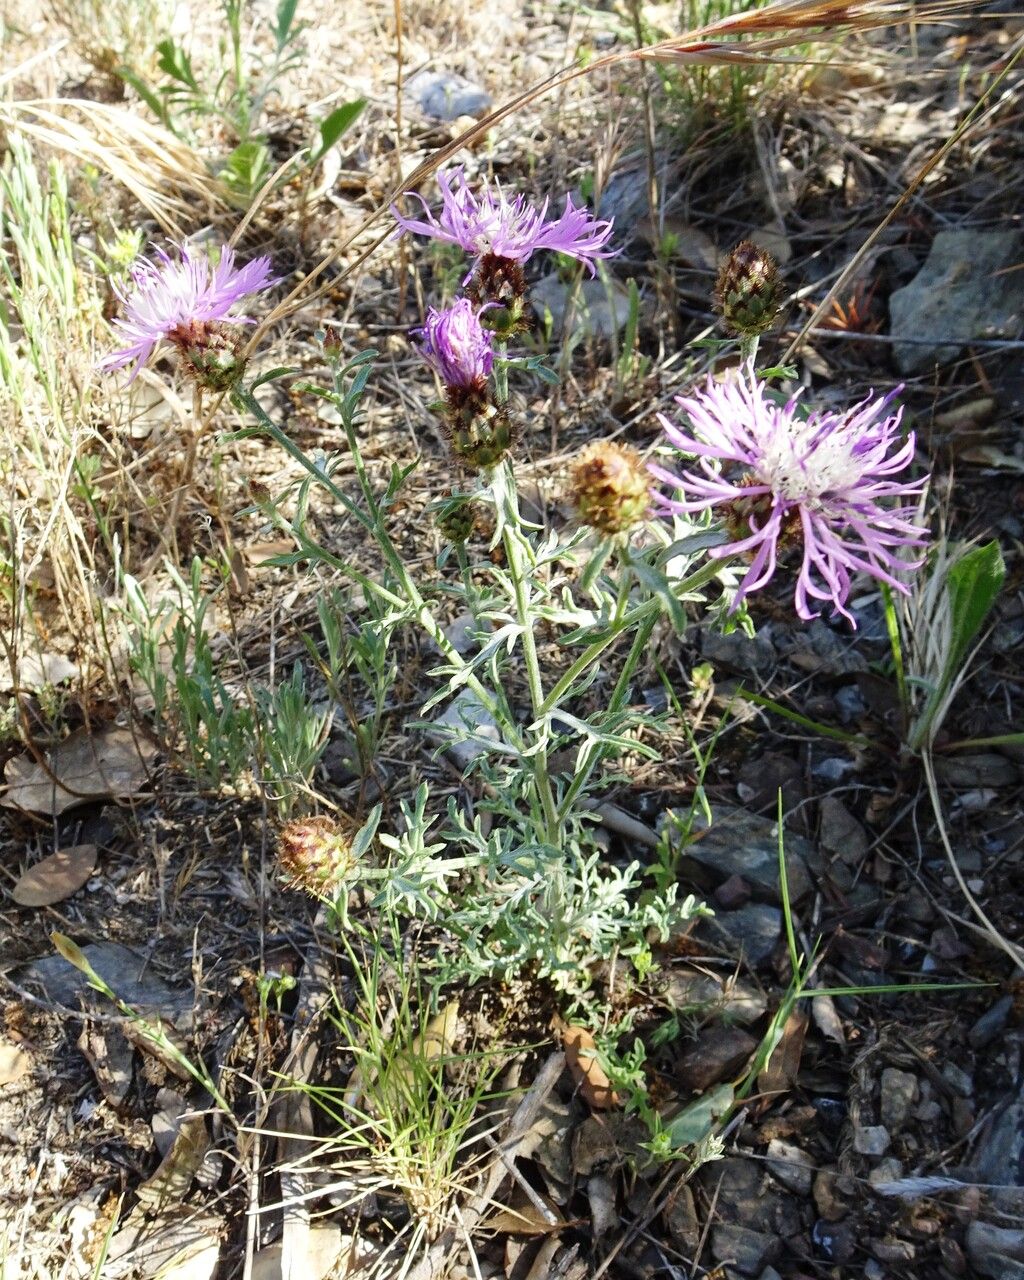
Hello, fellow garden lovers! I’m so excited to chat with you today about a plant that has truly captured my heart: Centaurea hanryi. If you’ve ever admired its delicate, ethereal blue blooms or its charming, almost wispy foliage, you know exactly what I’m talking about. Propagating this beauty isn’t just about getting more plants; it’s about extending that little bit of magic into your own garden. And the good news? While it’s not quite as simple as sticking a twig in the ground, Centaurea hanryi is a lovely plant to get to know better through propagation, and I think beginners will find it a rewarding challenge.
The Best Time to Start
For Centaurea hanryi, I’ve found that the sweet spot for taking cuttings is typically in late spring or early summer. This is when the plant is vigorously growing after its initial spring spurt. You’re looking for stems that are semi-hardwood – they’re not floppy and new, but they aren’t woody and old either. Think of a pencil’s thickness, with a bit of give when you bend it. This offers the best balance of flexibility and readiness to root.
Supplies You’ll Need
Before we dive in, let’s gather our arsenal. Having everything ready makes the process so much smoother!
- Sharp pruning shears or a clean knife: For making neat cuts.
- Potting mix: A well-draining mix is crucial. I like to use a blend of perlite and peat moss, or a good quality seed-starting mix.
- Small pots or trays: Clean pots are essential to prevent disease.
- Rooting hormone (optional but recommended): This really gives cuttings a boost. Look for one with IBA (indole-3-butyric acid).
- Clear plastic bags or a propagator: To create a humid environment.
- Water: For misting.
- Labels and a marker: To keep track of what’s what.
Propagation Methods
The most reliable way I’ve found to propagate Centaurea hanryi is through stem cuttings. It gives you a great chance to get a whole new plant that’s a true replica of the parent.
- Select Your Cuttings: Gently examine your mature Centaurea hanryi. Look for healthy, non-flowering shoots about 4-6 inches long.
- Make the Cut: Using your clean pruning shears or knife, make a clean cut just below a leaf node (where a leaf attaches to the stem). This is where the magic happens, and where roots tend to form most readily.
- Prepare the Cuttings: Carefully remove the lower leaves, leaving just two or three at the top. This prevents them from rotting in the soil and reduces water loss.
- Apply Rooting Hormone (Optional): If you’re using rooting hormone, dip the cut end of the stem into it. Gently tap off any excess.
- Plant Your Cuttings: Fill your small pots with your prepared potting mix. Gently insert the cut end of each stem into the soil, about an inch deep. You can fit several cuttings in one pot, just make sure they aren’t touching each other.
- Water and Cover: Water the soil lightly until it’s moist but not soggy. Then, cover the pot with a clear plastic bag or place it inside a propagator. This will create a humid microclimate that the cuttings love.
The “Secret Sauce” (Pro Tips)
Now, for a couple of little tricks I’ve picked up over the years that can make all the difference.
- The “Heel” Trick: Sometimes, when taking a cutting, I’ll carefully pull a piece of the main stem with it, creating a small “heel.” This bit of older tissue can sometimes encourage faster rooting. It’s not always possible, but if your plant allows, give it a try!
- Bottom Heat is Your Friend: If you can, place your pots on a heated propagator mat. This gentle warmth from below encourages root development significantly. It mimics the feeling of spring soil warming up, and plants respond wonderfully to it.
Aftercare & Troubleshooting
Once your cuttings are planted, the waiting game begins! Keep them in a bright spot, but out of direct, harsh sunlight. Mist the leaves occasionally if the humidity starts to drop, but avoid overwatering – this is the quickest way to invite rot.
You’ll know your cuttings are happy when you see new growth appearing, usually within a few weeks. If you gently tug on a cutting and feel some resistance, that’s a good sign of roots! Once they’ve developed a good root system, you can carefully transplant them into their own individual pots.
If you notice your cuttings wilting, turning yellow, or developing mushy spots, it’s often a sign of too much moisture or a lack of humidity. Don’t despair! Sometimes, you can salvage them by moving them to a slightly drier spot or increasing the humidity. Rot is the main culprit, so vigilance with watering is key.
A Encouraging Closing
Propagating Centaurea hanryi is such a satisfying process. It requires a little patience, a touch of observation, and a lot of quiet hope. Don’t be discouraged if not every cutting makes it. Each attempt teaches you something new about your plant and your own green thumb. Enjoy the journey, celebrate the tiny rootlets, and soon you’ll have a garden brimming with these enchanting blooms! Happy planting!
Resource:
https://identify.plantnet.org/k-world-flora/species/Centaurea%20hanryi%20Jord./data