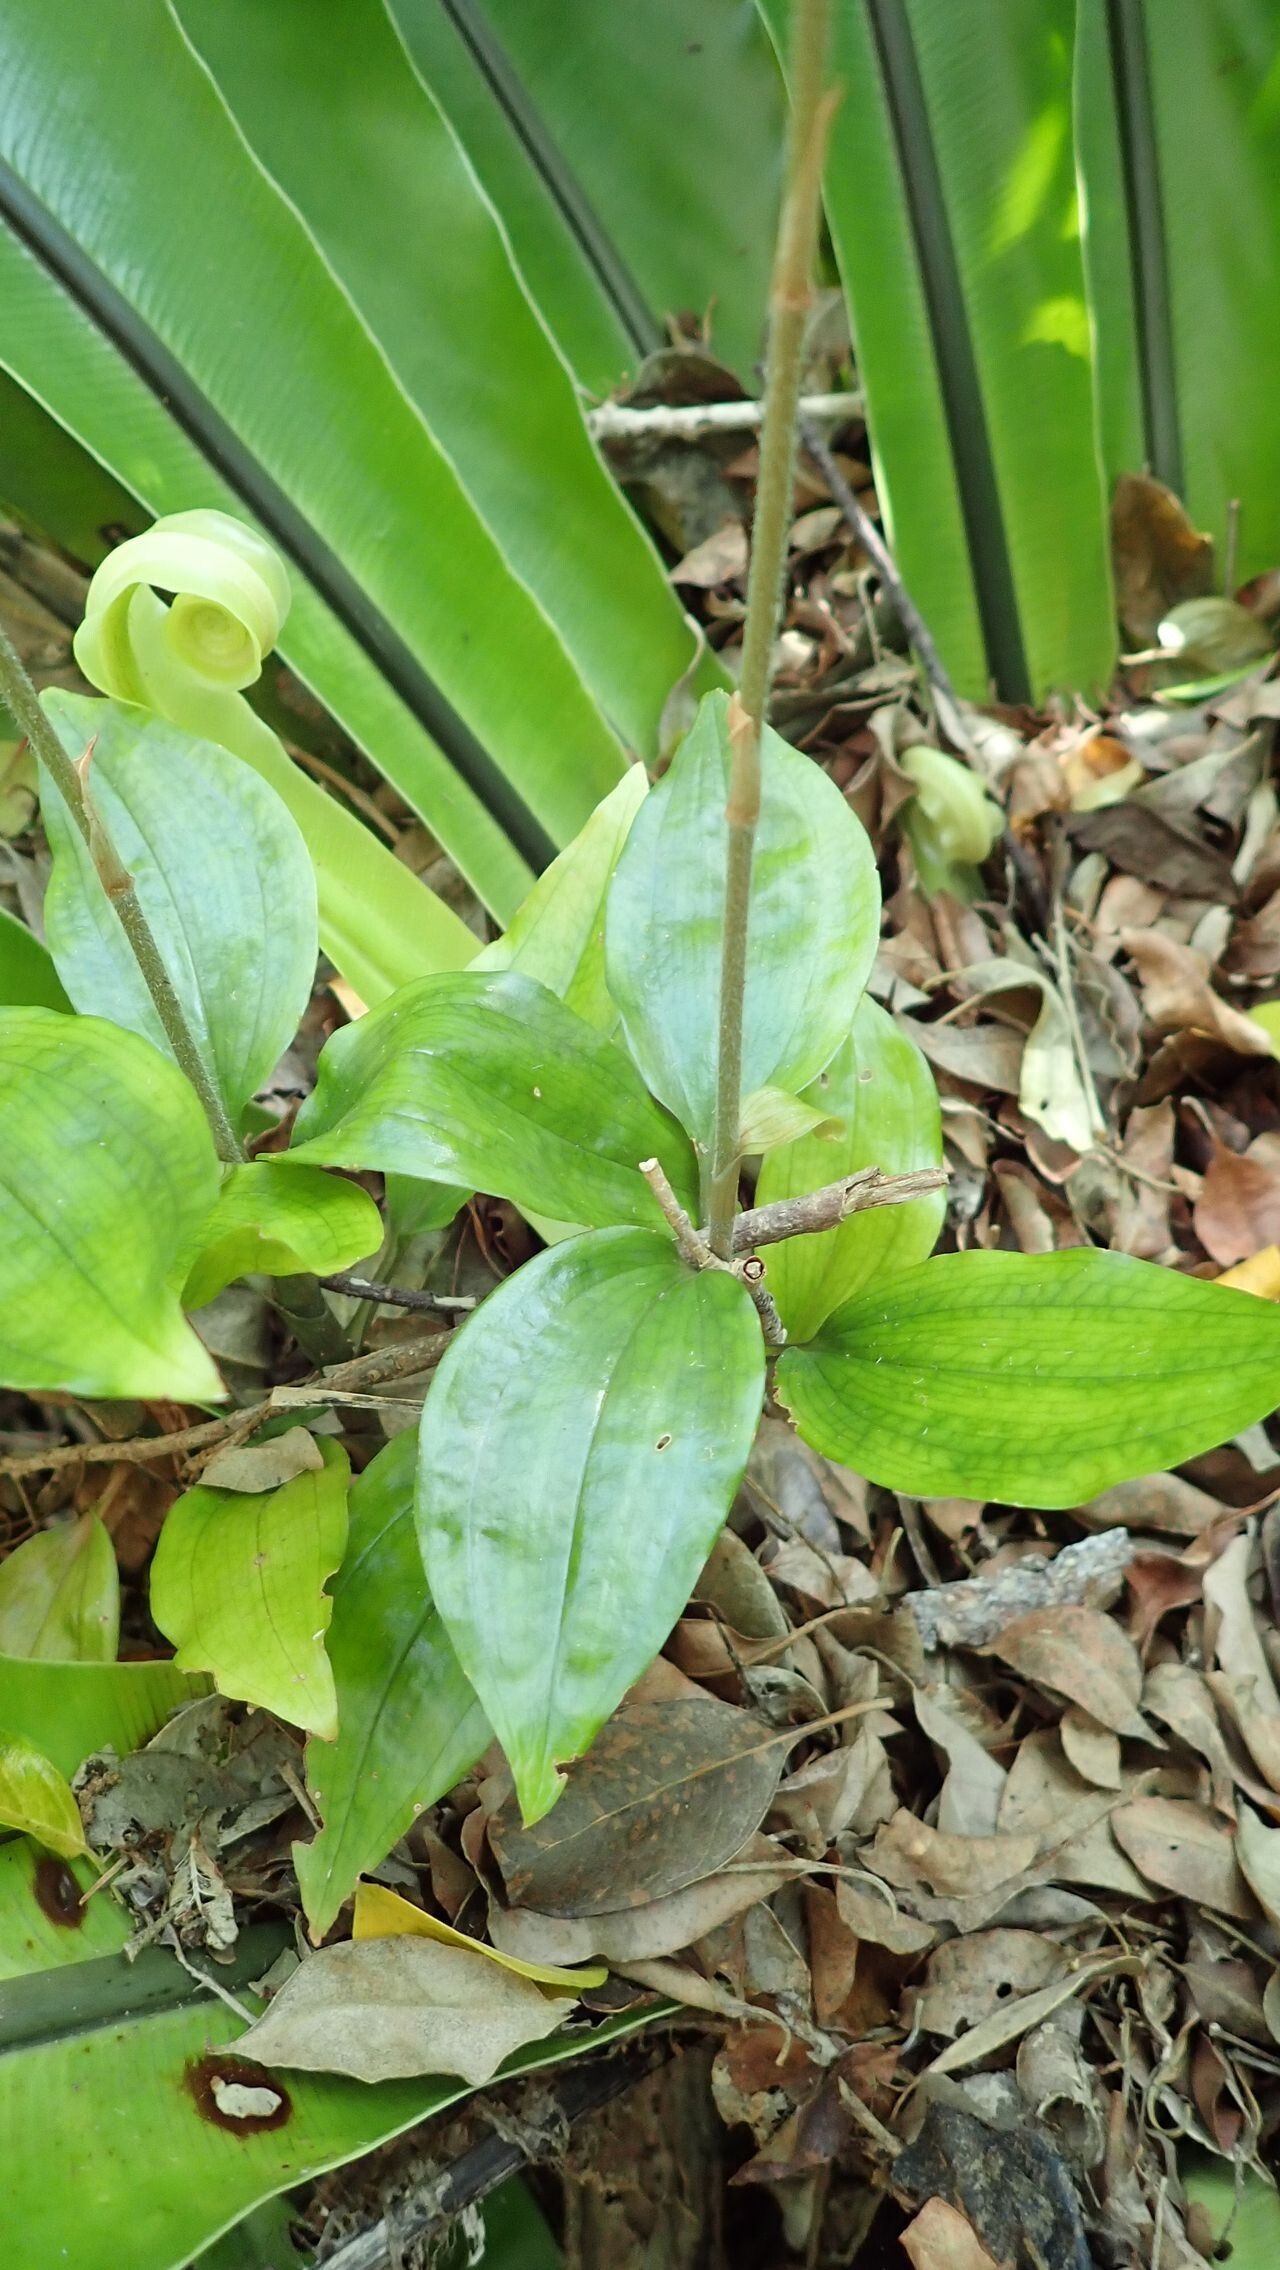
Oh, Hetaeria oblongifolia! Isn’t it a stunner? I just adore the delicate, intricate patterns on its leaves. It brings such a lovely, subtle elegance to any shady corner or terrarium. And the best part? It’s surprisingly rewarding to propagate. It’s not a plant that will necessarily throw babies at you left and right, but when you get it right, it feels like a real accomplishment. For beginners, I’d say it’s moderately easy. You’ll probably have a few learning curves, but with a little care, you’ll be well on your way.
The Best Time to Start
My favorite time to get Hetaeria oblongifolia started is during spring or early summer. This is when the plant is really pushing new growth after its winter rest. The warmth and increasing daylight really give those new bits the energy they need to root and establish themselves. You can also try it in late summer, but I find the success rate is a bit higher when I start earlier in the growing season.
Supplies You’ll Need
Before we dive in, let’s gather our tools. It’s always good to have everything ready so you can get straight to it!
- Sharp pruning shears or a clean knife: For making those crucial cuts.
- Rooftop soil mix: I like a blend of compost, perlite, and coarse sand. Good drainage is key for these guys.
- Small pots or seed trays: Clean, of course!
- Rooting hormone (optional but helpful): Especially for stem cuttings.
- Clear plastic bags or a humidity dome: To keep things nice and humid.
- Spray bottle: For gentle misting.
Propagation Methods
Hetaeria oblongifolia is a bit of a gem, and thankfully, it’s quite responsive to a couple of easy propagation methods.
Stem Cuttings
This is my go-to method for Hetaeria. It’s efficient and usually gives great results.
- Take your cuttings: Look for healthy stems with at least 2-3 leaves. Using your sharp shears or knife, make a clean cut just below a leaf node (where a leaf meets the stem). Try to get cuttings that are a few inches long.
- Prepare the cuttings: Gently remove the lower leaves from the cutting, leaving just the top 1-2 leaves. If you’re using rooting hormone, dip the cut end into it now, tapping off any excess.
- Planting: Fill your small pots with your prepared soilless mix. Make a small hole with your finger or a pencil. Gently insert the cut end of your Hetaeria cutting into the hole. Firm the soil gently around it.
- Create humidity: Lightly water the soil. Then, place the pot inside a clear plastic bag or cover it with a humidity dome. Make sure the plastic bag doesn’t touch the leaves. You can prop it up with small stakes if needed.
Division
If you have a mature Hetaeria oblongifolia plant that’s getting a bit crowded, division is a wonderful way to multiply your collection.
- Remove the plant from its pot: Gently ease the entire plant out of its container.
- Inspect the root ball: You’ll often see that the plant naturally grows in clumps. Look for sections that have their own roots and a few stems.
- Divide the clumps: Using your fingers or a clean knife, gently separate the plant into smaller sections. Be careful not to damage the roots too much. Each section should have a healthy root system and a few leaves.
- Pot them up: Plant each division into its own pot filled with your well-draining soil mix. Water gently.
The “Secret Sauce” (Pro Tips)
Here are a few things I’ve learned over the years that really seem to give Hetaeria propagation a boost:
- Bottom Heat is Your Friend: If you can, place your pots on a gentle heating mat. Hetaeria roots love a bit of warmth, and bottom heat can significantly speed up the rooting process. Just make sure it’s not too hot – you don’t want to cook those precious roots!
- Don’t Drown Them: While they need humidity, sitting in soggy soil is a death sentence. Make sure your soil mix is airy and drains well, and water only when the top inch of soil feels dry. A gentle misting from your spray bottle is often preferred to a heavy watering, especially for cuttings.
- Patience is a Virtue: Hetaeria plants aren’t the fastest rooters. It can take anywhere from 4-8 weeks to see significant new growth, which is a good sign they’ve rooted. Don’t be tempted to constantly pull them up to check!
Aftercare & Troubleshooting
Once you see signs of new growth, like tiny leaves unfurling or the cutting feeling firm when you give it a gentle tug, you know your Hetaeria has rooted!
- Gradually Acclimate: Slowly start to remove the humidity cover or open the plastic bag a little more each day over a week or two. This helps the new plant adjust to the drier air in your home.
- Water Carefully: Continue to water when the top inch of soil is dry. Avoid overwatering.
- Watch for Rot: The biggest enemy of Hetaeria propagation is rot. If you see the stems turning mushy or black, or the leaves yellowing and dropping rapidly without any sign of new growth, it’s likely due to too much moisture. If you catch it early, you might be able to salvage a healthy section, but often it’s best to start again with fresh cuttings and a drier approach.
There you have it! Propagating Hetaeria oblongifolia is a wonderfully rewarding journey. Don’t get discouraged if your first attempt isn’t perfect. Every plant, every season, and every gardener has a slightly different experience. Enjoy the process of nurturing these beautiful little plants, and soon you’ll have a whole Hetaeria family to admire! Happy gardening!
Resource:
https://identify.plantnet.org/k-world-flora/species/Hetaeria%20oblongifolia%20Blume/data