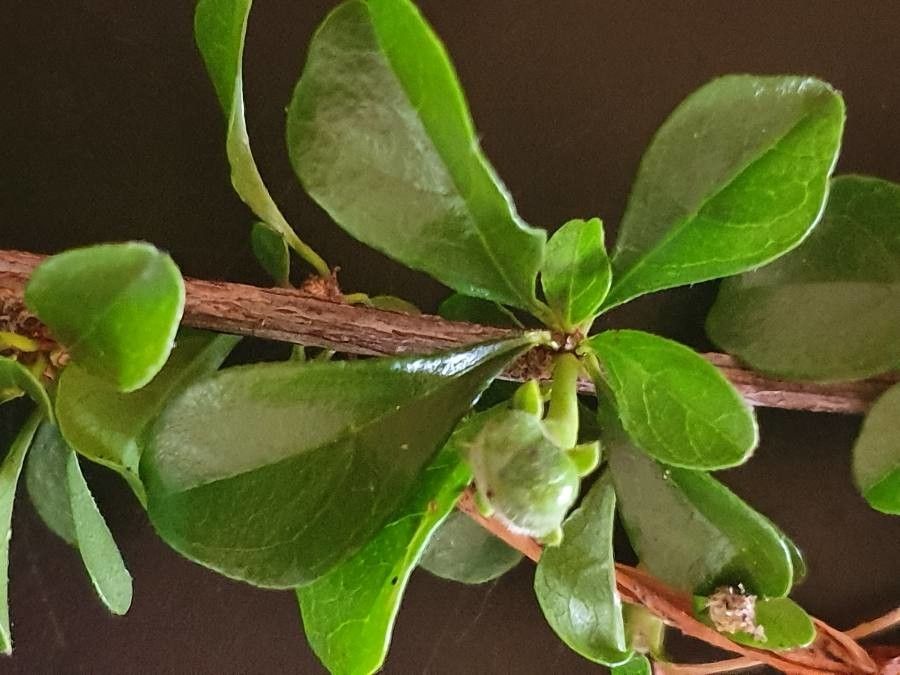
Oh, hello there! Pull up a chair, let’s chat about one of my favorite garden companions: Turraea parvifolia. If you haven’t met this gem, prepare to be charmed. It’s a darling shrub with delicate, star-shaped white flowers that often have a lovely, subtle fragrance, and its glossy green leaves are a delight year-round. Growing it is a joy, and propagating it? Well, that’s where the real magic happens. You get to share this beauty with friends, fill your own garden with more, and feel that wonderful sense of accomplishment. For beginners, this plant is quite forgiving, which makes it a fantastic starting point for your propagation adventures!
The Best Time to Start
Honestly, you’ll have the most luck with Turraea parvifolia during its active growing season. Think late spring through summer. The stems have the energy they need to put out roots, and the increased light and warmth really spur them on. Avoid trying to take cuttings when the plant is stressed, perhaps during a heatwave or a cold snap. A healthy, vigorous plant will give you the best chance of success.
Supplies You’ll Need
Before we get our hands dirty, let’s gather our tools:
- Sharp Pruning Shears or a Knife: Cleanliness is key to prevent disease.
- Rooting Hormone: This isn’t strictly essential for Turraea, but it can give your cuttings a significant boost. I like to use a powder form.
- Well-Draining Potting Mix: A good blend of perlite, peat moss, and a bit of compost works wonders. You can also buy specific cutting and seed starting mixes.
- Small Pots or Trays: Clean pots are a must!
- Plastic Bags or a Clear Lid: To create a humid environment for your cuttings.
- Watering Can with a Fine Rose: Gentle watering is important.
- Optional: Bottom Heat Mat: This can speed up root development, especially if your propagation area is a bit cooler.
Propagation Methods
Let’s get down to how we coax new life from our Turraea.
Stem Cuttings
This is my go-to method for Turraea parvifolia.
- Select Your Cuttings: Look for healthy, non-flowering stems that are about pencil-thick and around 4-6 inches long. You want wood that is firm but not completely woody. Think of it as being slightly flexible, not brittle.
- Make the Cut: Using your clean shears, make a clean cut just below a leaf node. This is the point where a leaf attaches to the stem, which is where roots are most likely to form. Remove any lower leaves, leaving just a couple at the very top.
- Apply Rooting Hormone: Dip the cut end of the stem into your rooting hormone powder, tapping off any excess. Make sure the wounded end is well-coated.
- Plant Your Cuttings: Fill your small pots with your prepared potting mix and make a hole with a pencil or your finger. Gently insert the cutting, ensuring the nodes where you removed leaves are buried. Firm the soil gently around the base of the cutting.
- Water Gently: Water thoroughly until you see water drain from the bottom of the pot.
- Create Humidity: This is crucial! Cover the pot with a clear plastic bag or place it in a propagator with a lid. Make sure the leaves don’t touch the plastic if possible – this can cause rot. You can use stakes to prop up the bag if needed. Place the pots in a bright spot but out of direct sunlight.
The “Secret Sauce” (Pro Tips)
Here are a few tricks I’ve learned over the years that really make a difference:
- “Scuff” the Base: Before dipping into rooting hormone, I sometimes very gently scrape away a thin sliver of bark on one side of the very bottom of the cutting. This exposes more of the cambium layer, which is thought to encourage faster root formation. Be gentle, you don’t want to damage the stem.
- Bottom Heat is Your Friend: If you can, place your pots on a heat mat. Even a gentle warmth (around 70-75°F or 21-24°C) can significantly speed up the rooting process. The energy from the bottom helps the plant signal to create roots.
- Watch for the “Wiggle Test”: After a few weeks, you can give a cutting a very gentle tug. If you feel resistance, that’s a good sign roots are forming. Don’t pull hard, you don’t want to dislodge any delicate new roots!
Aftercare & Troubleshooting
Be patient! It can take 4-8 weeks, sometimes longer, for Turraea parvifolia cuttings to root.
- Check for Roots: Once you think they’ve rooted, you can gently slide a cutting out of its pot to check for root development. If you see a good network of roots, it’s time to transplant.
- Transplanting: Carefully pot up your new plants into slightly larger pots with good quality potting soil. Continue to keep them bright and humid for a week or two before gradually acclimatizing them to normal room humidity.
- Signs of Trouble: The most common issue is rot. If the stem turns black and mushy, or the leaves wilt drastically without perking up after watering, it’s likely rot. This is usually caused by overwatering or poor drainage. If you see this, sadly, that cutting is probably gone. You can try to salvage any healthy parts if you catch it early, but it’s often best to start again with fresh cuttings and ensure everything is clean and well-drained.
A Encouraging Closing
Propagating Turraea parvifolia is such a rewarding journey. It’s a chance to slow down, observe your plant, and participate in the miracle of growth. Don’t be discouraged if your first few tries aren’t perfect – we’ve all been there! Each attempt teaches you something new. So, gather your supplies, find a quiet spot, and enjoy the process. Soon, you’ll have a whole new generation of these wonderful little shrubs to nurture. Happy growing!
Resource:
https://identify.plantnet.org/k-world-flora/species/Turraea%20parvifolia%20Deflers/data