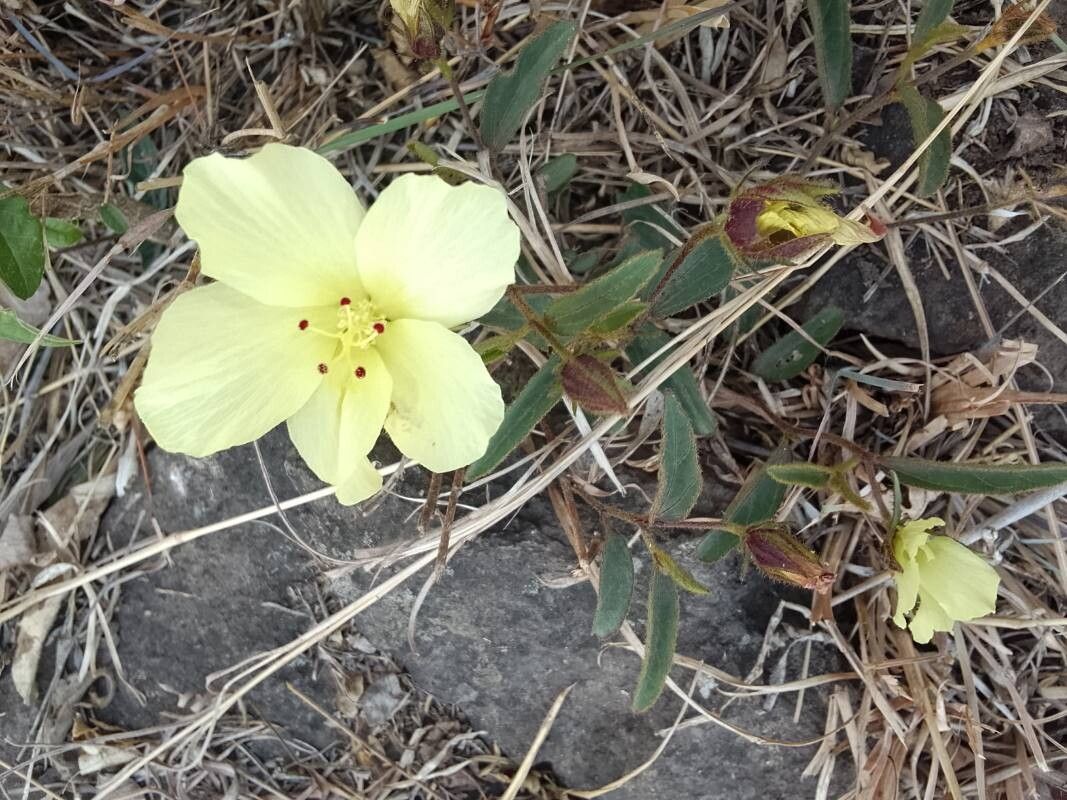
Hello there, fellow garden enthusiasts! It’s wonderful to have you join me. Today, we’re diving into the delightful world of Cienfuegosia yucatanensis, a plant that brings such a burst of sunshine to any garden. Its vibrant blooms and unique foliage have captured my heart over the years, and I’m so excited to share how you can bring more of this beauty into your own patch of paradise. Propagating it yourself is incredibly rewarding, and I promise, with a little guidance, you can absolutely do it! For beginners, it’s moderately easy, but a few key steps will make all the difference.
The Best Time to Start
My favorite time to get started with propagating Cienfuegosia yucatanensis is during the late spring or early summer. This is when the plant is in its active growth phase, meaning it’s full of energy and ready to sprout new life. You’re looking for healthy, non-flowering stems. Think of it as a plant that’s feeling its best and most robust – that’s when you’ll have the highest success rate.
Supplies You’ll Need
Gathering your supplies beforehand makes the whole process much smoother. Here’s what I find essential:
- Sharp, clean pruning shears or a sharp knife. Cleanliness is crucial to prevent disease!
- A good quality potting mix. I like a blend that’s well-draining. A mix of peat moss, perlite, and a little bit of compost works wonders.
- Small pots or seed trays. Make sure they have drainage holes.
- Rooting hormone (optional but recommended). This gives your cuttings a little extra boost.
- A spray bottle. For misting.
- A plastic bag or clear dome. To create a humid microclimate.
- Bottom heat source (optional). A heat mat can really speed things up.
Propagation Methods
Let’s get our hands dirty! The most effective method for Cienfuegosia yucatanensis is by stem cuttings.
- Take Your Cuttings: Select a healthy, vigorous stem from your mature plant. Aim for cuttings that are about 4-6 inches long. You want a stem that’s firm but not woody. Make a clean cut just below a leaf node (where a leaf joins the stem). This is where the magic of root formation often begins.
- Prepare the Cuttings: Gently remove the lower leaves from the cutting, leaving just the top few leaves intact. This prevents them from rotting when they’re in the soil. If you’re using rooting hormone, dip the cut end into the powder or gel, tapping off any excess.
- Plant Your Cuttings: Fill your small pots with your well-draining potting mix. Make a small hole in the center of the soil with your finger or a pencil. Carefully insert the cut end of the Cienfuegosia cutting into the hole, ensuring at least one leaf node is buried beneath the soil surface. Gently firm the soil around the cutting.
- Create a Humid Environment: Water your cuttings gently. Then, place a plastic bag loosely over the pot, or cover it with a clear dome. This traps humidity, which is vital for cuttings to root. Ensure the leaves aren’t touching the plastic if possible. If you’ve got a heat mat, place the pots on top of it. The gentle warmth encourages root development.
The “Secret Sauce” (Pro Tips)
Over the years, I’ve learned a few tricks that really boost my success rates. Here are a couple that are particularly helpful for Cienfuegosia:
- Don’t Overwater: This is a big one! Cuttings sitting in soggy soil are prime candidates for rot. Water thoroughly when you first plant them, and then only water when the top inch of soil feels dry. Mist the foliage daily, but let the soil breathe.
- Use Bottom Heat: I know I mentioned it before, but it bears repeating! Cienfuegosia cuttings really appreciate a little warmth from below. It mimics their natural growing conditions and significantly speeds up root formation. You’ll see roots developing much faster.
- Patience, Dear Gardener: It can take several weeks for roots to form. Don’t be tempted to pull them up to check! You’ll know they’re rooting when you see new growth appearing, or when you give a very gentle tug, and there’s resistance.
Aftercare & Troubleshooting
Once you see signs of rooting – a gentle tug offering resistance or new leaves unfurling – it’s time to transition them. Gradually remove the plastic bag or dome over a few days to acclimatize them to normal humidity. Continue to keep the soil consistently moist but not waterlogged.
The most common problem you might encounter is root rot, which usually shows up as a mushy, dark stem base, or wilting that doesn’t recover even with watering. This is almost always due to overwatering or poor drainage. If you spot this happening, it’s sadly best to discard the affected cutting to prevent it from spreading. Fungal issues can also appear as spots on the leaves, so ensure good air circulation.
A Encouraging Closing
Propagating your own Cienfuegosia yucatanensis is such a rewarding journey. It’s a wonderful way to learn about your plant and to share its beauty with others. Be patient with the process, observe your cuttings closely, and celebrate every tiny bit of progress. Happy growing, and I hope you have a bounty of new Cienfuegosia to enjoy!
Resource:
https://identify.plantnet.org/k-world-flora/species/Cienfuegosia%20yucatanensis%20Millsp./data