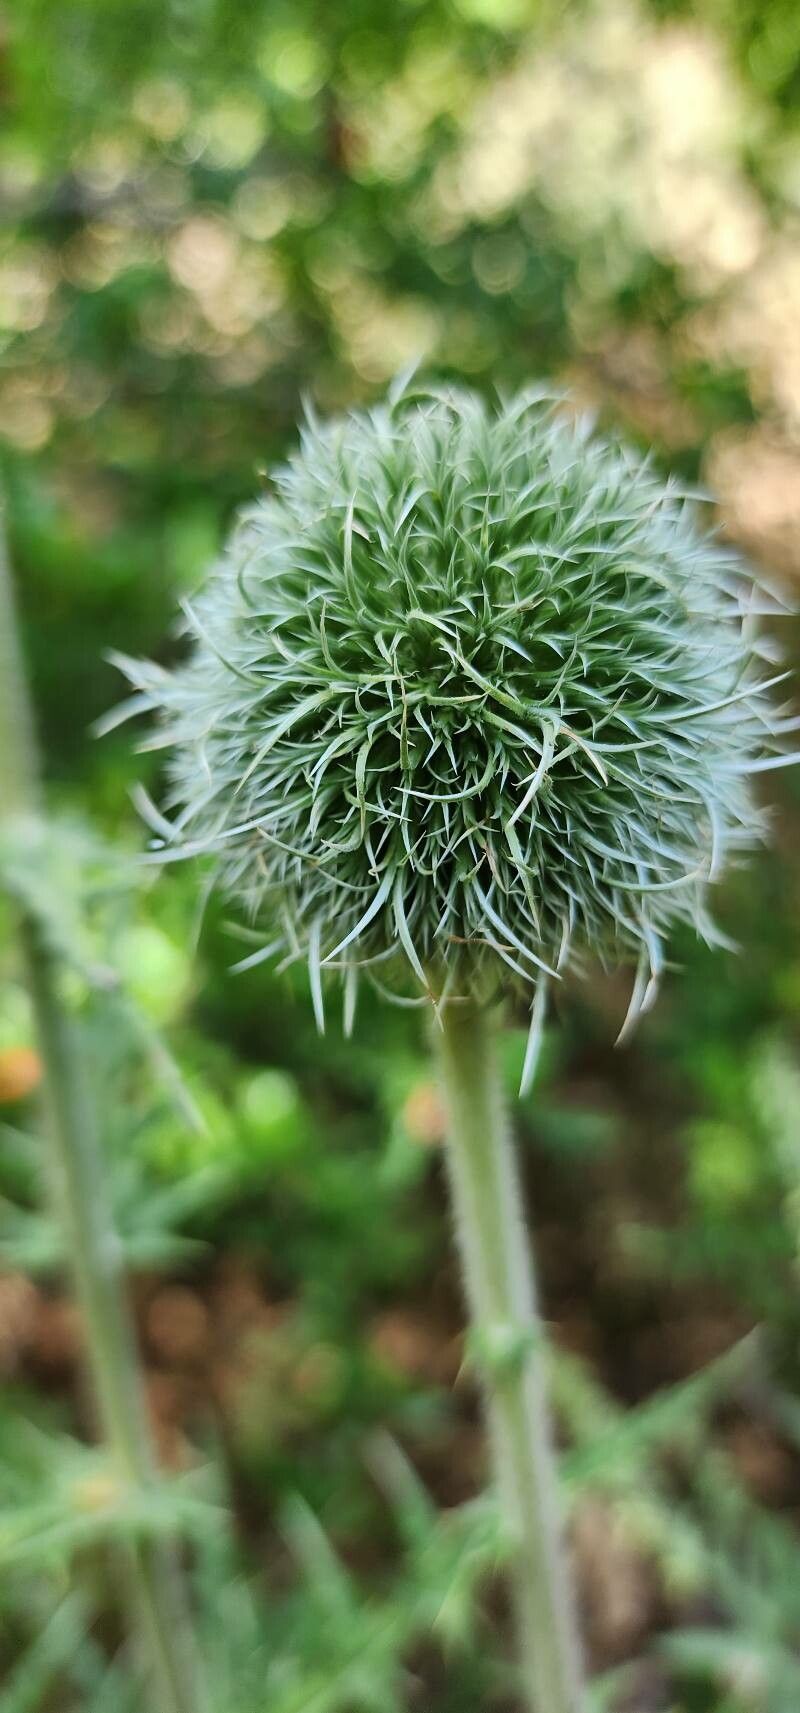
Hello fellow plant lovers! If you’ve ever admired the architectural beauty of Echinops macrophyllus, sometimes called Great Globe Thistle, you know it brings a real wow factor to the garden. Its big, blue, spiky blooms are like little celestial bodies hovering above sturdy foliage. And you know what’s even more satisfying than admiring them? Growing your own! Propagating Echinops can be incredibly rewarding, a chance to multiply that garden magic. Now, for the good news: I find Echinops to be a pretty forgiving plant when it comes to propagation, even for those of you just dipping your toes into the world of growing from cuttings or divisions.
The Best Time to Start
For the highest success rate with Echinops macrophyllus, I always aim for late spring to early summer. This is when the plant is actively growing and has plenty of energy to put into developing new roots. You want to select stems that are not yet flowering but have just started to firm up after new growth emerges. Basically, think of young, vigorous shoots.
Supplies You’ll Need
Here’s what I like to have on hand:
- Sharp pruning shears or a clean knife: For making clean cuts.
- Rooting hormone: Optional, but it can give your cuttings a nice boost. I often use a powder form.
- Potting mix: A well-draining mix is crucial. I usually blend about 50% peat moss or coco coir with 50% perlite or coarse sand. You can also buy pre-made seedling or propagation mixes.
- Small pots or trays: Clean pots are a must to prevent disease. 3-4 inch pots are usually a good size.
- Plastic bags or a propagation dome: To create a humid environment.
- Watering can or spray bottle: For gentle watering.
- Labels and a permanent marker: Because we all forget which plant is which!
Propagation Methods
While you can sometimes get Echinops to grow from seed, my favorite and most reliable method is division. It’s straightforward and gives you a head start with a more mature plant.
Division: Multiplying Your Globe Thistles
- Digging Up: In early spring, just as new growth begins to emerge, carefully dig around the base of your established Echinops plant. Try to get your spade or fork in about 6-8 inches away from the crown to avoid damaging the main root system. Gently lift the entire plant out of the ground.
- Separating: You’ll see that larger clumps often have multiple smaller growing points. You can gently pull apart these sections with your hands. If they’re really stuck together, use your clean knife or trowel to slice through the root ball, ensuring each section has at least a few healthy roots and a bit of new shoot.
- Replanting: Immediately replant your divisions into prepared garden beds or pots filled with that good, draining soil. Space them out appropriately for their mature size. Water them in well.
If you’re feeling a bit more adventurous and want to try stem cuttings (which is surprisingly effective with Echinops for some varieties!):
- Taking Cuttings: In late spring or early summer, select healthy, non-flowering stems. Using your sharp pruners, cut a section about 4-6 inches long. Make the cut just below a leaf node (where a leaf attaches to the stem).
- Preparing Cuttings: Remove the lower leaves, leaving just a couple at the very top. If the leaves are large, you can even cut them in half to reduce water loss.
- Rooting Hormone (Optional but Recommended): Dip the cut end of each stem into rooting hormone (if using). Tap off any excess.
- Planting Cuttings: Fill your clean pots with your well-draining potting mix. Make a hole in the center of the soil with a pencil or dibber. Insert the cut end of the stem into the hole, ensuring the nodes where you removed leaves are below the soil surface. Gently firm the soil around the stem.
- Creating Humidity: Water the soil gently. Then, either cover the pot with a plastic bag (propping it up with stakes so it doesn’t touch the leaves) or place it inside a propagation dome.
The “Secret Sauce” (Pro Tips)
Here are a couple of things I’ve learned over the years that make a difference:
- When doing divisions, don’t be afraid to be a little ruthless. Echinops are tough, and those sections you separate will usually bounce back beautifully with good care.
- For stem cuttings, bottom heat can be a game-changer. Pop your pots on a heat mat intended for seedlings. This encourages root development without drying out the foliage. You can often find these affordably online.
- After planting cuttings, keep them out of direct, hot sun. Bright, indirect light is perfect. Too much sun can scorch those tender new shoots before they’ve had a chance to establish.
Aftercare & Troubleshooting
Once your divisions are replanted, water them consistently until they’re well-established. For cuttings, keep the soil lightly moist, never soggy. You’ll know they’re rooting when you see new leaf growth or a gentle tug on the stem meets resistance. This can take anywhere from 4-8 weeks, so be patient!
The most common problem you’ll encounter is rot. This usually happens if your soil is too wet, the air circulation is poor, or you’re using non-sterilized equipment. If you see stems turning black and mushy, it’s usually a sign of overwatering or fungal issues. Don’t despair; sometimes just one or two cuttings will still make it. For divisions, if they wilt dramatically, ensure they’re getting enough water and check for any signs of rot on the roots. Sometimes a poorly divided section just needs time to recover.
A Little Garden Patience Goes a Long Way
Growing plants from divisions or cuttings is such a fulfilling part of gardening. It connects you more deeply to your plants and allows you to share their beauty with friends and family. Remember, nature doesn’t rush, and neither should you. Be patient, observe your new Echinops babies, and enjoy the process of watching them grow. Happy propagating!
Resource: