Oh, hello there! It’s so lovely of you to drop by. If you’re anything like me, the lure of a new plant is irresistible, especially one as unique and rewarding as Albizia anthelmintica. I’ve spent years nurturing these beauties, and let me tell you, the joy of watching a tiny cutting develop into a strong, new plant is a feeling that never gets old.
Bringing More Albizia Anthelmintica into Our Lives
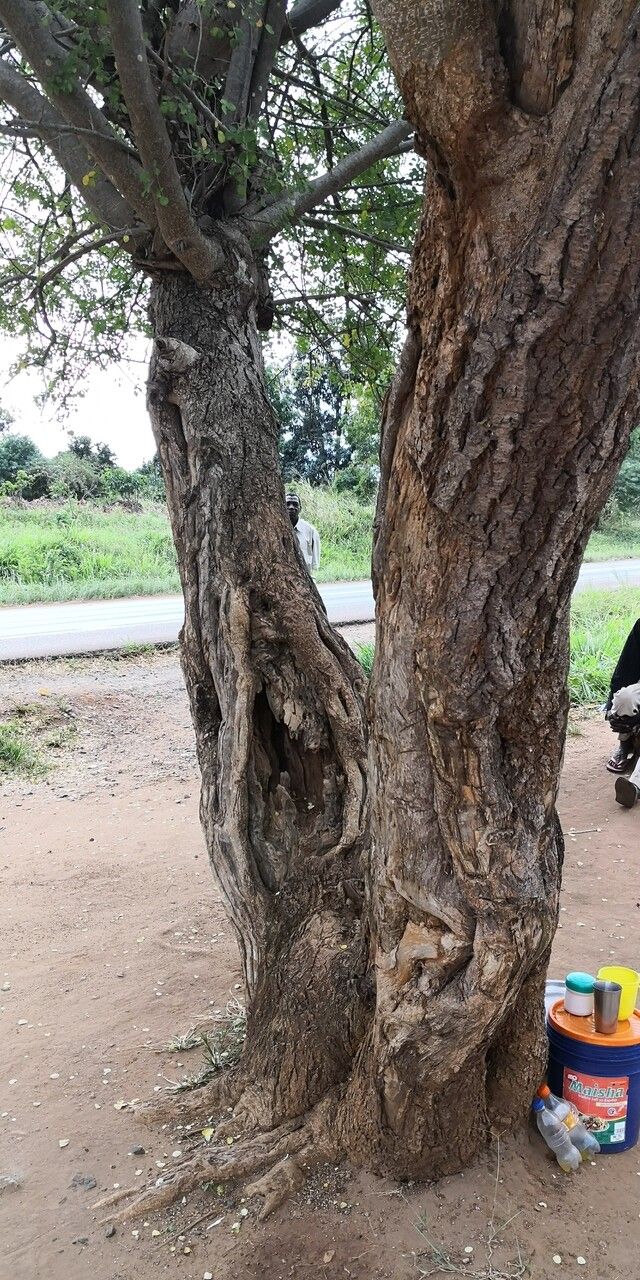
Albizia anthelmintica, often called the Worm Tree or sometimes the Shepherd’s Bush, has this wonderful, almost ethereal quality about it. Its delicate, fern-like foliage and the promise of fascinating seed pods make it a real conversation starter in any garden. For seasoned gardeners, propagating it is a satisfying way to expand your collection or share the magic with fellow plant lovers. Now, for the beginners out there, I’d say Albizia anthelmintica is moderately easy to propagate. It’s not quite as foolproof as a succulent, but with a little care and attention, you’ll be well on your way.
When is the Perfect Moment to Begin?
Hands down, the best time to propagate Albizia anthelmintica is during the active growing season, typically late spring through early summer. This is when the plant has plenty of energy to invest in developing new roots from cuttings. You want to work with vigorous, healthy stems that are neither too soft and new nor too woody and old. Think of a happy, mid-season growth spurt – that’s your cue!
What You’ll Need to Get Started
Gathering your supplies beforehand makes the whole process so much smoother. Here’s what I always have on hand:
- Sharp, clean pruning shears or a sharp knife: For making clean cuts.
- Rooting hormone: A powder or gel specifically designed for stem cuttings. It really gives your new plant a helping hand.
- Well-draining potting mix: I love a blend of perlite, peat moss, and coco coir. You want something that holds a little moisture but doesn’t get waterlogged. A good quality seed-starting mix can also work well.
- Small pots or propagation trays: With drainage holes, of course!
- Plastic bags or a clear propagation dome: To create a humid environment.
- A spray bottle: For misting.
- Optional: A heat mat: This can significantly speed up root development.
Let’s Get Our Hands Dirty: Propagation Methods
There are a couple of ways to get more Albizia anthelmintica plants, but stem cuttings are my go-to for reliability and ease.
Propagating by Stem Cuttings
- Select Your Cuttings: With your clean shears, take softwood or semi-hardwood cuttings that are about 4-6 inches long. Make this cut just below a leaf node (where a leaf attaches to the stem). These nodes are where roots tend to form.
- Prepare the Cuttings: Gently remove the lower leaves from your cuttings, leaving only a couple of sets at the very top. This prevents them from rotting in the soil and directs the plant’s energy towards root formation. If you have any flowers or developing buds, pinch those off too.
- Apply Rooting Hormone: Dip the cut end of each stem into your rooting hormone, tapping off any excess.
- Plant Your Cuttings: Fill your small pots or trays with your well-draining potting mix. Make a hole with your finger or a pencil and gently insert the cutting, ensuring the hormone-coated end is in contact with the soil. Make sure the lower leaf nodes are also below the soil line, as they can sprout roots too.
- Water Gently: Water the soil thoroughly but gently, so it’s moist but not soggy.
- Create Humidity: Now, cover your pots with a plastic bag or propagation dome. If using a bag, you can support it with a couple of stakes so it doesn’t touch the leaves. This creates a mini-greenhouse, keeping the humidity high around your cuttings.
- Provide Light and Warmth: Place your cuttings in a spot that receives bright, indirect light. If you have a heat mat, place the pots on top of it. This gentle bottom heat is a game-changer for root development.
Your “Secret Sauce” for Success
Over the years, I’ve learned a few little tricks that seem to make all the difference.
- Mist, Don’t Drown: While humidity is crucial, don’t let the leaves sit in standing water. Misting them regularly (once or twice a day) is usually enough to keep them happy. If you see condensation building up too much, briefly lift the plastic to allow some air circulation.
- Patience is a Virtue (and a Requirement!): Albizia anthelmintica can be a bit slow to root. Don’t be tempted to pull them up to check for roots too soon! Give them at least 4-6 weeks, and sometimes even longer, before you gently tug. If there’s resistance, you’re likely developing roots.
- Bottom Heat is Your Best Friend: If you can invest in a small seedling heat mat, do it. It mimics the warmth from the soil that cuttings would experience outdoors naturally during their growing season and significantly speeds up the rooting process.
What to Do When Roots Appear & What if They Don’t?
Once you feel that resistance when you gently tug a cutting, or you start to see new leafy growth, it’s a good sign roots are forming! At this point, you can slowly acclimate your new plant to less humid conditions by gradually opening the plastic bag or dome over a few days. Continue to keep the soil consistently moist, but not waterlogged. Once they have a decent root system and are showing healthy growth, you can transplant them into slightly larger pots with your regular potting mix.
If, after several weeks, you see no signs of rooting and the cuttings become limp or mushy, it’s likely they’ve rotted. This usually happens from too much moisture and not enough air circulation, or if the cuttings were taken at the wrong time. Don’t despair! Just clean your pots, prepare new cuttings, and try again, paying close attention to those humidity and watering levels.
Go Forth and Grow!
Propagating plants is such a rewarding journey, and Albizia anthelmintica is a wonderful plant to practice on. Remember to be patient with yourself and the process. Every gardener has had cuttings that didn’t make it – it’s all part of the learning curve! Enjoy the magic of creating new life from a simple stem. Happy gardening!
Resource: