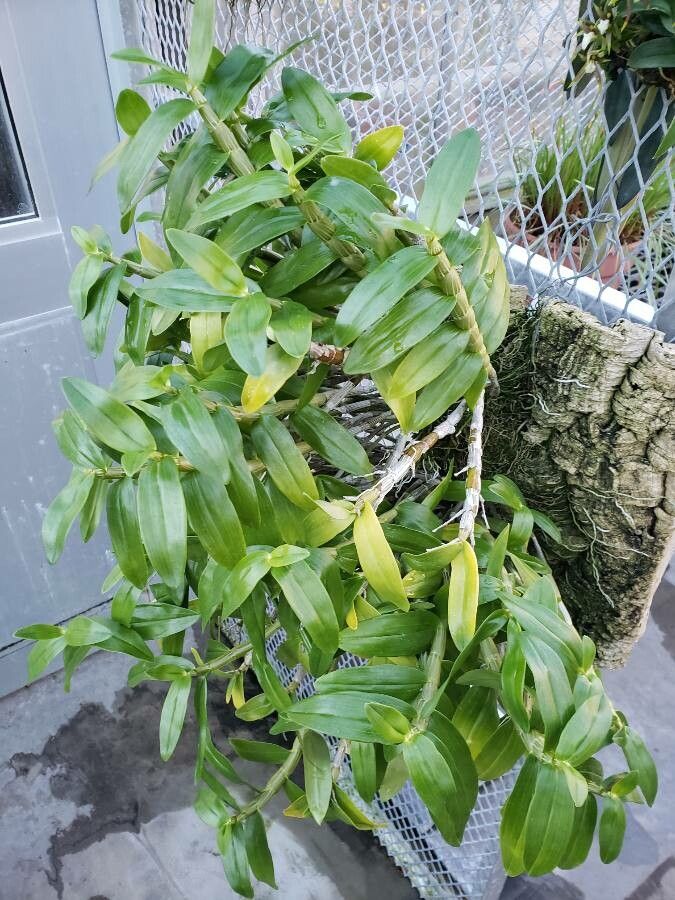
Hello fellow plant lovers! Today, we’re diving into the wonderful world of Dendrobium aberrans. If you’re drawn to orchids with their unique charm, you’ll find this one particularly captivating. Its delicate blooms and intriguing growth habit make it a real conversation starter in any collection. And the best part? Learning to multiply your own Dendrobium aberrans is an incredibly rewarding journey. For beginners, it might feel a touch intimidating at first, but with a little patience and the right guidance, you’ll be well on your way to success.
The Best Time to Start
Timing is everything, right? For Dendrobium aberrans, the sweet spot for propagation is usually late spring to early summer. This is when the plant is actively growing, meaning it’s got the energy it needs to put into forming new roots and shoots. You’ll want to work with a mature, healthy plant that shows signs of vigorous growth. Avoid trying to propagate during its dormant period.
Supplies You’ll Need
Gathering your tools beforehand makes the whole process much smoother. Here’s what I usually have on hand:
- Sharp, sterilized pruning shears or a clean knife: Crucial for making clean cuts and preventing disease. I often sterilize mine with rubbing alcohol.
- Fine-grade orchid bark or a well-draining seedling mix: A mix that allows for excellent aeration is key. I like to use a combination of fine bark, perlite, and a little bit of sphagnum moss.
- Small pots or containers: Choose something with good drainage holes. Yogurt containers can work in a pinch if you add your own holes!
- Rooting hormone (optional but recommended): This can give your cuttings a helpful boost. Look for one specifically for orchids or general plant propagation.
- Spray bottle: For misting your cuttings.
- Clear plastic bag or a propagator: To create a humid environment.
- Potting labels: Don’t forget to label your new babies!
Propagation Methods
Dendrobium aberrans can be propagated using a couple of different approaches, but the most common and effective for home growers is division.
Division
This is my go-to method because it’s generally the most successful and least stressful for the mother plant.
- Gently remove the orchid from its pot. You might need to loosen the edges with a knife if it’s really snug.
- Carefully clean away as much of the old potting medium as you can. You want to see the rhizomes and pseudobulbs clearly.
- Examine the plant for natural divisions. Look for sections of the plant that have at least two or three healthy pseudobulbs and a healthy root system. You’ll often see where the rhizome has branched off.
- Using your sterilized shears or knife, carefully cut the rhizome to separate the divisions. Ensure each division has good roots. If a division appears to have very few roots, don’t despair, but it might take a little longer to establish.
- Prune away any dead or mushy roots. For any pseudobulbs that seem weak, you can try propagating them separately, but their success rate is lower.
- Allow the cut surfaces to air dry for a day or two in a well-ventilated spot. This helps to callus over the wound and prevent rot. I usually place them on a dry paper towel.
- Pot up each division. Use your chosen orchid mix in a small pot with drainage. Position the division so the top of the pseudobulbs are just above the surface of the medium.
- Water sparingly at first. You want the potting medium to be lightly moist, not soggy.
The “Secret Sauce” (Pro Tips)
Here are a few things I’ve learned over the years that can really make a difference:
- Don’t rush the repotting. After division, give your new plant a week or two to settle before giving it its first proper watering. This allows any minor wounds to heal completely.
- Humidity is your friend, but airflow is vital. While we want to create a humid environment for new cuttings (hence the plastic bag), too much stagnant air can encourage fungal issues. I often open the plastic bag for 15-30 minutes each day to let some fresh air circulate.
- Bottom heat can be a game-changer. If you have a seedling heat mat, placing your pots on it can significantly speed up root development. Orchids love a bit of warmth from below!
Aftercare & Troubleshooting
Once your divisions are potted, the waiting game begins! Keep the potting mix lightly moist and mist the leaves occasionally. Place them in a bright spot with indirect light. You should start to see new root growth within a few weeks to a couple of months.
The most common foe here is rot. If you see pseudobulbs turning black and mushy, it’s a sign of too much moisture and poor air circulation. If this happens early on, try to remove the rotted section carefully and repot in fresh, dry medium. Overwatering is the biggest culprit, so err on the side of caution. If a cutting just seems to be withering without any signs of rot, it might be that the roots weren’t strong enough, or it simply didn’t have the energy to establish. Don’t be discouraged!
A Little Patience Goes a Long Way
Propagating orchids like Dendrobium aberrans is a bit like nurturing a new life. It requires patience, observation, and a gentle touch. Celebrate each new root and leaf – they are signs of your success! Enjoy the process, learn from each attempt, and soon you’ll have a whole new collection to admire. Happy propagating!
Resource:
https://identify.plantnet.org/k-world-flora/species/Dendrobium%20aberrans%20Schltr./data