Oh, hello there, fellow plant lover! Pull up a chair, I’ve got a bit of coffee brewed and a story to share about a truly enchanting plant. Today, we’re diving into the world of Derris trifoliata.
Why You’ll Love Propagating Derris trifoliata
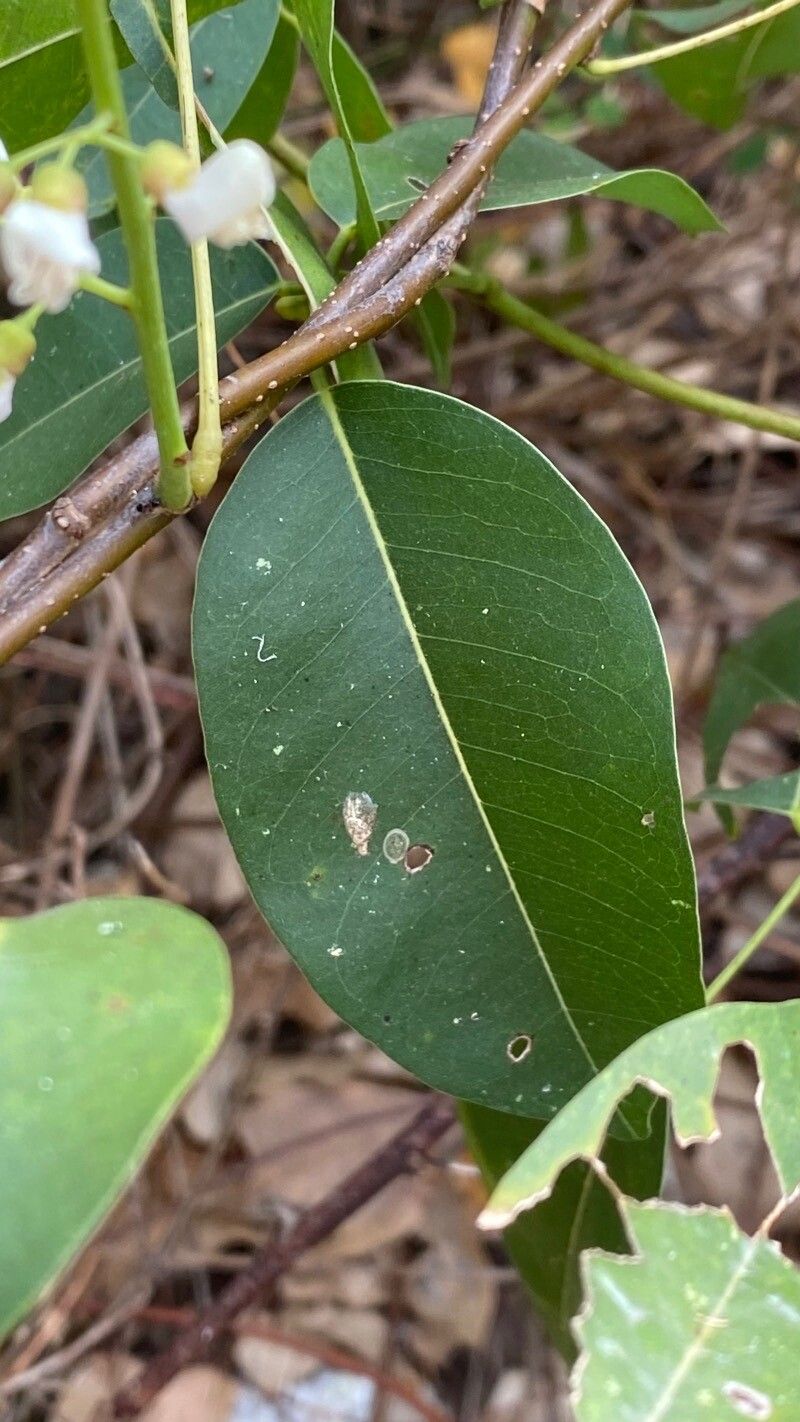
Derris trifoliata is just one of those plants that brings a certain je ne sais quoi to any space. Its delicate, trifoliate leaves have a subtle elegance, and when it flowers (oh, the flowers!), it’s a spectacle of soft, often fragrant blooms. Growing more of these beauties from a single plant is incredibly satisfying. It’s a wonderful way to expand your collection or share these lovely vines with friends. Now, for the good news: propagating Derris trifoliata isn’t overly difficult, making it a rewarding project even for those just starting their propagation journey.
When to Get Your Hands Dirty
The absolute best time to propagate Derris trifoliata is during its active growing season. Think late spring through summer. This is when the plant has plenty of energy stored up to fuel new root development. Trying to propagate too early or too late in the year, when growth is slow, will likely lead to less success. You want vibrant, healthy stems to work with!
What You’ll Need to Get Started
Gathering your tools beforehand makes the whole process smooth sailing. Here’s what I recommend:
- Sharp Pruning Shears or a Clean Knife: For taking clean cuttings.
- Rooting Hormone (Optional but Recommended): A powder or gel to give cuttings a little boost.
- Well-Draining Potting Mix: I like a blend of peat moss, perlite, and a bit of compost. You want it airy!
- Small Pots or Seedling Trays: With drainage holes, of course.
- Water Mister: To keep humidity up.
- Plastic Bag or Dome: To create a mini-greenhouse effect.
- A Healthy Parent Plant: Your lovely Derris trifoliata!
Let’s Get Propagating!
The most straightforward way to multiply your Derris trifoliata is through stem cuttings.
- Take Your Cuttings: On a healthy stem, look for a section that hasn’t flowered recently. Use your clean shears or knife to cut a piece that’s about 4-6 inches long. Make sure your cut is just below a leaf node (where a leaf attaches to the stem). This is where new roots are most likely to form.
- Prepare the Cuttings: Gently remove the lower leaves, leaving only one or two at the very top. This prevents them from rotting when they’re in the soil.
- Apply Rooting Hormone (If Using): Dip the cut end of the stem into your rooting hormone powder or gel. Tap off any excess.
- Plant Your Cuttings: Fill your small pots with your well-draining potting mix. Make a small hole in the center of the soil with your finger or a pencil. Insert the prepared cutting into the hole, ensuring the leaf nodes that had leaves removed are nestled in the soil. Gently firm the soil around the base of the cutting.
- Water Gently: Water the soil lightly until it’s evenly moist.
- Create a Humid Environment: Place the pots into a larger plastic bag or cover them with a clear plastic dome. This traps humidity, which is crucial for cuttings while they’re developing roots. Ensure the leaves aren’t touching the sides of the bag or dome too much.
- Find a Bright Spot: Place your propagated cuttings in a location that receives bright, indirect light. Avoid direct sunlight, which can scorch those tender new stems.
My “Secret Sauce” Tips
Over the years, I’ve learned a few tricks that really seem to make a difference.
- Bottom Heat is Your Friend: If you can, pop your pots onto a gentle heat mat. This slightly warmer soil temperature really encourages root formation from the bottom up. It’s like a little cozy bed for your baby roots!
- Don’t Drown Them! It’s tempting to keep things super wet, but overwatering is a common killer of cuttings. The soil should be consistently moist, not soggy. If you can poke your finger in and feel a lot of water, hold back a bit.
- Patience, My Dear! Sometimes, it takes a few weeks, even a month or two, for you to see real signs of rooted growth. Don’t be discouraged if you don’t see much happening right away. Resist the urge to constantly pull them up to check.
Aftercare and Nibbling Your Troubles Away
Once you see new leaf growth on your cuttings, or when you gently tug and feel some resistance (indicating roots have formed), it’s time for a little more care.
- Gradually Acclimate Them: If they’ve been in a plastic bag or under a dome, start by opening it up for a few hours each day, slowly increasing the time they are exposed to normal room humidity. This prevents shock.
- Water Wisely: Continue to keep the soil evenly moist, but allow the top inch of soil to dry out slightly between waterings.
- Avoid Fertilizing Too Soon: Wait until you see consistent new growth for several weeks before introducing a mild, diluted liquid fertilizer.
The most common sign of failure is rotting. If your cuttings turn black and mushy, it’s usually a sign of too much moisture and not enough airflow. If a cutting simply wilts and never recovers, it might be that it just didn’t have enough stored energy or the conditions weren’t quite right. Don’t be too hard on yourself; propagation is a learning process!
Keep Growing and Enjoying!
So there you have it – a simple guide to bringing more of these lovely Derris trifoliata plants into your life. Remember, gardening is as much about the journey as it is the destination. Be patient with your cuttings, offer them good care, and enjoy the magic of watching something new come to life. Happy propagating!
Resource:
https://identify.plantnet.org/k-world-flora/species/Derris%20trifoliata%20Lour./data