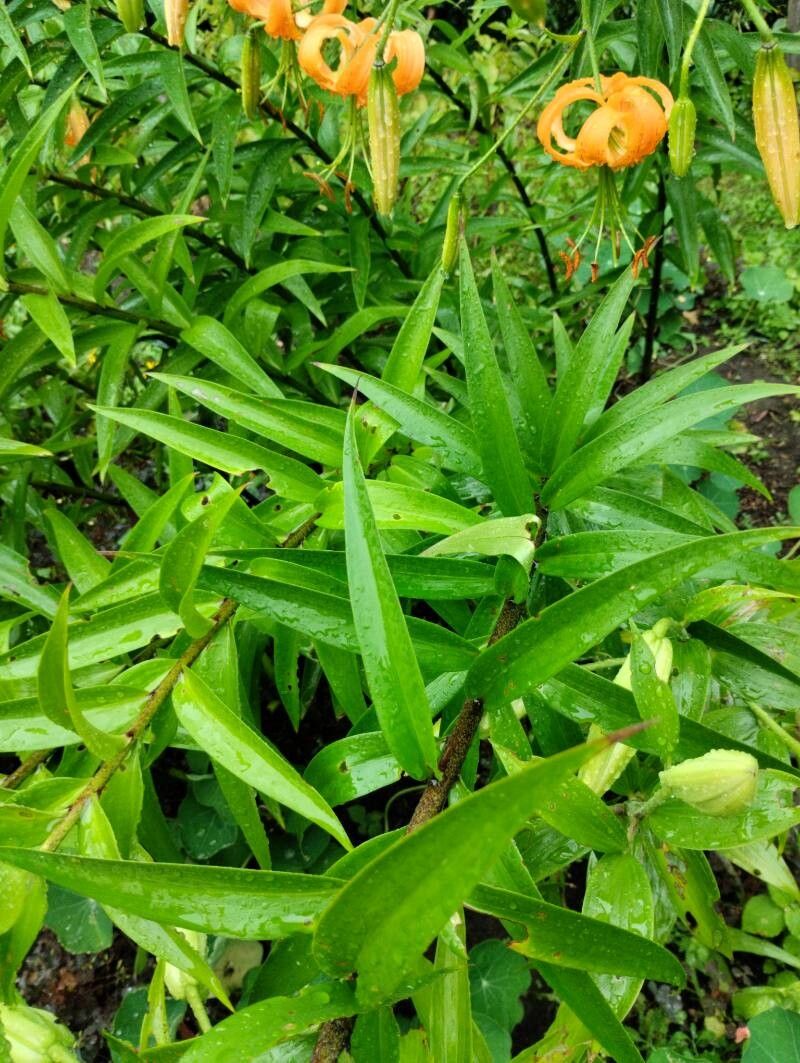
Oh, my dear gardening friends, let’s talk about Lilium henryi, shall we? If you’re looking for a lily that’s a bit of a showstopper, with those elegant, recurved apricot-orange blooms that practically glow in the garden, then Lilium henryi is your friend. It boasts delicate speckles and a graceful arching habit, making it a real stunner. And the best part? Propagating these beauties is a wonderfully rewarding endeavor. For beginners, I’d say it’s a moderately easy plant to get started with, especially if you choose the right method. You’ll be rewarded with more of those gorgeous blooms to share or fill your own garden with.
The Best Time to Start
For Lilium henryi, the real magic happens after the bloom has faded. Think late summer through early autumn. This is when the plant is shifting its energy downwards, storing resources in its bulb for the next year. It’s also a good time because the stems are mature, giving you better material to work with. Waiting until the foliage starts to yellow a bit is a good indicator.
Supplies You’ll Need
Gathering your tools beforehand makes the whole process so much smoother. Here’s what I usually have on hand:
- Sharp pruning shears or a clean knife: For making precise cuts to avoid crushing delicate tissues.
- Potting mix: A well-draining mix is crucial. I often use a blend of peat moss, perlite, and a bit of compost. You can also buy specific seedling mixes.
- Small pots or seed trays: Nothing too large to start; we want to encourage root development. Some recycled yogurt or plastic containers with drainage holes work wonders!
- Rooting hormone (optional but recommended): This can give your cuttings a little boost. Gel or powder forms are fine.
- Watering can or mister: For gentle watering.
- Labels: To keep track of what you’ve planted and when.
- A warm, bright spot: Out of direct, harsh sunlight.
- Plastic bags or propagation domes: To create a humid environment.
Propagation Methods
While Lilium henryi can be propagated from bulb scales, I find that working with stem cuttings and division are the most straightforward for home gardeners.
Stem Cuttings: A Bit Fiddly, But Worth It!
- Select your stems: In late summer or early autumn, choose healthy, non-flowering stems. Look for ones that are firm and have good leaf development.
- Make the cut: Using your sharp shears, cut a stem into sections, each about 4-6 inches long. Each section should have at least one leaf node. You can make these cuttings just below a leaf node.
- Prepare the cuttings: Gently remove the lower leaves from each cutting. If you’re using rooting hormone, dip the cut end into it, tapping off any excess.
- Plant them up: Fill your pots with your well-draining potting mix. Make a small hole in the center of each pot. Insert the cut end of each lily cutting into the hole, ensuring the leaves are just above the soil surface. Gently firm the soil around the base.
- Create humidity: Water the soil gently until it’s moist but not soggy. Then, cover the pots with a clear plastic bag or a propagation dome. This traps moisture, creating the humid environment cuttings need to root.
- Provide warmth and light: Place the pots in a warm spot that receives bright, indirect light. Avoid direct sun, which can scorch the cuttings.
Division: The Classic Approach
This is honestly the easiest way to get more Lilium henryi plants, and it’s best done in early spring before they really get going, or in early autumn after they’ve finished blooming.
- Gently excavate: Carefully dig around the base of the established lily plant with a trowel or garden fork. You want to lift the entire clump without damaging the bulbs too much.
- Separate the bulbs: Once you have the clump out, gently shake off excess soil. You’ll see that the main bulb often has smaller offsets or bulblets attached. With your hands, or a clean knife if they’re firmly attached, gently separate these smaller bulbs from the mother bulb.
- Inspect and trim: Look for any damaged roots or bulb sections and trim them away.
- Replant and water: Plant the separated bulbs at the same depth they were previously growing – usually about 6 inches deep for Lilium henryi. Space them out appropriately. Water them in well.
The “Secret Sauce” (Pro Tips)
Here’s a little bit of what I’ve learned over the years that can make a big difference:
- When taking stem cuttings, I always use a very sharp, clean blade. This makes a clean cut that heals faster and is less susceptible to rot. I even wipe my blade with rubbing alcohol between cuts if I’m working with a lot of material.
- For stem cuttings, bottom heat makes a significant difference. Even a small seedling heat mat can encourage roots to form much faster. It keeps the soil temperature consistently warm, which the roots love.
- With bulb division, don’t overwater immediately. Let the separated bulbs air dry for a few hours before replanting, especially if you had to cut any to separate them. This allows the cut surfaces to callus over slightly, reducing the risk of rot.
Aftercare & Troubleshooting
Once you see roots forming on your stem cuttings (you might notice new growth emerging, which is a good sign!), or after you’ve divided and replanted your bulbs, here’s what to do.
Carefully remove the plastic cover from your cuttings gradually over a few days to acclimatize them to normal humidity. Continue to keep them in a bright, indirect light spot and water gently when the top inch of soil feels dry. You can start a very diluted liquid fertilizer once you see a few inches of new growth.
For divided bulbs, just keep them consistently watered as they establish.
Now, about troubleshooting. The most common issue you’ll face, particularly with stem cuttings, is rot. If your cuttings look mushy, discolored, or fall apart easily, that’s a sign of rot. This usually happens from overwatering or poor drainage. If you catch it early, you can try to salvage any healthier parts, but often, it’s best to start again with new cuttings and a better-draining mix. Sometimes, simply not enough humidity can cause cuttings to wither and die. Keep that cover on tight!
A Encouraging Closing
Don’t be discouraged if your first attempt isn’t perfect. Gardening is all about learning and observing. Propagation takes patience, but the satisfaction of nurturing a new life from your existing plants is truly unmatched. So go ahead, gather your supplies, get your hands dirty, and enjoy the wonderful journey of growing more of these beautiful Lilium henryi. Happy gardening!
Resource:
https://identify.plantnet.org/k-world-flora/species/Lilium%20henryi%20Baker/data