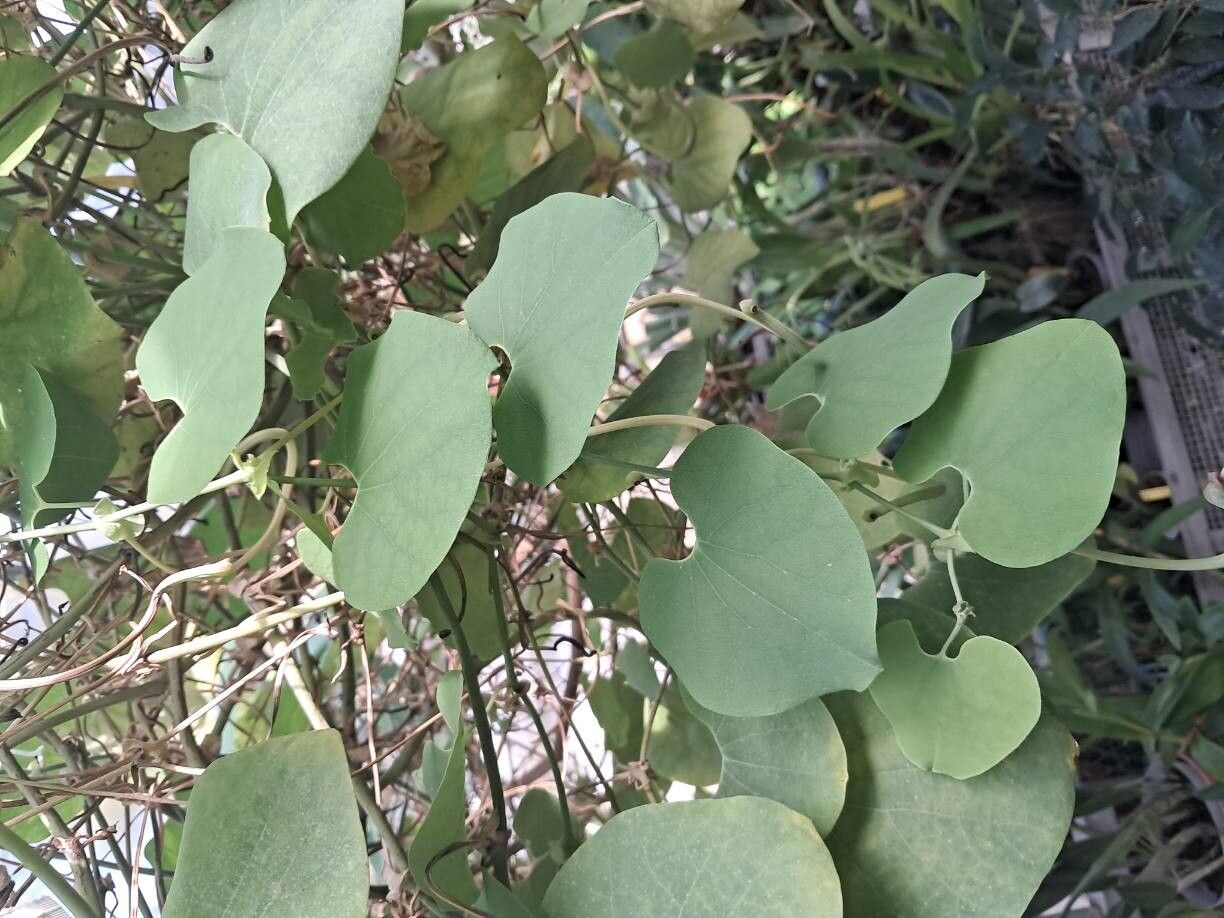
Hello fellow plant lovers! Today, we’re diving into the wonderful world of Aristolochia labiata, often called the Duck Flower. This plant is a real showstopper with its large, intriguing blooms. Watching those unique flowers unfurl feels like uncovering a hidden treasure in your own garden. And the best part? You can grow more of these beauties yourself! Propagating Aristolochia labiata can feel a little bit like magic, and I’m here to guide you through it. For beginners, I’d say it’s moderately challenging – not for a casual walk in the park, but with a little patience and attention, you can absolutely succeed!
The Best Time to Start
The sweet spot for propagating Aristolochia labiata is during its active growing season. Late spring through early summer is generally your best bet. This is when the plant has good energy reserves, and the new growth is vigorous, giving cuttings the best chance to root before cooler weather sets in. You’re looking for stems that are no longer the soft, pliable tip but have started to firm up slightly – think “herbaceous to semi-hardwood.”
Supplies You’ll Need
Here’s what you’ll want to have on hand:
- Sharp, clean pruning shears or a knife: Cleanliness is key to preventing disease.
- Rooting hormone (powder or gel): This isn’t strictly mandatory, but it definitely gives your cuttings a boost.
- Well-draining potting mix: I like a blend of equal parts peat moss or coco coir, perlite, and a bit of sterile compost. You want it to hold moisture but drain freely.
- Small pots or propagation trays: About 4-6 inches deep is ideal. Make sure they have drainage holes.
- Plastic bags or a propagation dome: This helps maintain humidity for your cuttings.
- Watering can with a fine rose: For gentle watering.
- Optional: Bottom heat mat: This can significantly speed up root development.
Propagation Methods
For Aristolochia labiata, stem cuttings are generally the most rewarding and reliable method.
Stem Cuttings:
- Take the Cuttings: First, choose a healthy, non-flowering stem from your mature plant. Using your clean shears, cut a piece that is about 4-6 inches long. Make your cut just below a leaf node (where a leaf attaches to the stem). These nodes are where the magic happens!
- Prepare the Cuttings: Gently remove the leaves from the bottom half of the cutting. If you have extra-large leaves, you can even cut the remaining leaves in half horizontally. This reduces water loss through transpiration while still allowing the cutting to photosynthesize.
- Apply Rooting Hormone: Dip the cut end of the stem into your rooting hormone, tapping off any excess. This coating helps stimulate root formation.
- Plant the Cuttings: Fill your pots with your well-draining potting mix. Make a hole in the center of the soil with your finger or a pencil, and gently insert the prepared cutting. Firm the soil around the base of the cutting to ensure good contact.
- Water and Cover: Water the soil thoroughly but gently. You want it moist, not waterlogged. Now, cover the pot with a clear plastic bag or place it under a propagation dome. This creates that humid microclimate cuttings need. If using a bag, you can use stakes to keep the plastic from touching the leaves.
The “Secret Sauce” (Pro Tips)
Here are a few tricks I’ve learned over the years that can make a big difference:
- Don’t let those remaining leaves touch the water in the soil. If they sit in standing water, they’re likely to rot before roots even have a chance to form. Make sure your soil is moist, but not saturated.
- Bottom heat is your friend! Placing your pots on a small propagation mat set to a gentle warmth (around 70-75°F or 21-24°C) can dramatically speed up the rooting process. It encourages the plant to put its energy into developing roots rather than just leaves.
- Be patient with leaf drop. It’s perfectly normal for some of the lower leaves on your cuttings to yellow and drop off. Don’t panic! Focus on the health of the remaining leaves and the firmness of the stem.
Aftercare & Troubleshooting
Once your cuttings are planted and covered, place them in a bright spot with indirect light. Avoid direct sun, which can scorch them and dry them out too quickly.
Check your cuttings regularly. If the soil surface looks dry, give it a light watering. You can also mist the leaves occasionally, especially if you’re not using a dome. And remember to ventilate your cuttings every few days by lifting the plastic bag or dome for an hour or so. This helps prevent fungal issues.
You’ll know your cutting is rooting when you see new leaf growth emerging from the tip or sides, or when you feel a gentle resistance if you tug very lightly on the cutting. This usually takes anywhere from 4 to 8 weeks, sometimes longer.
The most common problem you’ll encounter is rot. If a cutting turns black and mushy, it’s usually a sign of too much moisture and poor air circulation. On the flip side, if the leaves look persistently wilted and the stem feels dry and shriveled, it might not be getting enough humidity or moisture.
Once roots have well established (you’ll see them peeking out the drainage holes or feel good resistance), you can carefully remove the plastic bag or dome. Continue to water as needed, and over the next few weeks, you can gradually acclimate your new plant to its permanent home.
A Little Patience Goes a Long Way
Propagating plants like the Aristolochia labiata is such a rewarding journey. It teaches you about patience, observation, and the incredible resilience of nature. Don’t be discouraged if your first few attempts aren’t perfect. Every gardener has lost a cutting or two! Keep trying, observe what works best in your environment, and celebrate each success. Happy propagating, and may your garden be filled with many beautiful Duck Flowers!
Resource:
https://identify.plantnet.org/k-world-flora/species/Aristolochia%20labiata%20Willd./data