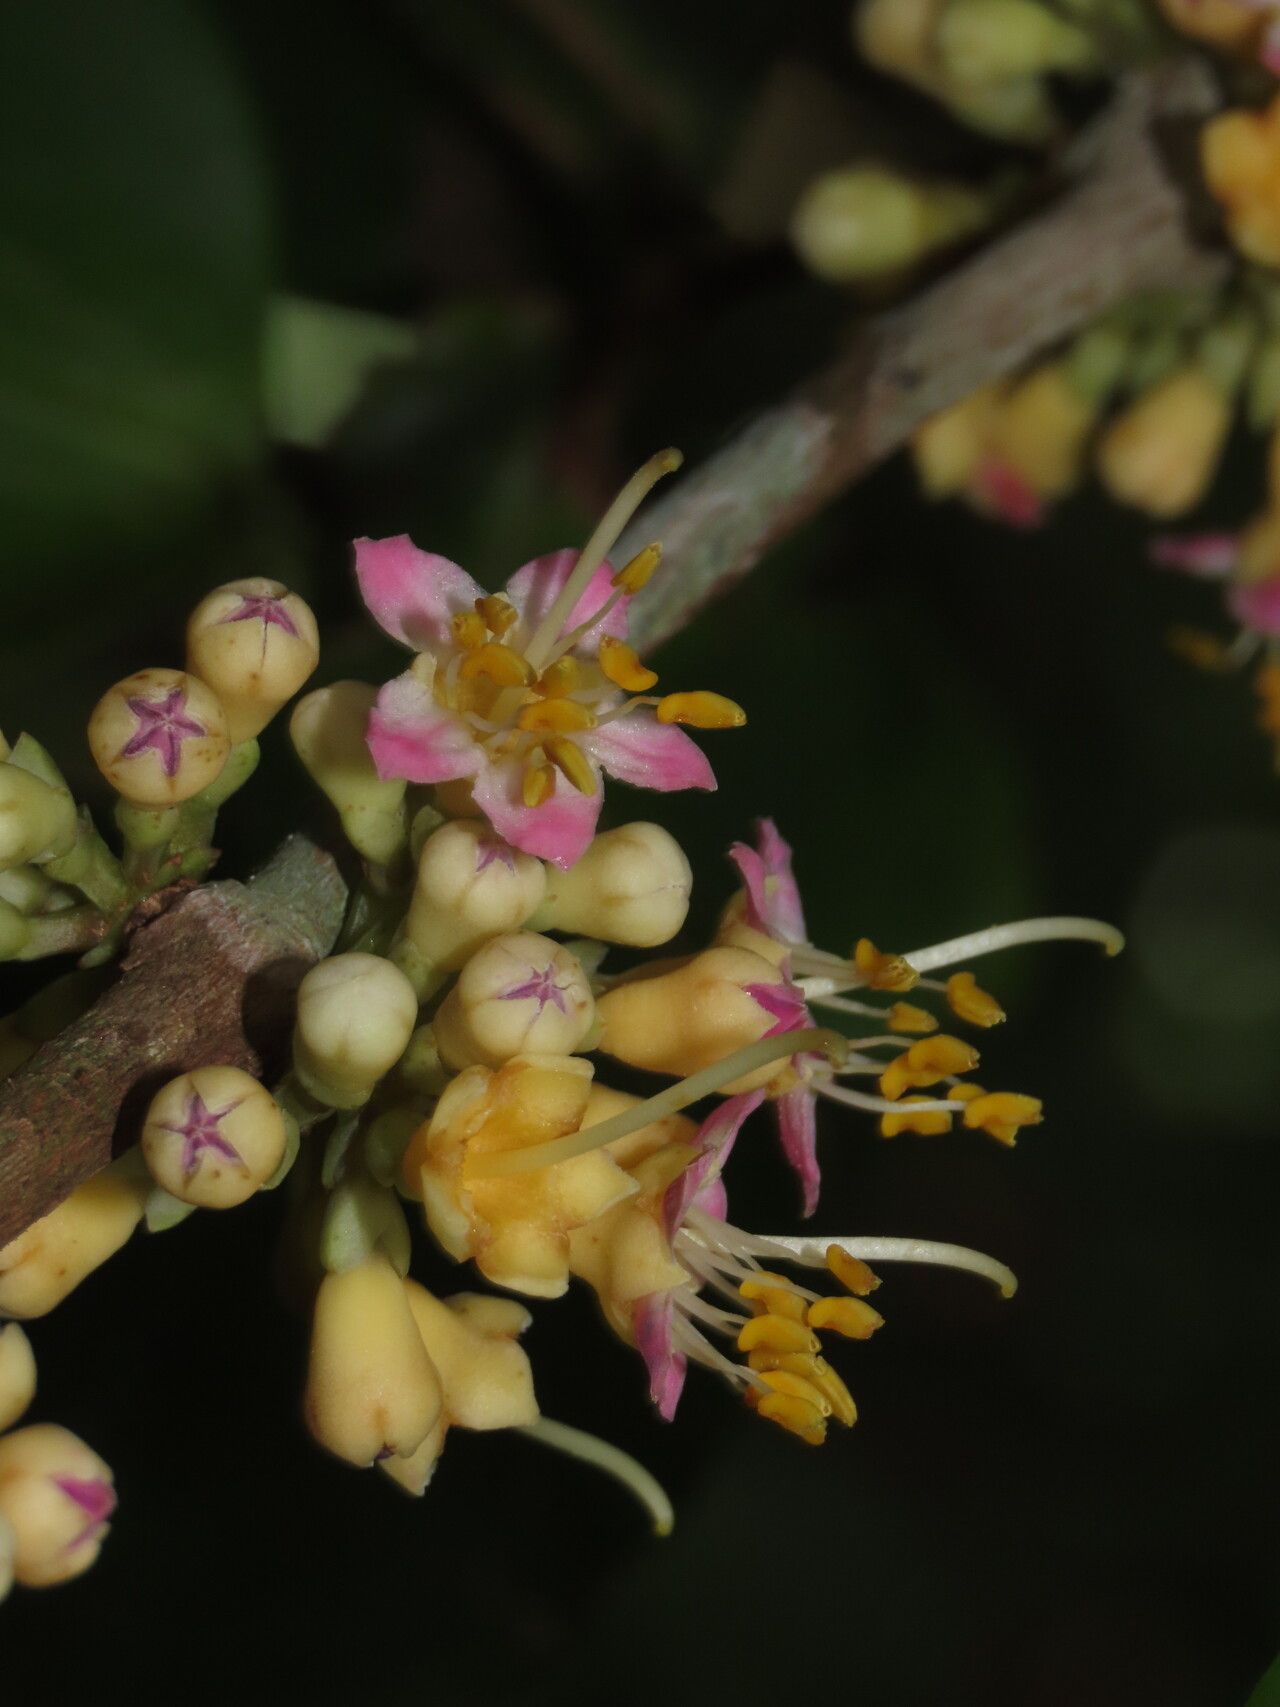
Oh, Mouriri gleasoniana! If you’ve ever seen this beauty in bloom, you know exactly why it captures our hearts. Its delicate flowers, often a surprising burst of color against lush foliage, bring a touch of the tropics right into our gardens. And the reward of coaxing a new life from a parent plant? Truly, there’s nothing quite like it. While Mouriri gleasoniana isn’t quite as straightforward as a geranium cutting, don’t let that deter you! With a little patience and care, you’ll be rewarded with your own little Mouriri babies.
The Best Time to Start
For most of my tropical treasures, springtime is where it’s at. After the chill of winter has truly retreated and the plants are waking up, they have the energy for new growth. Aim to take cuttings in late spring or early summer. This is when the plant is actively growing, and those fresh, young shoots are far more malleable and willing to root than older, woodier stems.
Supplies You’ll Need
Assembling your toolkit is half the fun, isn’t it? Here’s what I always have on hand when I’m ready to propagate:
- Sharp Pruning Shears or a Clean Knife: Sterilize them with rubbing alcohol before and after use to prevent any nasty diseases.
- Rooting Hormone: A good quality powder or gel will give your cuttings a significant head start.
- Propagation Potting Mix: I like a blend that’s airy and drains well. Think about a mix of perlite, coco coir, or peat moss, with a bit of fine orchid bark. Avoid heavy garden soil.
- Small Pots or Trays: Clean ones, of course! Small pots with drainage holes are perfect.
- Plastic Bag or Clear Dome: To create a humid microclimate around your cuttings.
- Water: For misting and, potentially, for water propagation.
- Labels: Trust me, you’ll thank me later when you have multiple new plants!
Propagation Methods
We’ll focus on stem cuttings, as this is typically the most successful route for Mouriri gleasoniana.
Stem Cuttings
- Select Your Material: Look for healthy, non-flowering shoots on your parent plant. You want stems that are semi-hardwood – they should snap cleanly when bent, not just flop over or be rigid. Snip a piece that’s about 4-6 inches long.
- Prepare the Cutting: Remove all but the top 2-3 leaves. If the remaining leaves are large, I like to cut them in half horizontally. This reduces water loss while still allowing for photosynthesis.
- Apply Rooting Hormone: Dip the cut end of the stem into your rooting hormone, ensuring it’s well coated. Gently tap off any excess.
- Plant the Cutting: Fill your clean pot with your propagation mix. Make a small hole with your finger or a pencil. Insert the cutting into the hole, making sure the hormone-coated end is in contact with the soil. Gently firm the soil around the base.
- Create the Humid Environment: Water the soil lightly until it’s damp but not waterlogged. Then, cover the pot with a clear plastic bag or a plastic dome. This traps moisture and creates the humid environment your cutting needs to callous and form roots. You can use small stakes to keep the bag from touching the leaves.
- Provide Light and Warmth: Place the pot in a bright spot with indirect light. Avoid direct sun, which can scorch the delicate cuttings. A little warmth from the bottom, perhaps with a heating mat, can really speed things up.
The “Secret Sauce” (Pro Tips)
Over the years, I’ve learned a few tricks that seem to give my cuttings a little extra boost:
- The Gentle Twist: When you’re preparing your cutting, after making the initial cut, I often give the very bottom tip a very slight scrape or twist with my sterilized knife. This exposes a little more cambium layer, which can encourage faster root development. Be gentle, though!
- Don’t Drown Them!: If you opt for water propagation (which can work for Mouriri, but I find cuttings in soil often have a sturdier root system), keep those leaves above the water line. Leaves in the water will rot and can quickly take down your entire cutting.
- The “Misting Dance”: I like to periodically lift the plastic bag or dome for a few seconds each day to allow for some air exchange. This is like a quick “breather” for the cutting and helps prevent fungal issues. Also, a light misting of the leaves every couple of days with plain water can be beneficial.
Aftercare & Troubleshooting
Once you start to see tiny white nubs emerging from the drainage holes (that’s the sign of roots!), or notice new leaf growth, you’re on your way!
- Gradual Acclimation: Slowly begin to acclimate your new plant to drier air. Start by opening the plastic bag or dome for longer periods each day. Within a week or two, you should be able to remove it entirely.
- Light Watering: Continue to keep the soil consistently moist but not soggy. You’ll find the watering needs will increase as the plant grows.
- First Feeding: Wait until you see noticeable new growth before offering a very diluted, balanced liquid fertilizer.
What if things go wrong? The most common culprit for cuttings is rot. If your cutting turns black and mushy, it’s likely a sign of too much moisture and not enough air circulation. You can try to take another cutting and be extra vigilant with your watering and ventilation. Sometimes, despite our best efforts, a cutting just doesn’t take. That’s okay! Gardening is a journey of experimentation.
Keep Blooming!
So there you have it – your guide to propagating Mouriri gleasoniana. Remember, patience is your greatest garden tool. Enjoy the process of nurturing these tiny beginnings, and before you know it, you’ll have a whole new generation of these exquisite plants to admire. Happy propagating!
Resource:
https://identify.plantnet.org/k-world-flora/species/Mouriri%20gleasoniana%20Standl./data