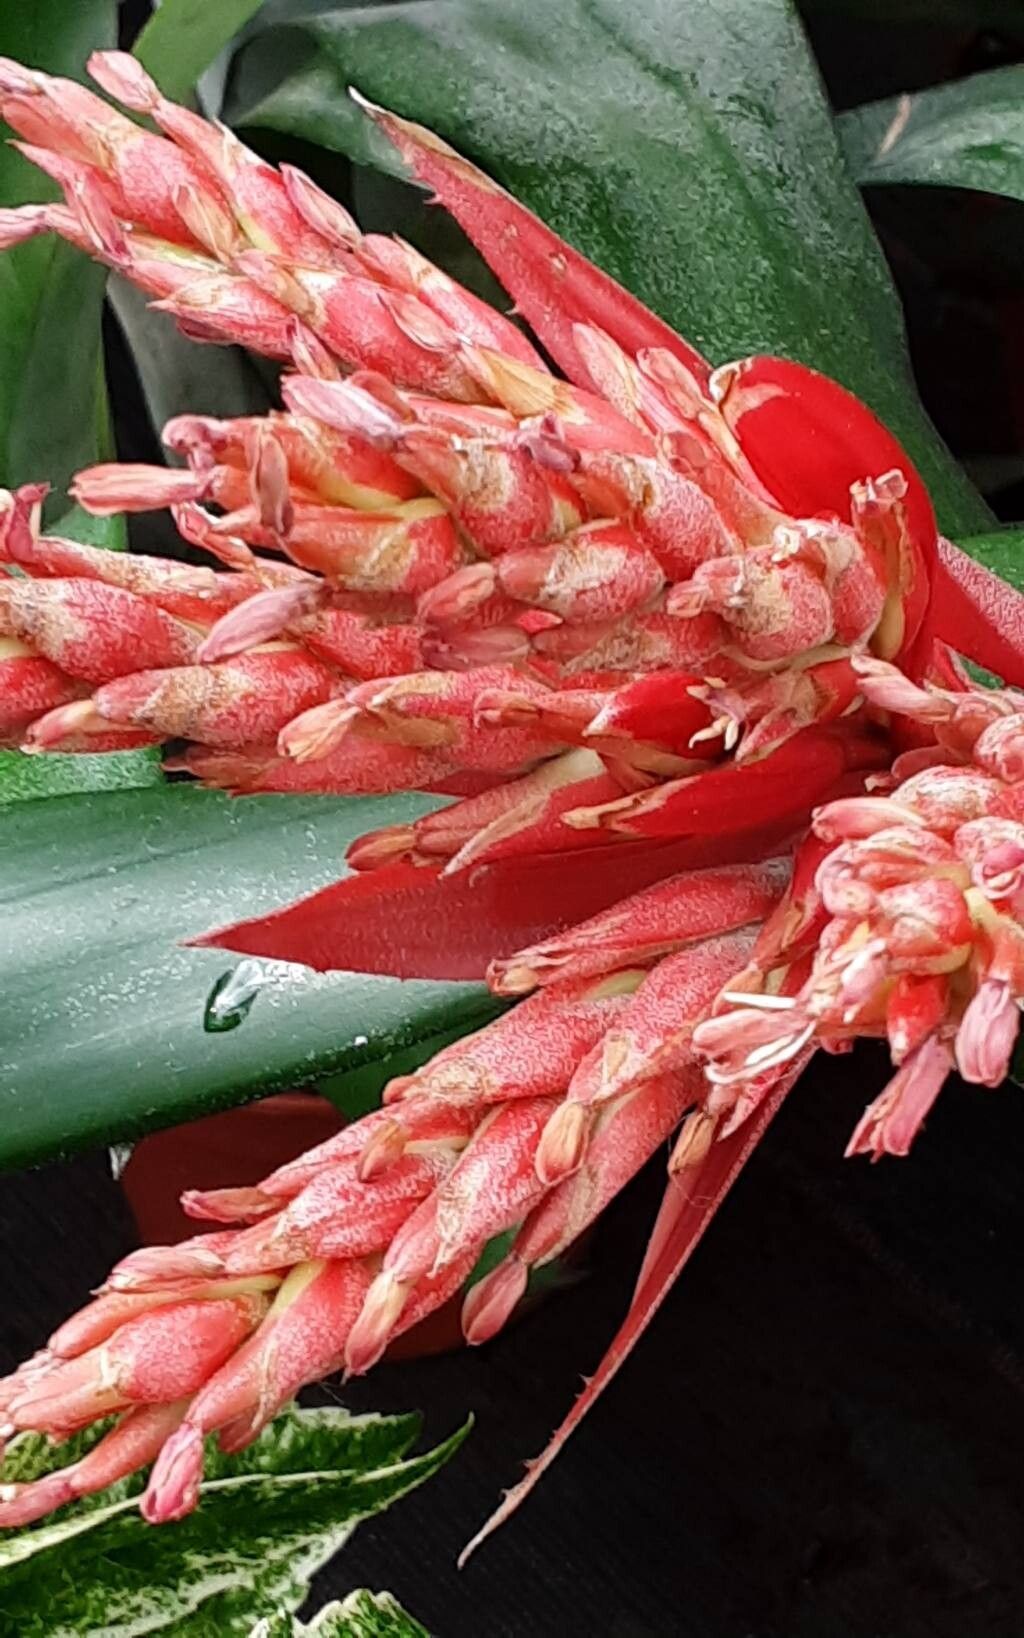
Hello fellow plant lovers! Did you just get a glimpse of a stunning Aechmea chantinii and instantly want more? I don’t blame you! These bromeliads, with their striking zebra-striped leaves and dramatic flower spikes, are truly spectacular. And the best part? You can absolutely bring more of this tropical beauty into your life by propagating them. It’s a wonderfully rewarding process, and while it might seem a little intimidating at first, I promise, it’s absolutely achievable, even for those newer to the plant-parenting game.
The Best Time to Start
When is your Aechmea chantinii most likely to share its offspring with you? You’ll have the best luck propagating from pups that have started to grow from the base of the mature plant. These little adventurers typically emerge in the spring and summer months, coinciding with the plant’s most vigorous growth period. Waiting until a pup is a decent size, at least a third of the mother plant’s height and showing its own little leaves, is key.
Supplies You’ll Need
Gathering your supplies beforehand makes the whole process much smoother. Here’s what I usually have on hand:
- Sharp, clean pruning shears or a sharp knife: Sterilize them with rubbing alcohol to prevent disease.
- Well-draining potting mix: A blend of orchid bark, perlite, and a bit of peat moss works beautifully. You can also find specialized bromeliad mixes.
- A small pot or container: Something just slightly larger than the pup you’re working with.
- Optional: Rooting hormone: While not strictly necessary for Aechmea chantinii, it can give your pups a little extra boost.
- Water: For misting and initial watering.
- Gloves (optional): Some folks prefer them when handling plants.
Propagation Methods: Division is Key!
For Aechmea chantinii, the primary and most successful method is division. These plants naturally produce “pups” or baby plants that will eventually grow to be as large as the parent.
- Gently remove the mother plant from its pot. Be a little rough if you have to, but try not to damage the roots too much. You might need to loosen the soil around the edges with your fingers or trowel.
- Identify the pups. You’ll see them growing from the base of the mature plant. Look for ones that have started to form their own leaves and a developing root system.
- Separate the pups. This is where your sharp pruning shears or knife come in handy. Carefully cut the pup away from the mother plant, ensuring you get as many of its own roots as possible. Try to make a clean cut. If a pup is attached by a very thin stolon, it should separate easily.
- Allow the cut end to callous. This is a crucial step! Lay the pup on its side, out of direct sunlight, for a day or two. This allows the wound to dry out and form a protective scab, which significantly reduces the risk of rot.
- Pot it up! Fill your small pot with your well-draining potting mix. Make a little hole in the center and place the calloused pup into the soil, gently firming the mix around its base. Ensure the pup is upright and stable.
The “Secret Sauce” (Pro Tips)
Over the years, I’ve learned a few tricks that seem to make all the difference:
- Don’t overwater initially. After potting, give the pup a light watering. For the first few weeks, you want the soil to be slightly moist, not soggy. I find misting the surface every few days works wonders to encourage root development without waterlogging.
- Consider a little “greenhouse” effect. After potting, you can loosely cover the pot with a clear plastic bag, secured with a rubber band. This creates a humid environment that helps the new roots establish. Just make sure to open it for an hour or so each day to allow for air circulation and prevent fungal issues.
- Patience is truly a virtue here. Bromeliads can be slow growers, especially when they’re young. Don’t fret if you don’t see much happening for a few weeks. Keep it in a bright, indirect light spot and be consistent with your gentle watering.
Aftercare & Troubleshooting
Once your pup starts to show signs of growth – maybe a new leaf emerging or a slight tug when you gently test its stability – you’re on your way! Continue to water sparingly, allowing the soil to dry out a bit between waterings. Gradually increase watering as the plant matures.
The most common issue you might encounter is rot. This usually happens if the plant is kept too wet, especially before it has established roots. You’ll notice mushy, brown tissue, often at the base. If you see this, remove the affected pup immediately to prevent it from spreading. It’s a tough lesson, but a good reminder to err on the side of too dry rather than too wet.
So there you have it! Propagating your Aechmea chantinii is a journey of patience and observation, and seeing those little pups unfurl into their own magnificent plants is incredibly satisfying. Don’t be afraid to give it a go. Happy growing, and enjoy the process of multiplying your plant collection!
Resource:
https://identify.plantnet.org/k-world-flora/species/Aechmea%20chantinii%20(Carrière)%20Baker/data