Oh, hello there! It’s so lovely to have you join me. We’re going to chat about something really special today: coaxing new life from a beautiful plant. My fingers are already itching to get gardening, and I hope yours are too!
Bringing More “Vitex stahelii” into Your Garden
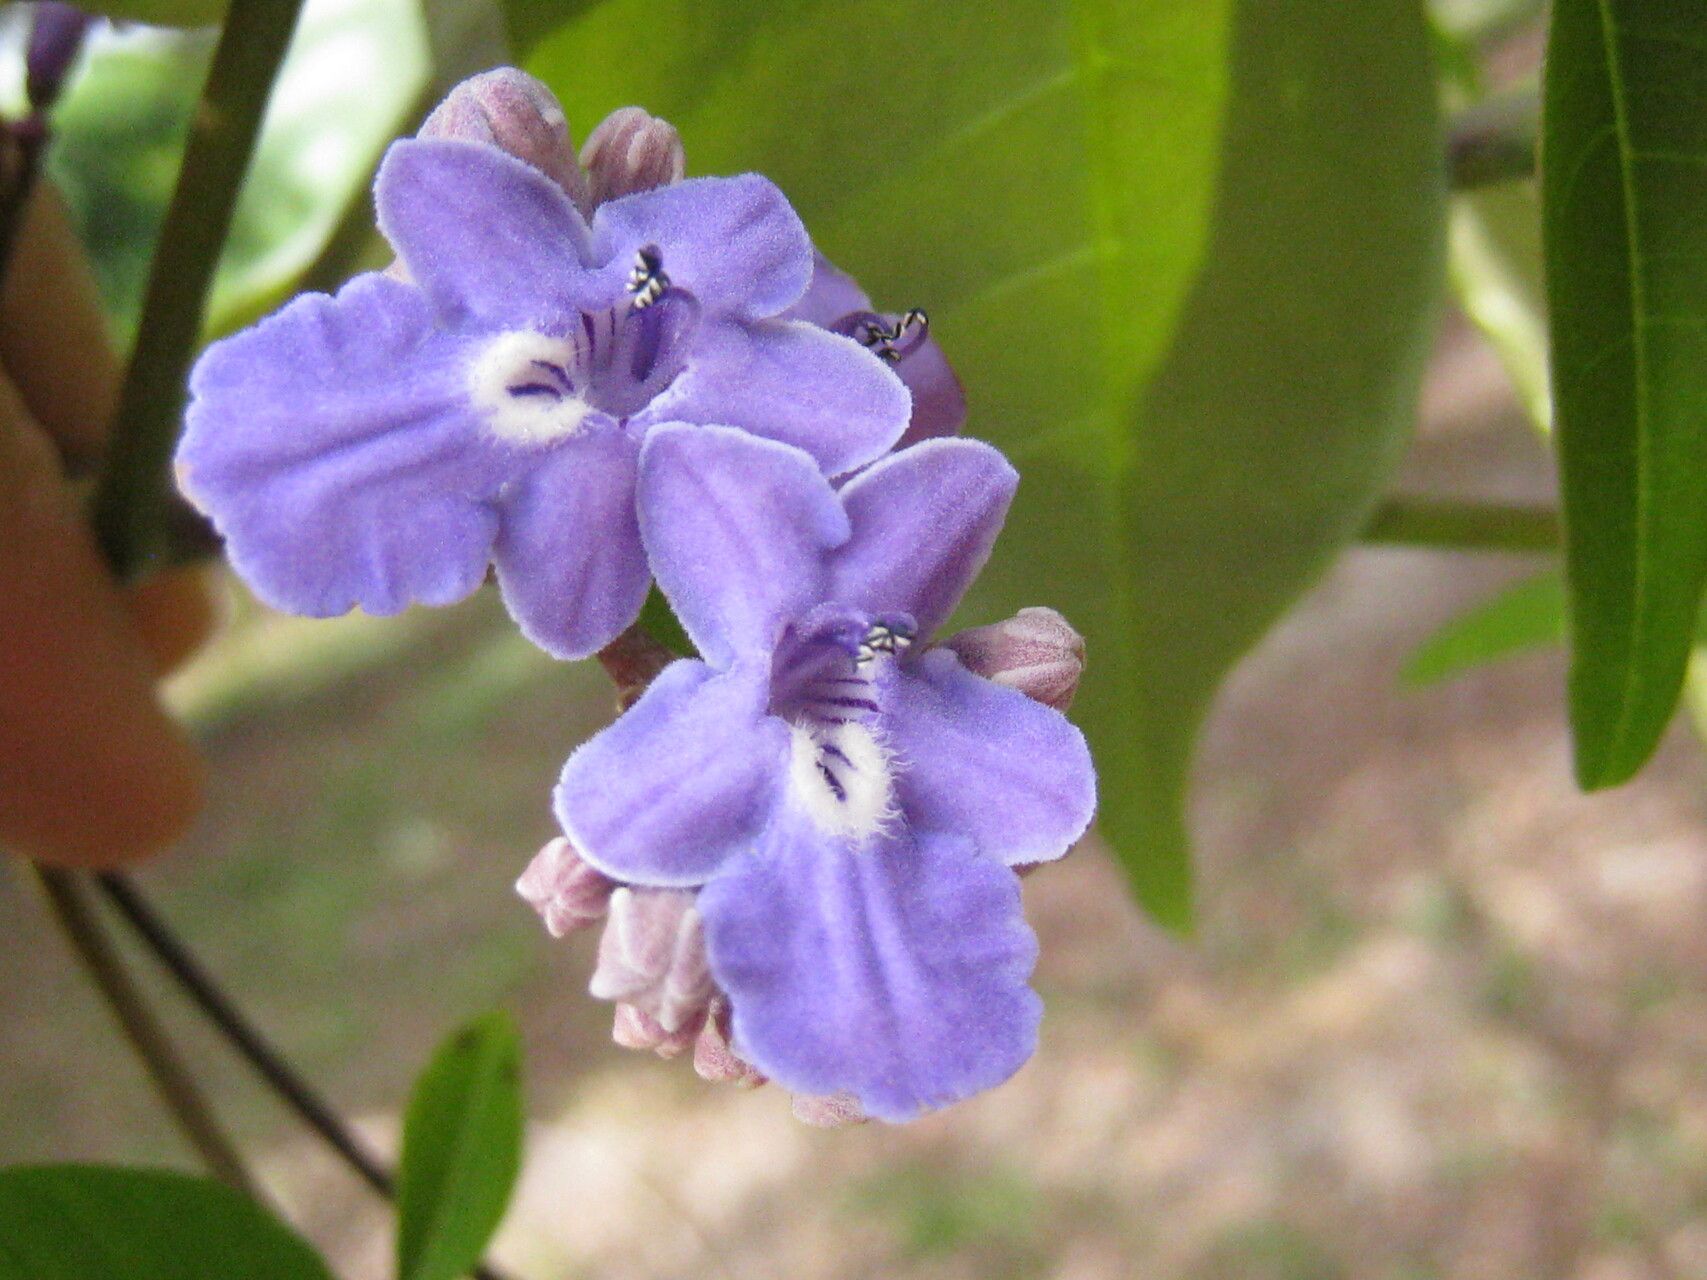
You know, I have a soft spot for Vitex stahelii. There’s just something about its graceful blooms and lovely fragrance that brings a touch of magic to any garden. And the best part? Sharing that magic by propagating it yourself! Creating new plants from your existing favorites is incredibly rewarding. It’s a wonderful way to expand your collection, share with friends, or simply feel that deep connection to the plant world. Now, if you’re new to this, don’t you worry. While Vitex stahelii isn’t overly fussy, a little guidance goes a long way to ensure success.
When is the “Sweet Spot” for Starting?
When it comes to Vitex stahelii, timing is definitely your friend. The absolute best time to take cuttings is late spring to early summer. This is when the plant is in a period of active growth, and the stems have started to harden off slightly, but are still tender enough to root. Think of it as grabbing that perfect stage of “semi-hardwood” growth. It’s like striking a goldilocks balance – not too soft and floppy, not too woody and stubborn.
Gathering Your Gardening Tools
Before we dive in, let’s make sure we have everything ready. Having your supplies sorted beforehand makes the whole process much smoother. Here’s what I like to have on hand:
- Sharp Pruning Shears or a Knife: Clean cuts are essential for healthy rooting. Make sure they’re very sharp!
- Rooting Hormone: This is a game-changer, especially for woody stems. I prefer a powder or gel.
- Well-Draining Potting Mix: A good blend of perlite and peat moss, or a specialized seed-starting mix, works wonderfully.
- Small Pots or Trays: Clean pots with drainage holes are a must.
- Plastic Bags or a propagator: To create a humid environment.
- Labels and a Marker: Trust me, you’ll thank yourself later!
- Watering Can with a Fine Rose: Gentle watering is key.
Let’s Get Propagating: My Favorite Methods
I find that stem cuttings are the most reliable way to propagate Vitex stahelii. They’re straightforward and yield great results when done correctly.
Method 1: Stem Cuttings
- Select Your Stems: Look for healthy, non-flowering shoots on your established plant. Aim for stems that are about 4-6 inches long. They should be firm but bendy – not brittle.
- Make the Cut: Using your sharp shears, make a clean cut just below a leaf node. A leaf node is where a leaf grows from the stem. This is where roots usually emerge.
- Prepare the Cutting: Gently remove the leaves from the bottom half of your cutting. You want to expose at least two leaf nodes. If the remaining leaves are very large, you can cut them in half to reduce water loss.
- Dip in Rooting Hormone: Dip the cut end of the stem into your rooting hormone, tapping off any excess. This helps stimulate root development.
- Plant Your Cuttings: Fill your small pots with your well-draining potting mix. Make a small hole in the center of the soil with your finger or a pencil. Insert the cutting into the hole, ensuring the nodes are buried. Gently firm the soil around the stem.
- Water Gently: Water the soil thoroughly but gently. You want the soil to be moist, not waterlogged.
- Create Humidity: Cover each pot loosely with a clear plastic bag or place them in a propagator. This creates a lovely humid environment that helps the cuttings stay hydrated while they develop roots.
The “Secret Sauce” – My Insider Tips
Here are a few little tricks that have really helped me over the years:
- Don’t Let the Leaves Touch the Water: If you decide to try water propagation (which can work, but it’s a bit trickier for Vitex), make sure none of the leaves are submerged. Leaves in the water will rot and can take your cutting down with them.
- Bottom Heat is Your Best Friend: If you have access to a heated propagator mat or can place your pots in a warm spot, the gentle warmth from below will significantly speed up root formation.
- Sterilize Everything: I always give my pots, shears, and even my hands a quick wipe with rubbing alcohol before I start. This helps prevent any nasty fungal infections from taking hold of your precious cuttings.
Aftercare and What to Look For
Once your cuttings are planted, place them in a bright spot, but out of direct sunlight. Too much sun can scorch those tender new leaves. Keep the soil consistently moist – like a wrung-out sponge.
You’ll start to see new leaf growth within a few weeks, which is a great sign! The real test comes when you gently tug on the cutting. If there’s resistance, congratulations! You’ve got roots. If they seem a bit wobbly, give them another week or two.
The most common issue you might face is rot. If you see your cutting looking dark and mushy, or if the leaves are turning yellow and falling off quickly, it’s likely rot. This usually happens from too much moisture and poor air circulation. Don’t be discouraged if a few don’t make it – it happens to the best of us! Just try to identify what went wrong and adjust for the next batch.
Happy Growing!
See? It’s not too daunting, is it? Propagating Vitex stahelii is a wonderfully satisfying endeavor. Be patient with your little cuttings. Gardening is always a journey, and the joy of nurturing a new plant from scratch is truly special. Enjoy the process, and before you know it, you’ll have a whole new generation of these beautiful plants gracing your garden!
Resource:
https://identify.plantnet.org/k-world-flora/species/Vitex%20stahelii%20Moldenke/data