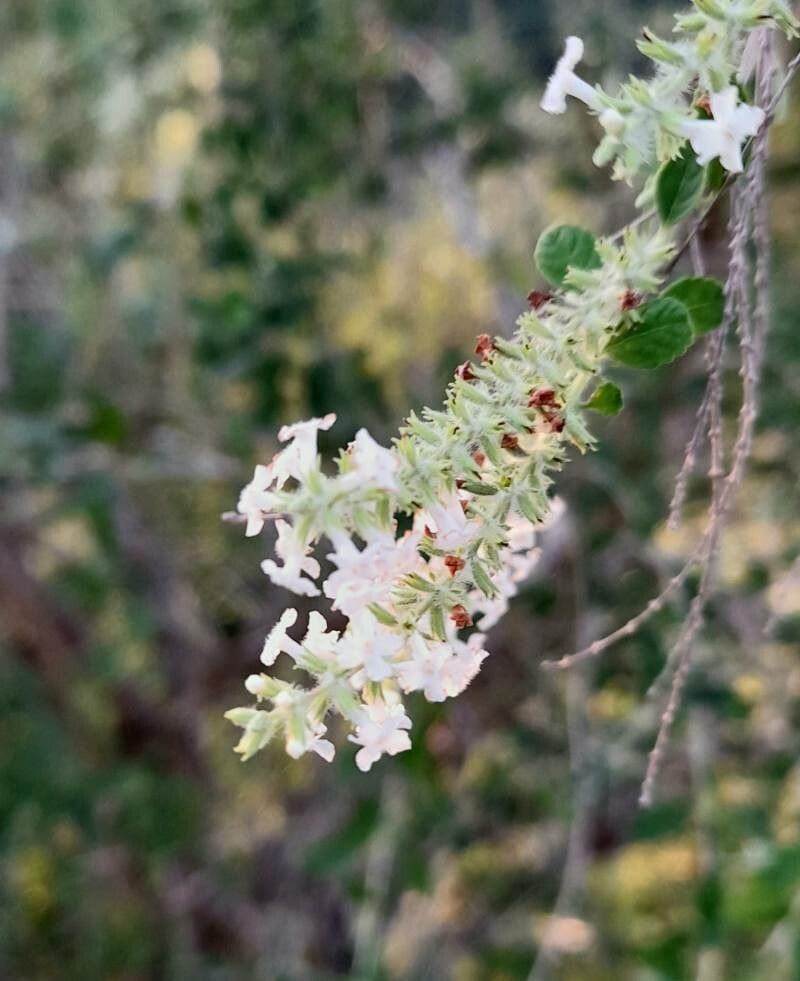
Hello fellow plant lovers! Today, we’re diving into the wonderful world of propagating Aloysia schulziana, often affectionately called “Lemon-Scented Verbena” or simply “Schulz’s Verbena.” If you’re looking for a fragrant addition to your garden or home, this is it! Its delicate, tiny white flowers are charming, and the crushed leaves release the most invigorating lemon scent. Trust me, it’s a real mood booster.
Now, if you’re wondering if this a task for seasoned pros only, I’m happy to report that Aloysia schulziana is quite beginner-friendly when it comes to propagation. It’s forgiving, and seeing that little bit of green emerge from your efforts is incredibly rewarding.
The Best Time to Start
For the highest success rate, I always recommend starting your propagation efforts in late spring or early summer. This is when the plant is in its active growth phase, meaning it has plenty of energy to put into developing new roots. You’re looking for stems that are firm but not woody – think “softwood” or “semi-hardwood” cuttings. Avoid anything too floppy or too rigid.
Supplies You’ll Need
Here’s what you’ll want to have on hand before you start:
- Sharp pruning shears or a clean knife: For taking your cuttings.
- Rooting hormone (optional but recommended): A powder or gel that helps stimulate root growth.
- Small pots or trays: Clean pots are a must!
- Well-draining potting mix: A mix of perlite, peat moss, and a bit of compost works beautifully.
- Plastic bags or a propagator: To create a humid environment.
- Watering can with a fine rose: For gentle watering.
Propagation Methods
My go-to method for Aloysia schulziana is stem cuttings. It’s straightforward and generally yields excellent results.
-
Take Your Cuttings: Select healthy stems that are about 4-6 inches long. Using your sharp shears or knife, make a clean cut just below a leaf node (where a leaf attaches to the stem). This is where roots are most likely to form. Remove the leaves from the bottom half of the cutting, leaving just a few at the top. This reduces water loss.
-
Prepare the Cuttings: If you’re using rooting hormone, dip the cut end of each cutting into the hormone up to the first leaf node. Tap off any excess.
-
Plant Them Up: Fill your clean pots or trays with your prepared potting mix. Make a small hole in the center of the mix with your finger or a pencil. Gently insert the cutting into the hole, ensuring the leaf nodes are buried in the soil. Firm the soil gently around the stem to ensure good contact.
-
Create a Humid Environment: Water the soil lightly until it’s evenly moist. Then, cover the pots with a plastic bag or place them in a propagator. Stick a few small stakes inside the bag if needed to keep the plastic from touching the leaves. This humidity is crucial for preventing the cuttings from drying out before they develop roots.
The “Secret Sauce” (Pro Tips)
Here are a couple of things I’ve learned over the years that make a difference:
- Bottom Heat is Your Friend: If you have a heat mat designed for propagation, use it! Placing your pots on gentle bottom heat can significantly speed up root development. It mimics the warmth of spring soil and gives your cuttings a real boost.
- Don’t Drown Your Dreams: While humidity is key, avoid waterlogged soil. Soggy conditions are the quickest way to invite rot. The soil should feel moist like a wrung-out sponge, not saturated. Check it regularly and water only when the surface feels dry to the touch.
Aftercare & Troubleshooting
Once your cuttings have developed a good root system – you can usually tell by gently tugging on them (they should resist) or by seeing new growth – it’s time to transition them.
Gradually acclimate your new plants by opening the plastic bag or propagator for longer periods each day. Once they seem happy without the cover, you can remove it completely. Continue to water them as needed, allowing the soil to dry slightly between waterings.
The most common sign of failure in propagation is rot. If your cuttings become soft, mushy, and discolored, or if they develop blackening at the base, it’s likely rot. This usually points to too much moisture and not enough air circulation. Unfortunately, once rot sets in, it’s hard to save them. Just remember to adjust your watering and humidity levels for your next go!
A Encouraging Closing
Propagating Aloysia schulziana is a delightful journey. Don’t be discouraged if your first attempt isn’t perfect; every gardener has had their share of cuttings that don’t make it. The key is to be patient, observe your little plants closely, and enjoy the process of nurturing new life. Happy propagating!
Resource:
https://identify.plantnet.org/k-world-flora/species/Aloysia%20schulziana%20Moldenke/data