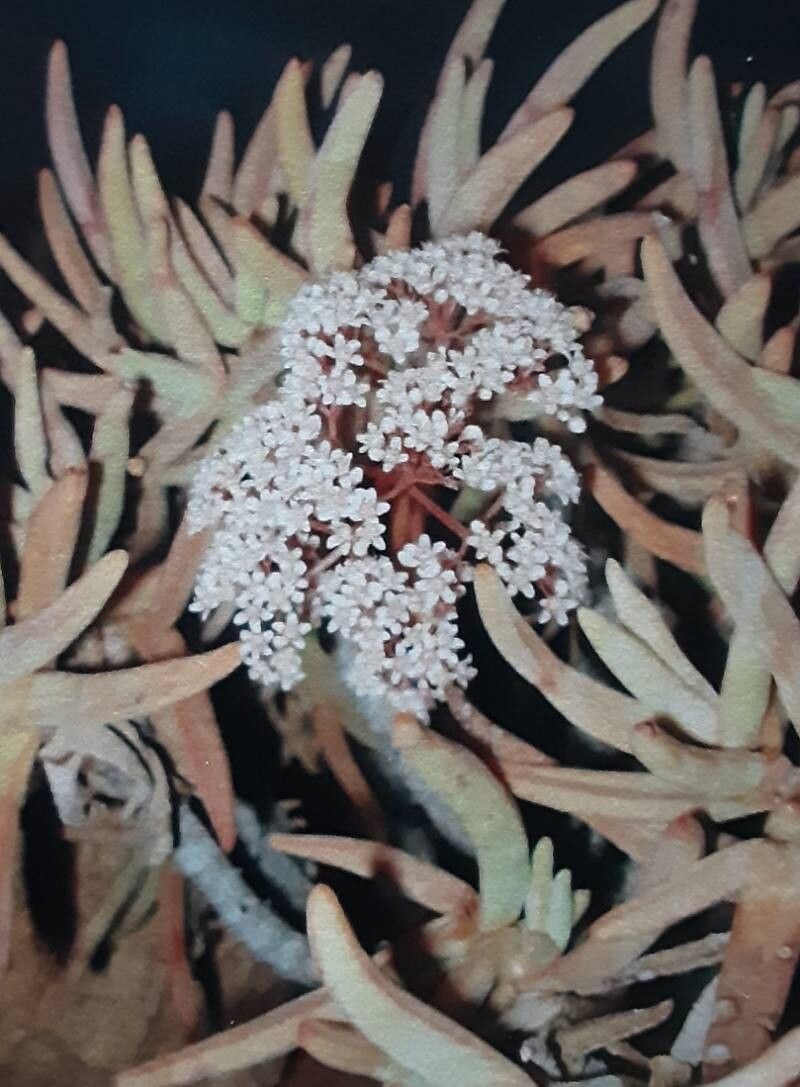
Ah, Crassula macowaniana! Isn’t it a charmer? I’ve always loved its robust, almost architectural form. And the way those fleshy leaves catch the light… it’s a real gem for any succulent enthusiast. The best part? Growing more of them from your existing plants is incredibly satisfying. It’s like magic, but the best kind. And for those of you just dipping your toes into the succulent world, I’m happy to report that Crassula macowaniana is wonderfully easy to propagate, making it a fantastic choice for beginners. You’ll be sharing your green bounty in no time!
The Best Time to Start
My rule of thumb for propagating most succulents, and Crassula macowaniana is no exception, is to do it during their active growing season. For these beauties, that typically means spring and summer. You’ll see the most vigor from your plant then, and the cuttings will have the best chance of taking root quickly. Avoid propagating during their dormant periods, usually in the cooler, darker months, as this is when they’re conserving energy and less likely to establish new growth.
Supplies You’ll Need
Gathering your tools before you begin makes the whole process much smoother. Here’s what I always have on hand:
- Well-draining potting mix: A cactus or succulent mix is perfect. You can also make your own by combining potting soil with perlite or pumice in a 50/50 ratio.
- Clean, sharp pruning shears or a knife: For making clean cuts.
- Rooting hormone (optional but helpful): It’s not strictly necessary for this plant, but it can give your cuttings a little extra boost.
- Small pots or seed trays: For your new baby plants.
- Watering can or spray bottle: For gentle watering.
- Gloves (optional): Especially if you have sensitive skin.
Propagation Methods
Crassula macowaniana is quite obliging, and we have a couple of straightforward ways to get new plants.
Stem Cuttings
This is my go-to method for Crassula macowaniana. It’s remarkably effective.
- Choose a healthy stem: Look for a stem that’s firm and has a good few leaves on it.
- Make a clean cut: Using your sharp shears or knife, cut the stem about 2-4 inches down from the tip. Try to get a bit of the main stem if possible.
- Remove lower leaves: Gently pull off the bottom couple of leaves. This exposes the nodes where roots will emerge.
- Let it callous: This is crucial! Place your cutting in a dry, well-lit spot (but out of direct sun) for 2-5 days. You’ll see the cut end dry and form a protective callus. This prevents rot.
- Plant the cutting: Once calloused, you have two options:
- Directly plant: Stick the calloused end into your well-draining soil mix. I like to poke a small hole with a pencil first, then insert the cutting.
- Water propagation (see below): Some people prefer to start them in water.
Water Propagation
This method can be really fun to watch!
- Prepare your cutting: Follow steps 1-3 from the stem cutting method above. Do not let the calloused end touch the water.
- Place in water: Fill a clean jar or glass with water. Place the cutting so that the exposed leaf nodes are just above the water level. You can rest the leaves on the rim of the jar or use a small piece of cardboard with holes.
- Find a good spot: Keep it in bright, indirect light.
- Watch for roots: You should start seeing tiny roots emerge from the nodes within a week or two.
- Plant when rooted: Once your cutting has developed a good network of roots (about an inch long), you can transplant it into your well-draining potting mix.
The “Secret Sauce” (Pro Tips)
Over the years, I’ve picked up a few little tricks that seem to make all the difference.
- Don’t be afraid to trim away a little rot: If you see any brown or mushy bits on your cutting, trim them off with a clean knife until you reach healthy tissue. Then, let it callous for a bit longer.
- Bottom heat can be a game-changer: If you’re propagating in a cooler period or want to speed things up, placing your pots or containers on a seedling heat mat can significantly encourage root development. Just set it to a gentle warmth, not hot!
Aftercare & Troubleshooting
Once your cutting has rooted and you’ve planted it in soil, it’s time for a little TLC.
- Watering: Wait a few days after planting before watering. This allows any tiny root damage to heal. Then, water thoroughly but infrequently. Let the soil dry out completely between waterings. Overwatering is the quickest way to kill a new succulent cutting.
- Light: Keep it in bright, indirect light. As it establishes and grows, you can gradually introduce it to more direct sun, just like its parent plant.
- Signs of trouble: The most common issue is rot. If you see the stem turning mushy or black, it’s likely rot. If caught early, you might be able to salvage a healthy part of the stem and start again. Another sign of failure is if the cutting shrivels and dries up without ever forming roots. This can happen if it’s kept too dry or if it was too old or stressed when you took the cutting.
A Encouraging Closing
Don’t be discouraged if your first attempt isn’t perfect! Gardening is a journey, and propagation is a skill that blossoms with practice. Be patient, observe your new little plants, and most importantly, enjoy the rewarding process of bringing more life into your home. Happy propagating!
Resource: