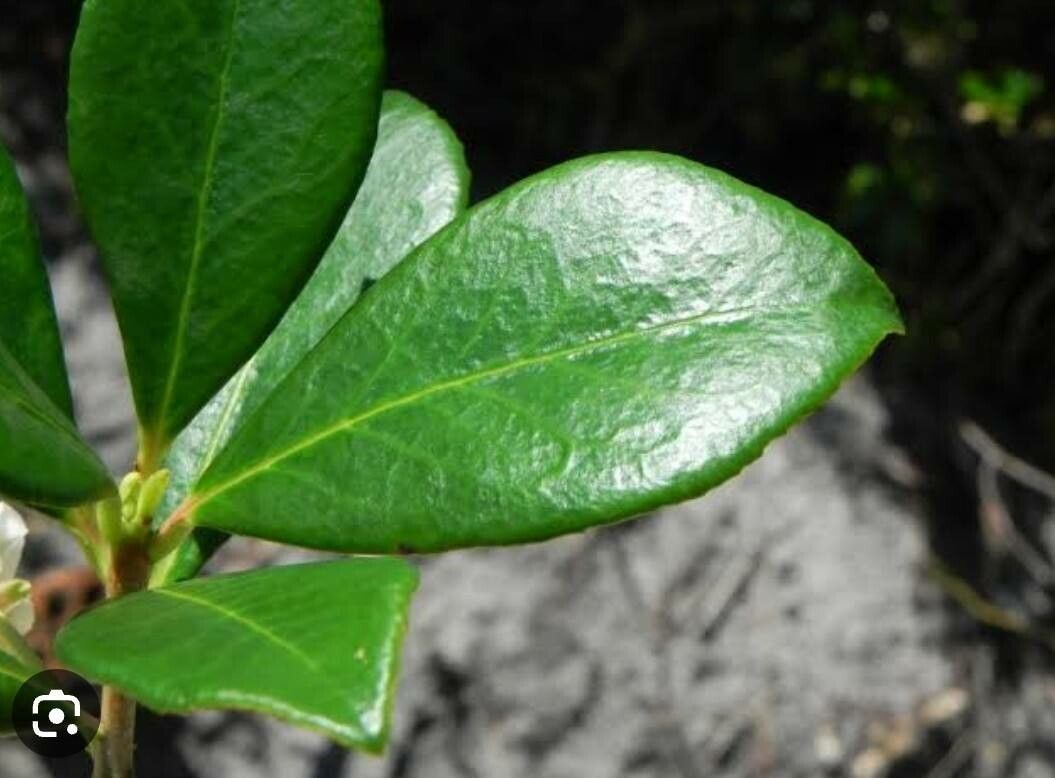
Hello, fellow garden enthusiasts! Today, I want to talk about a plant that’s truly captured my heart over the years: Ternstroemia brasiliensis, often called the Coffee Bush or Brazilian Mock Privet. Its glossy, leathery leaves and graceful habit make it a superb choice for adding a touch of lushness to any garden, whether you’re aiming for a formal hedge or a beautiful specimen plant. And the best part? It’s incredibly rewarding to bring new life into existence from existing plants. For those of you just starting out on your propagation journey, I’d say Ternstroemia falls into the “moderately easy” category. With a little patience and the right approach, you’ll be admiring your own baby coffee bushes before you know it!
The Best Time to Start
When it comes to coaxing new life from our plants, timing is everything. For Ternstroemia brasiliensis, the sweet spot for taking cuttings is late spring or early summer. This is when the plant is actively growing and has plenty of young, semi-hardwood stems. These stems have enough firmness to hold their shape but are still pliable enough to root. Avoid taking cuttings when the plant is stressed, either from extreme heat or drought.
Supplies You’ll Need
Gathering your tools beforehand makes the whole process so much smoother. Here’s what I always have on hand for propagating Ternstroemia:
- Sharp, clean pruning shears or a sharp knife: Essential for making clean cuts that heal well. Sterilize them with rubbing alcohol between uses!
- Rooting hormone: A powder or gel to give your cuttings a little extra boost.
- A good potting mix: I like to use a blend of equal parts perlite and peat moss, or a specialized propagation mix. It needs to be well-draining.
- Small pots or propagation trays: Clean plastic pots (around 4 inches are good) or seedling trays work perfectly. Make sure they have drainage holes.
- A plastic bag or humidity dome: To keep the humidity high around your cuttings.
- A watering can or spray bottle: For gentle watering.
- Labels: Don’t forget to label your cuttings with the date and variety!
Propagation Methods
Let’s get our hands dirty! Stem cuttings are the most reliable way I’ve found to propagate Ternstroemia.
1. Taking Stem Cuttings
- Select your stems: Look for healthy, non-flowering shoots that feel slightly firm. They shouldn’t be too soft and bendy (too new) or too woody (too old). Aim for pieces about 4-6 inches long.
- Make the cut: Using your clean pruners, make a clean, angled cut just below a leaf node (where a leaf attaches to the stem). This is where the magic happens for root development.
- Prepare the cutting: Gently remove the lower leaves from the bottom half of the cutting. You want to expose at least two leaf nodes where roots can form. You can leave the remaining leaves intact, or even snip larger ones in half to reduce water loss.
- Apply rooting hormone: Dip the cut end of the stem into your rooting hormone, tapping off any excess.
- Plant your cuttings: Fill your pots with your prepared potting mix and water it lightly. Make a small hole with your finger or a pencil. Insert the cuttings into the holes, ensuring the bottom leaf nodes are covered by the soil. Gently firm the soil around the base of each cutting.
- Create a humid environment: Water the soil gently again. Then, cover the pot with a plastic bag, propping it up with stakes so it doesn’t touch the leaves, or place it under a humidity dome. Place the pots in a bright spot, but out of direct sunlight.
The “Secret Sauce” (Pro Tips)
Over the years, I’ve learned a few tricks that seem to give my cuttings a little extra edge:
- Bottom Heat is Your Friend: If you can, place your pots on a gentle heating mat designed for propagation. This warmth encourages root growth from below, giving your cuttings a significant advantage. Just a slight warmth, not hot!
- Don’t Overwater, But Keep it Moist: This is a tricky balance. The soil should feel consistently moist, but never soggy. Soggy soil is a fast track to rot. I often check by gently pressing the soil with my finger. If it feels damp, it’s usually good.
- The “Bend Test”: After a few weeks, very gently tug on a cutting. If you feel resistance, that’s a good sign roots are forming! Trust your instincts, but be gentle.
Aftercare & Troubleshooting
Patience is key once your cuttings are planted!
- Rooting Time: It can take anywhere from 4-8 weeks, or even longer, for your Ternstroemia cuttings to develop a good root system. Keep an eye on the leaves; if they remain firm and healthy, that’s a good sign.
- Transplanting: Once you’ve tested and confirmed roots (they won’t pull out easily), it’s time to transplant them into slightly larger individual pots. Use a similar well-draining potting mix.
- Signs of Trouble: The most common issue is rot, which usually looks like the stem turning black and mushy at the soil line. This is almost always due to overwatering or poor drainage. If you see this, sadly, that cutting is likely a goner. Another sign of distress is wilting or yellowing leaves – this can be from too much sun, too little moisture, or sometimes even nutrient deficiency once they start growing.
Watching a new plant reach for the sun, knowing you helped it along its way, is one of gardening’s greatest joys. Don’t get discouraged if not every cutting takes. Gardening is a journey of learning and observation. Keep experimenting, keep nurturing, and enjoy the beautiful process of growing!
Resource:
https://identify.plantnet.org/k-world-flora/species/Ternstroemia%20brasiliensis%20Cambess./data