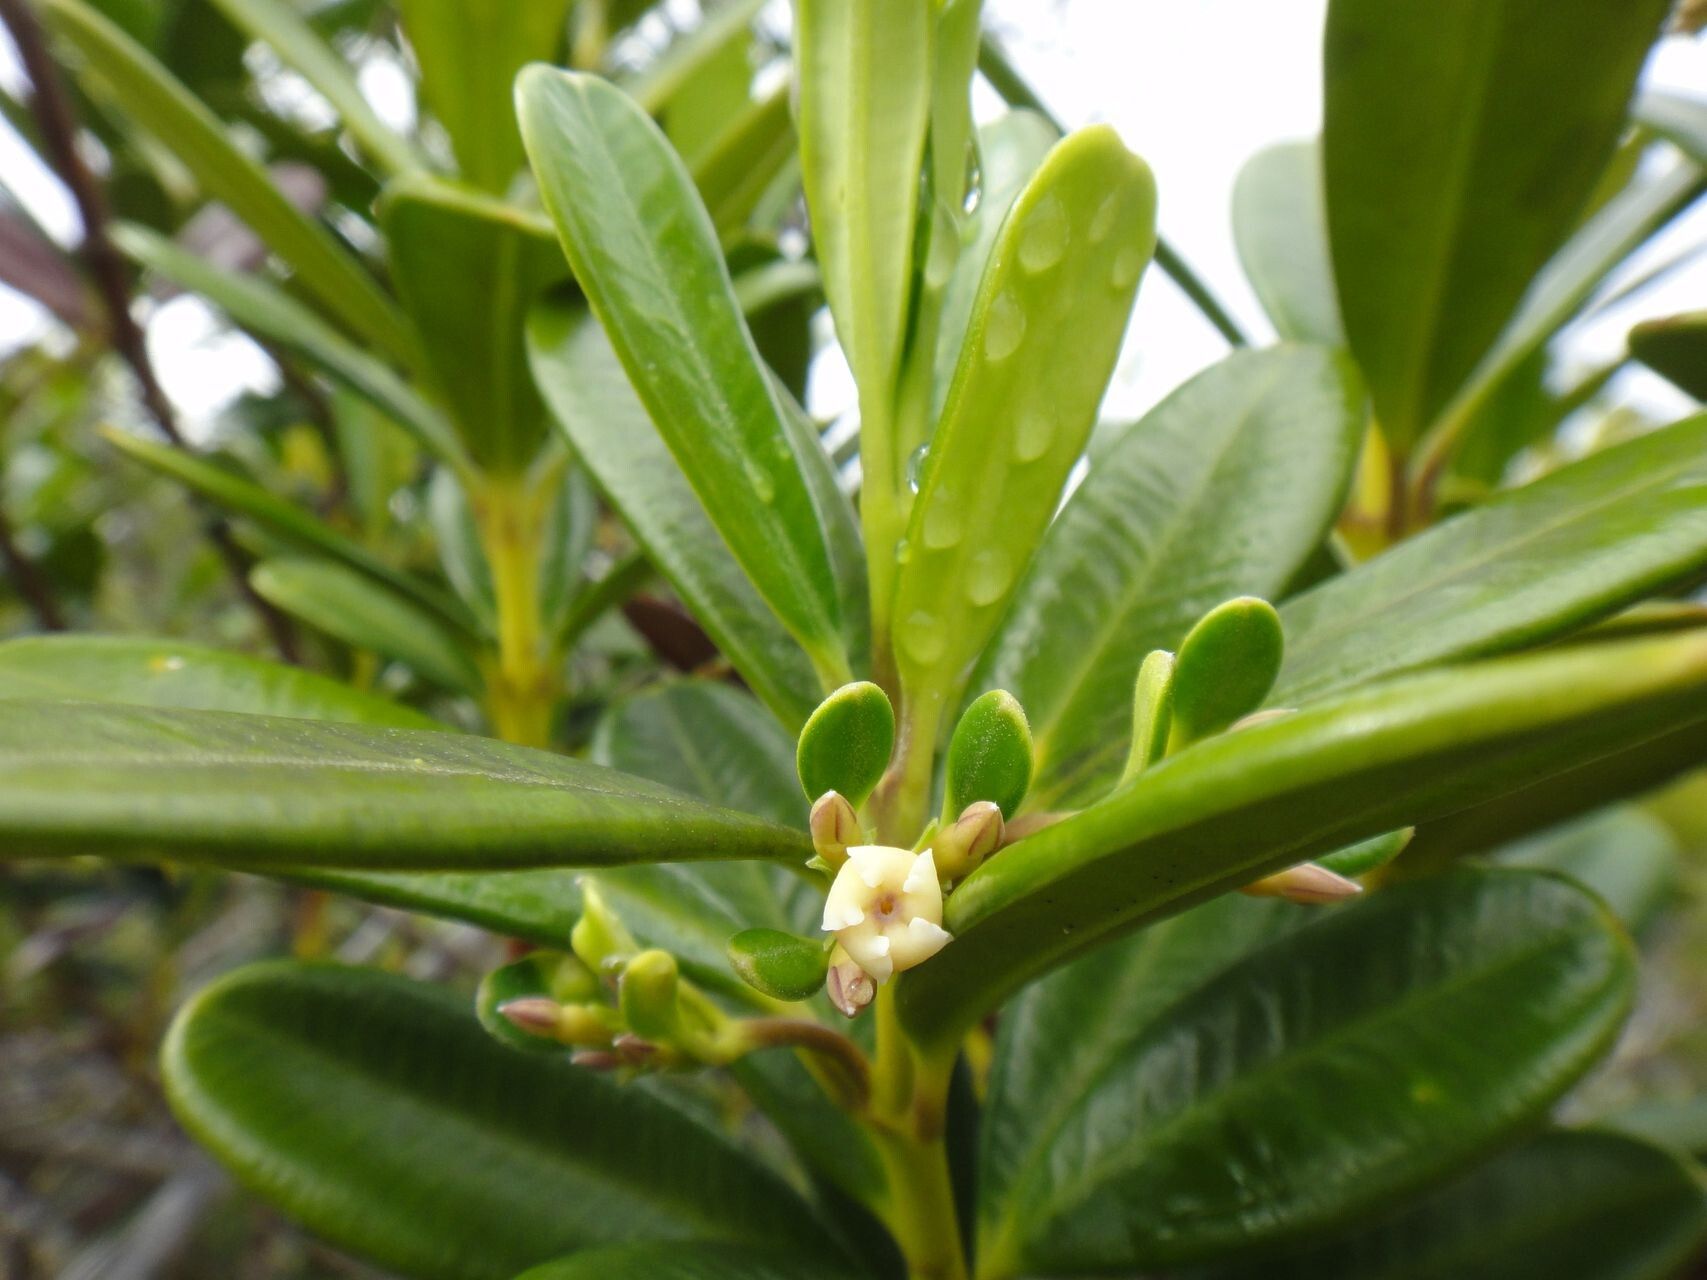
Hey there, fellow plant lovers! If you’ve ever marvelled at the sweet fragrance and delicate blooms of Alyxia leucogyne, you know it’s a special plant. Sometimes called native gardenia or sweet little box, this Australian beauty fills the air with its perfume, making it a joy to have in any garden or pot. And guess what? You can easily bring more of this loveliness into your life by propagating it yourself. It’s incredibly rewarding to watch a tiny slip of a plant grow into something robust. For beginners? I’d say it’s moderately easy, with a little patience and the right approach.
The Sweet Spot for Success
When it comes to Alyxia leucogyne, timing is everything. I find the late spring to early summer is absolutely prime time. This is when the plant is actively growing, meaning it has plenty of energy to put into developing new roots. You’re looking for new growth that’s still soft and pliable, not woody stems from last year. That fresh, green, slightly bendy stuff is what you want.
Your Propagation Toolkit
Gathering your supplies before you start makes the whole process so much smoother. Here’s what you’ll want on hand:
- Sharp Pruning Shears or Snips: Clean cuts are key to preventing disease.
- Small Pots or Seed Trays: Drainage holes are non-negotiable!
- Propagating Mix: A sandy, well-draining mix is ideal. I like a blend of perlite and coco peat about 50/50, or a good quality seed-raising mix.
- Rooting Hormone (Optional but Recommended): This definitely gives your cuttings a better chance.
- Plastic Bags or a Propagation Dome: To create a humid environment.
- Watering Can with a Fine Rose: For gentle watering.
- Labels and a Pen: So you don’t forget what you’ve planted and when!
Let’s Get Our Hands Dirty: Stem Cuttings
This is my go-to method for Alyxia leucogyne. It’s reliable and yields great results.
- Select Your Cuttings: Head out in late spring or early summer. Look for healthy stems with plenty of leaves. You want cuttings that are about 10-15 cm long.
- Make the Cut: Using your sharp shears, take your cuttings from the tip of a stem. Make a clean cut just below a leaf node (where a leaf joins the stem).
- Prepare the Cuttings: Gently remove the lower leaves, leaving just a couple at the very top. This prevents them from rotting when buried.
- Apply Rooting Hormone (If Using): Dip the cut end of the stem into your rooting hormone powder, tapping off any excess.
- Plant Them Up: Fill your pots with your propagating mix. Make a small hole in the center with a pencil or your finger. Carefully insert the cutting into the hole, ensuring the leaf nodes you removed are below the soil line. Gently firm the soil around the base of the cutting.
- Water Gently: Water the soil thoroughly but gently. You want it moist, not waterlogged.
- Create Humidity: Cover the pot with a plastic bag secured with a rubber band, or place it under a propagation dome. If using a bag, make sure the leaves don’t touch the plastic. You can use stakes to prop it up.
- Find a Cozy Spot: Place your cuttings in a warm spot with bright, indirect light. Avoid direct sun, which can scorch them.
Shhh… The Secret Sauce for Extra Oomph
Here are a couple of tricks I’ve learned over the years that really boost success:
- Bottom Heat is a Game Changer: If you have a heat mat designed for propagation, popping your pots on top of it makes a huge difference. It encourages root growth from below, giving those young roots a real kick-start. It’s like a little heated spa for your cuttings!
- Don’t Disturb Too Soon: Resist the urge to tug on your cuttings to check for roots. They’re delicate! You’ll know they’ve rooted when you see new leaf growth appearing at the top. This usually takes anywhere from 4-8 weeks, sometimes longer. Patience is truly a gardener’s superpower here.
Nurturing Your New Arrivals
Once you see that lovely new growth, it’s time to start acclimatising your baby plants.
- Ventilation: Gradually remove the plastic cover over a few days. Start by taking it off for an hour or two each day, increasing the time until it’s fully removed. This helps them adjust to normal humidity.
- Watering: Continue to keep the soil consistently moist but not soggy. Water when the top layer of soil feels dry to the touch.
- Transplanting: When your new plants have a good root system (you might see roots peeking out of the drainage holes, or they’ll feel a bit ‘solid’ when gently tugged), it’s time to transplant them into slightly larger pots with a good quality potting mix. They’re still young and a bit sensitive, so handle them with care.
When Things Go Sideways (And How to Fix Them)
The most common issue you might encounter is rot. This usually happens if the soil is too wet and there isn’t enough airflow. If you see your cutting turning black and mushy at the base, it’s likely succumbed to rot. The best defence is good practice: use a well-draining mix, avoid overwatering, and ensure good air circulation. If you catch it early, you might be able to salvage a healthy part of the stem, but often, it’s best to start again with fresh cuttings.
Happy Growing!
Propagating Alyxia leucogyne is such a satisfying journey. It might take a little time and a few attempts, but each experience teaches you something new. Don’t be discouraged if your first few don’t make it – that’s just part of the learning curve. Enjoy the process, celebrate the small wins, and soon you’ll have even more of those wonderful, fragrant blooms to share. Happy gardening!
Resource: