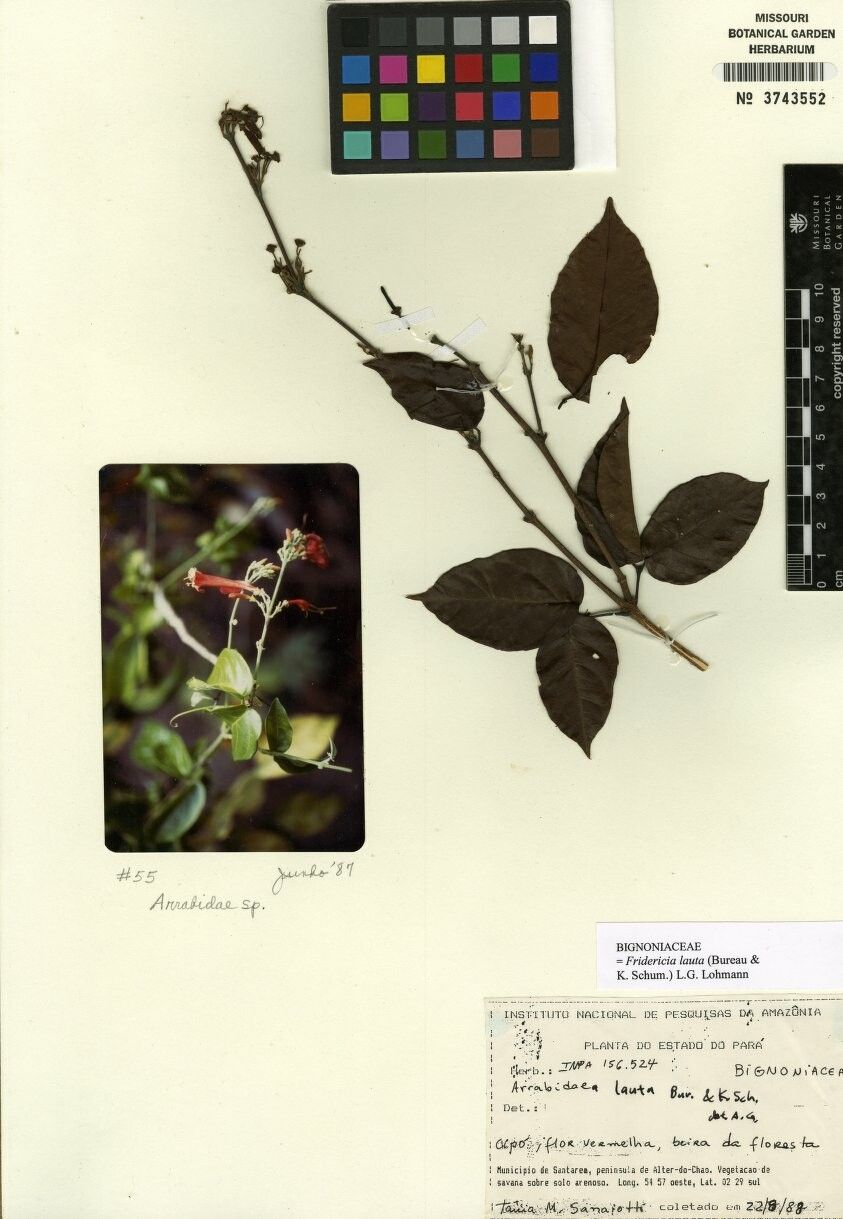
Hey there, fellow plant lovers!
It’s so lovely to connect with you. Today, I want to share a little wisdom on coaxing new life from a particularly beautiful plant: Fridericia lauta. You know, those gorgeous plants with their vibrant trumpet-shaped flowers that just beg for a second look? Growing them from scratch is one of those deeply satisfying garden moments, like watching a tiny seed unfurl its first leaves. And the best part? Fridericia lauta is generally a quite forgiving plant, making it a rewarding project even if you’re just starting your propagation journey.
When to Get Your Hands Dirty
The absolute best time to take cuttings from your Fridericia lauta is during its active growing season. For most of us, this means late spring through early summer. You’re looking for stems that are semi-hardwood, meaning they’re not brand new and flimsy but also not old and woody. Give a stem a gentle bend; if it breaks cleanly with a bit of resistance, it’s likely perfect.
What You’ll Need in Your Toolkit
Here’s a quick rundown of what I find essential for successful propagation:
- Sharp Pruning Shears or a Knife: Clean cuts are vital for healthy root development. Sterilize them with rubbing alcohol before you start.
- Rooting Hormone: While not always strictly necessary for Fridericia lauta, it can give your cuttings an extra boost. Look for one with an indole-3-butyric acid (IBA) base.
- Well-Draining Potting Mix: I personally love a mix of equal parts peat moss or coco coir, perlite, and sand. This ensures good aeration and prevents waterlogging, which is a big no-no for cuttings.
- Small Pots or Trays: Whatever you have on hand will do, as long as they have drainage holes!
- Plastic Bag or Humidity Dome: To create a mini-greenhouse environment for your cuttings.
- Watering Can or Misting Bottle: For gentle watering.
Bringing New Life Forth: Propagation Methods
Fridericia lauta is wonderfully amenable to a couple of easy propagation methods.
Stem Cuttings: My Go-To Method
This is usually my first port of call because it’s so efficient.
- Select Your Stems: As we discussed, look for those semi-hardwood stems. Aim for cuttings that are about 4-6 inches long.
- Prepare the Cuttings: Remove all but the top two sets of leaves. If the remaining leaves are quite large, I like to cut them in half horizontally. This reduces water loss.
- Apply Rooting Hormone: Dip the cut end of the stem into your rooting hormone, tapping off any excess.
- Plant Them Up: Make a pilot hole in your potting mix with a pencil or your finger. Gently insert the cutting so that the nodes (where the leaves were) are below the soil surface. Firm the soil gently around the base.
- Create Humid Conditions: Water the soil thoroughly until it drains from the bottom. Then, cover the pot with a clear plastic bag or place it inside a larger clear plastic container to create a humid environment. You can prop the bag up with skewers if needed.
- Find a Bright, Indirect Spot: Place your pots in a location that receives bright, indirect light. Avoid direct sun, which can scorch the delicate cuttings.
Water Propagation: A Visual Treat
If you prefer to watch the magic unfold, water propagation is beautiful.
- Take Your Cuttings: Follow steps 1 and 2 from the stem cuttings method. You can usually get away with leaving the leaves intact in water, but ensure no leaves are submerged.
- Place in Water: Pop your cuttings into a clear glass or jar filled with clean water. Make sure the nodes are submerged, as this is where roots will emerge.
- Change the Water Regularly: Change the water every 2-3 days to keep it fresh and prevent bacterial growth.
- Location, Location, Location: Just like with soil cuttings, find a spot with bright, indirect light.
- When to Plant: You’ll know they’re ready to move to soil when you see roots that are at least an inch long. At this point, care must be taken to transition them gradually to soil.
The “Secret Sauce”: Little Tricks for Big Success
Here are a few things I’ve learned over the years that really make a difference:
- Bottom Heat is Your Friend: Especially if your home is on the cooler side, placing your pots on a gentle heat mat can significantly speed up root development. It mimics the warmth of spring soil.
- Don’t Let Those Leaves Drown! This is crucial for water propagation. Any leaf submerged in water will quickly rot, which can sicken the entire cutting and prevent rooting. Always prune or position leaves so they stay dry.
- Patience in the Potting Mix: When you transfer water-rooted cuttings to soil, don’t be too heavy-handed with the watering. The soil is new territory, and overwatering at this stage is a common pitfall. Mist the soil lightly and ensure good drainage.
What Comes Next: Aftercare and Troubleshooting
Once you see new leaf growth or feel a gentle tug when you lightly pull on the cutting, rejoice! It’s a good sign that roots are forming. You can gently prod the soil to check for resistance.
- Acclimatize: If you used a plastic bag, gradually introduce your new plant to open air over a few days by lifting the bag for longer periods.
- Watering: Water when the top inch of soil feels dry. Avoid letting it sit in soggy conditions.
- Light: Continue to provide bright, indirect light. As the plant gets stronger, you can slowly introduce it to more direct sun if its parent plant enjoys it.
Now, what if things don’t go as planned? The most common issue is rot. This usually happens with overwatering or poor drainage. Cuttings will turn black and mushy. If you see this, sadly, that cutting is likely a goner. Sometimes, cuttings just don’t root. Don’t be disheartened! It’s part of the learning process for any gardener. Try again with fresh cuttings at the right time.
Go Forth and Propagate!
So there you have it! Propagating Fridericia lauta is a delightful way to expand your collection or share these beauties with friends. Remember to be patient, observe your little cuttings, and don’t be afraid to try. Every gardener has had their share of flops, but the successes are so incredibly rewarding. Happy planting!
Resource: