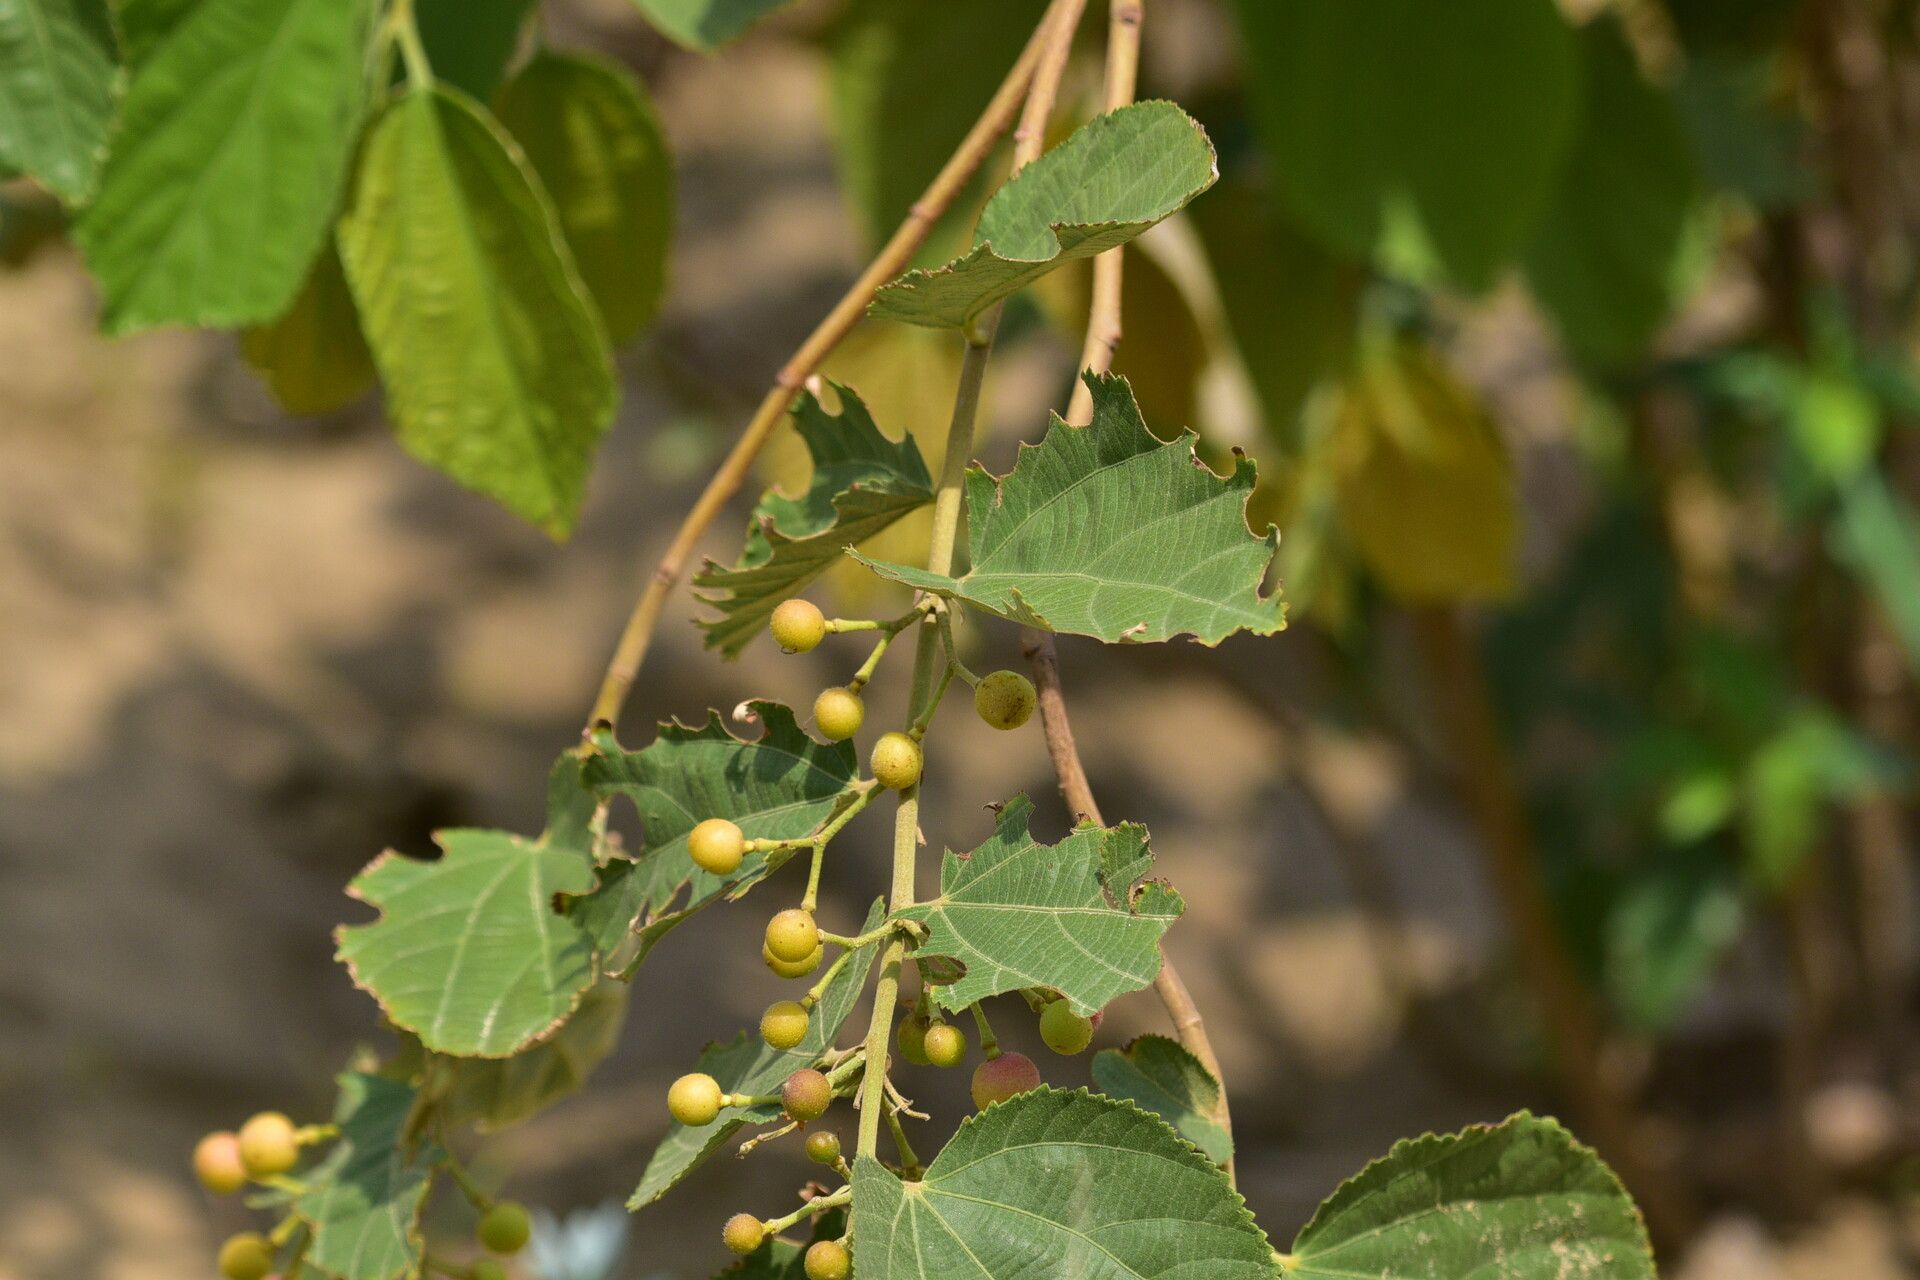
Oh, I’m so excited to talk about Grewia asiatica, also known as Phalsa! If you’ve ever tasted its delightful, tart berries, you know why this plant deserves a spot in a garden. It’s a bit of a tropical treasure, and bringing new ones into existence from your existing plant is incredibly satisfying. It might sound a little intimidating, but honestly, I find Grewia asiatica to be quite forgiving. It’s a great plant for those of you dipping your toes into propagation for the first time.
The Best Time to Start
For the happiest, most successful propagation, aim for late spring or early summer. This is when the plant is in its active growth phase. The wood is usually still a little soft, making it easier for cuttings to root. You want to catch it before it gets too woody and hard, but definitely when it’s showing signs of vigorous life.
Supplies You’ll Need
Gathering your tools beforehand makes the whole process so much smoother. Here’s what you’ll want to have on hand:
- Sharp, clean pruning shears or a knife: For making nice, clean cuts.
- Rooting hormone (optional but recommended): Encourages faster and stronger root development.
- Well-draining potting mix: I usually mix equal parts peat moss, perlite, and sand for my cuttings. You could also use a commercial seed-starting or propagation mix.
- Small pots or trays: Clean ones are a must to prevent disease!
- Plastic bag or propagator lid: To create a humid environment.
- Watering can or spray bottle: For gentle watering.
Propagation Methods
There are a couple of ways to go about this, and stem cuttings are my go-to for Grewia asiatica.
Stem Cuttings:
- Take your cuttings: In late spring or early summer, select healthy, non-flowering stem pieces that are about 6-8 inches long. Look for pencil-thick stems that bend slightly without snapping. Use your sharp shears to make a clean cut just below a leaf node (where a leaf attaches to the stem).
- Prepare the cuttings: Remove the lower leaves from the bottom half of the cutting. This prevents them from rotting once planted. If the cutting has any large leaves at the top, you can cut them in half to reduce water loss.
- Apply rooting hormone: Dip the cut end of the stem into your rooting hormone powder (if using), tapping off any excess.
- Plant the cuttings: Fill your clean pots with the well-draining potting mix. Make a small hole with your finger or a pencil, and insert the base of the cutting about 1-2 inches deep. Gently firm the soil around the stem to ensure good contact.
- Water and cover: Water the soil gently but thoroughly. Then, cover the pot with a clear plastic bag or propagator lid. This is crucial for maintaining humidity around the cuttings. You can secure it with a rubber band.
Water Propagation (Less reliable for Grewia but worth a try with non-woody stems):
- Take cuttings as described above, but skip the rooting hormone and soil.
- Place the cuttings in a jar or vase with clean water, ensuring no leaves are submerged.
- Place in bright, indirect light. Change the water every few days. You’ll see roots emerge after a few weeks.
- Once the roots are about an inch long, carefully transplant them into soil, keeping the soil consistently moist until they establish.
The “Secret Sauce” (Pro Tips)
Here are a couple of things I’ve learned over the years that really make a difference:
- Bottom Heat is Your Friend: If you can, place your pots on a heated propagator mat or a warm windowsill. This gentle warmth from below encourages root formation much faster. Grewia likes it warm!
- Don’t Drown It! While humidity is key, don’t let the soil become waterlogged. It’s a fine balance. If you see condensation building up heavily on the inside of the plastic bag, lift the bag for an hour or so to allow some air circulation. Too much moisture can lead to rot, which is the quickest way to lose a cutting.
Aftercare & Troubleshooting
Once you see new leaves emerging or feel a gentle tug when you very lightly pull on the cutting, that’s a good sign roots are forming!
- Acclimate slowly: Once roots are established, gradually remove the plastic bag or lid over a week or two. This allows the new plant to get used to normal humidity levels.
- Keep it moist: Continue to water consistently, but always check the soil moisture first. The new plant won’t tell you it’s thirsty as clearly as a mature one.
- Troubleshooting: The most common issue is rot. If your cutting turns black and mushy, it’s usually a sign of too much moisture or a lack of air circulation. Unfortunately, a rotten cutting is usually a goner. If your cutting just shrivels and dries out, it might not have been humid enough, or it wasn’t getting enough light. Keep trying!
A Little Patience Goes a Long Way
Propagating plants is a journey, and sometimes it takes a few tries to get it just right. Don’t get discouraged if your first attempt isn’t a roaring success. Celebrate every tiny bud and new leaf. The joy of watching a new plant grow from a tiny cutting is truly one of the most rewarding parts of gardening. Happy propagating!
Resource:
https://identify.plantnet.org/k-world-flora/species/Grewia%20asiatica%20L./data