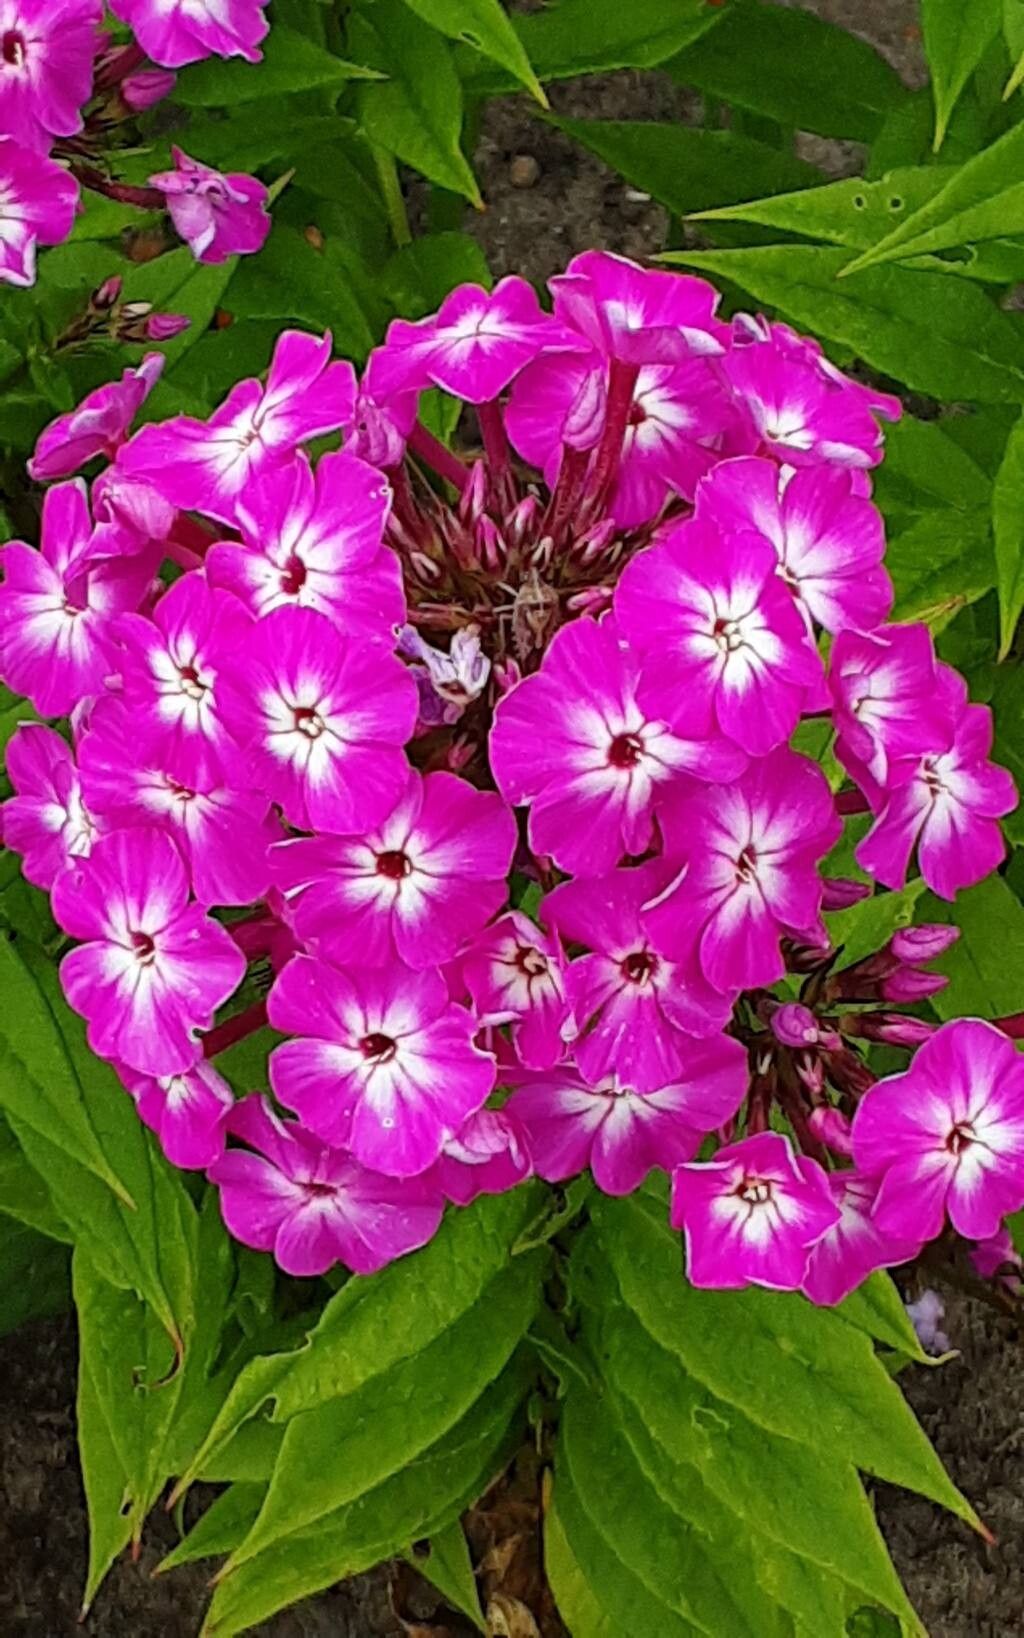
Oh, hello there! It’s so lovely to have you joining me in the garden today. I’m thrilled to chat about Phlox drummondii, or as many of us affectionately call them, Drummond’s phlox. These cheerful annuals are such a staple in my summer borders. Their vibrant colors, from soft pastels to bold jewel tones, just light up any spot. Plus, they have this delightful, sweet fragrance that always draws the bees in.
And the best part? They are surprisingly easy to propagate! If you love the idea of filling your garden with even more of these beauties without a trip to the nursery, you’re in for a treat. My advice? This is a fantastic plant for beginners looking to dive into the world of plant propagation. You’ll feel like a magic maker in no time!
The Best Time to Start
For Phlox drummondii, propagating is best done when the plant is in an active growing phase. I find my most successful attempts happen in late spring to early summer, after the chance of frost has completely passed and the days are getting longer and warmer. This is when the plant has plenty of energy to put into producing new roots.
Supplies You’ll Need
Gathering your tools beforehand always makes the process smoother. Here’s what I recommend having on hand:
- Sharp pruning shears or a clean craft knife: For taking clean cuts.
- Small pots or seed trays: Cleaned thoroughly, of course!
- A light, well-draining potting mix: I like a blend of coco coir, perlite, and a bit of compost.
- Rooting hormone (optional, but recommended): Helps speed things up and improve success.
- A watering can with a fine rose: For gentle watering.
- Plastic bags or a propagation dome: To create a humid environment.
- Labels: Don’t skip this step!
Propagation Methods
Phlox drummondii is wonderfully straightforward. I tend to rely on stem cuttings most often, as it’s reliable and gives you a good number of new plants.
Stem Cuttings: My Go-To Method
- Find a healthy parent plant. Look for stems that are not flowering, or at least not heavily in bloom. You want stems that are a bit woody at the base but still have some flexibility.
- Take your cuttings. Using your sharp shears or knife, cut stems that are about 4-6 inches long. Make a clean cut just below a leaf node (where a leaf attaches to the stem).
- Prepare the cuttings. Gently remove the lower leaves from the cutting, leaving only a couple of leaves at the very top. This helps the plant focus its energy on rooting, not leaf production. If the top leaves are very large, you can even trim them in half.
- Apply rooting hormone (if using). Dip the cut end of each stem into rooting hormone, tapping off any excess.
- Plant your cuttings. Fill your small pots or trays with your prepared potting mix. Make a small hole in the center of each pot with your finger or a pencil. Insert the cut end of the phlox cutting into the hole, ensuring the leaf nodes are buried. Gently firm the soil around the stem.
- Water gently. Give them a good, gentle watering to settle the soil and ensure good contact with the stem.
- Create a humid environment. Cover the pots loosely with a plastic bag or place them under a propagation dome. This keeps the humidity high, which is crucial for cuttings. I like to poke a few small holes in the bag or prop it open slightly to allow for some air circulation.
- Place them in the right spot. Find a bright location that gets indirect sunlight. Avoid direct sun, as it can scorch those delicate new cuttings.
The “Secret Sauce” (Pro Tips)
Now, for a couple of little tricks I’ve picked up along the way that really make a difference:
-
Don’t let the leaves touch the water (even in the pot!). If you’re doing water propagation (though I find cuttings in soil are more reliable for phlox), make sure the leaves of your cutting are above the water line. Any submerged leaves will rot and can kill your cutting before it even has a chance to root. The same applies here – if your leaves are really long, trim them so they don’t end up sitting in damp soil and getting moldy.
-
Bottom heat is your friend! While not strictly necessary for Phlox drummondii, placing your pots on a heat mat designed for propagation can significantly speed up root development. It mimics the warmth of spring soil and gives those little rootlets a real boost. Just set it to a moderate temperature.
Aftercare & Troubleshooting
Once your cuttings are tucked in, the real waiting game begins. Keep the soil consistently moist, but not waterlogged. You can test this by poking your finger about an inch into the soil. If it feels dry, it’s time to water.
You’re looking for signs of new growth, which usually indicates that roots have formed. This can take anywhere from 2 to 6 weeks. You might notice little new leaves appearing at the top. You can also give a very gentle tug on the cutting; if there’s resistance, it means roots have taken hold.
What if things go wrong? The most common issue is rot, often caused by overwatering and poor air circulation. If you see stems turning mushy and black, or a fuzzy mold growing on the soil surface, it’s a sign that things are too wet. Try to improve air flow by propping up the plastic cover more, and be very mindful of your watering. Sometimes, it’s best to just start fresh with new cuttings if rot sets in.
A Encouraging Closing
See? It’s really quite rewarding! Don’t be discouraged if not every single cutting takes. Gardening is a journey, and propagation is a wonderful skill to hone. Be patient, enjoy the process of nurturing these little plant babies, and soon you’ll have a whole new batch of Phlox drummondii to share or plant out. Happy propagating!
Resource:
https://identify.plantnet.org/k-world-flora/species/Phlox%20drummondii%20Hook./data