Hey there, fellow plant lovers!
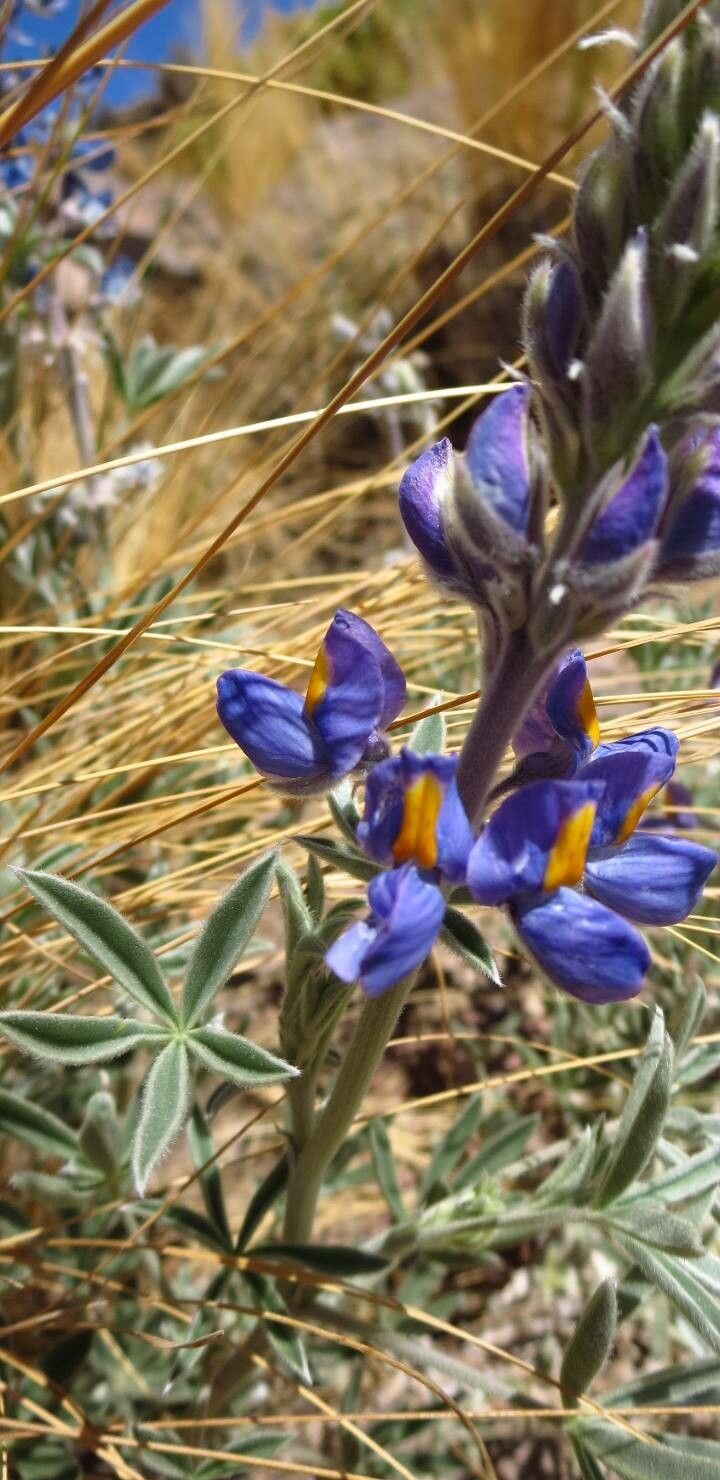
Are you as captivated by the elegant spires of Lupinus altimontanus as I am? Those towering blooms in shades of blue, purple, and sometimes even pink, are truly a sight to behold in any garden. And guess what? Getting more of these beauties for yourself is totally achievable, and incredibly satisfying. While some plants can be a bit fussy, I find propagating Lupinus altimontanus to be a wonderfully rewarding endeavor, especially once you get the hang of it. It’s not overly challenging, making it a great project for those looking to expand their green-thumb skills.
The Best Time to Start
For the highest success rates, I always recommend starting your propagation efforts in late spring to early summer. This is when the plant is actively growing and has plenty of energy to put into developing new roots. Look for semi-hardwood cuttings – that means stems that are a bit woody at the base but still flexible at the tip. Avoid really tender, new growth or overly woody, old stems.
Supplies You’ll Need
Before we dive in, let’s gather our toolkit. Having everything ready beforehand makes the whole process so much smoother:
- Sharp pruning shears or a clean knife: For making precise cuts.
- Rooting hormone (powder or gel): This isn’t strictly essential for all plants, but I find it really gives lupines a helpful boost.
- A well-draining potting mix: A blend of perlite, peat moss, and a bit of sand works wonders. You can also buy a good quality seed-starting mix.
- Small pots or propagation trays: Clean ones are a must to prevent disease.
- A clear plastic bag or propagation dome: To create a humid environment.
- A watering can with a fine rose or spray bottle: For gentle watering.
- Optional: A heat mat: This can significantly speed up root development.
Propagation Methods: Stem Cuttings
This is my go-to method for Lupinus altimontanus. It’s efficient and gives you a great chance at success.
- Take Your Cuttings: Select healthy, non-flowering shoots that are about 4-6 inches long. Using your sharp shears, make a clean cut just below a leaf node (where a leaf attaches to the stem). Remove any lower leaves, as these will just rot. You can leave a couple of leaves at the top to help with photosynthesis.
- Apply Rooting Hormone: Dip the cut end of the stem into your rooting hormone. Tap off any excess. This stuff really encourages those roots to form.
- Plant Them Up: Gently insert the treated end of the cutting into your prepared potting mix. Make sure the leaf nodes that you removed leaves from are buried. Gently firm the soil around the stem to ensure good contact.
- Create a Humid Environment: Water the potting mix lightly. Then, cover the pot or tray with a clear plastic bag or a propagation dome. This traps in humidity, which is crucial for cuttings to root. If you’re using a bag, you might need to prop it up with some small stakes so it doesn’t touch the leaves.
- Provide Good Light and Warmth: Place your cuttings in a spot that receives bright, indirect light. Avoid direct sun, which can scorch them. If you have a heat mat, now’s the time to use it. Place the trays on top of it.
The “Secret Sauce” (Pro Tips)
Here are a few things I’ve learned over the years that can really make a difference:
- Don’t Overwater! This is probably the most common mistake. Once the cuttings are planted and covered, you only want to water them when the top layer of soil starts to feel dry. Constantly waterlogged soil will lead to rot, and that’s a quick death for your new babies.
- Give Them Some Air: Even though you’re creating a humid environment, it’s a good idea to briefly ventilate your cuttings every day or two. Just lift the plastic cover for a few minutes. This helps prevent fungal issues.
- Patience is a Virtue: Lupines can sometimes be a bit slow to root. Don’t get discouraged if you don’t see action right away. Keep checking for signs of root development – you might feel a slight tug when gently pulling on a cutting, or you might see new leaf growth. This can take anywhere from 3-6 weeks, sometimes longer.
Aftercare & Troubleshooting
Once you start seeing signs of active root growth (new leaves emerging or that slight tug when you test), it’s time to start acclimatizing your new plants. Slowly remove the plastic cover over a few days, allowing them to adjust to normal humidity. Continue to water them gently, keeping the soil consistently moist but not soggy.
The biggest enemy here is rot. If you see stems turning mushy and black, or if a cutting just seems to disintegrate, it’s a sign of too much moisture and insufficient air circulation. In that case, you might need to discard the affected cutting and check the moisture levels and ventilation for the others.
A Little Prickle, A Lot of Bloom
Propagating Lupinus altimontanus is a journey. There might be a few bumps along the way, but the feeling of watching those tiny cuttings grow into full, blooming plants is simply unparalleled. Be patient with yourself and your new plants, enjoy the process of nurturing them, and soon you’ll have a whole garden full of these magnificent spires. Happy gardening!
Resource:
https://identify.plantnet.org/k-world-flora/species/Lupinus%20altimontanus%20C.P.Sm./data