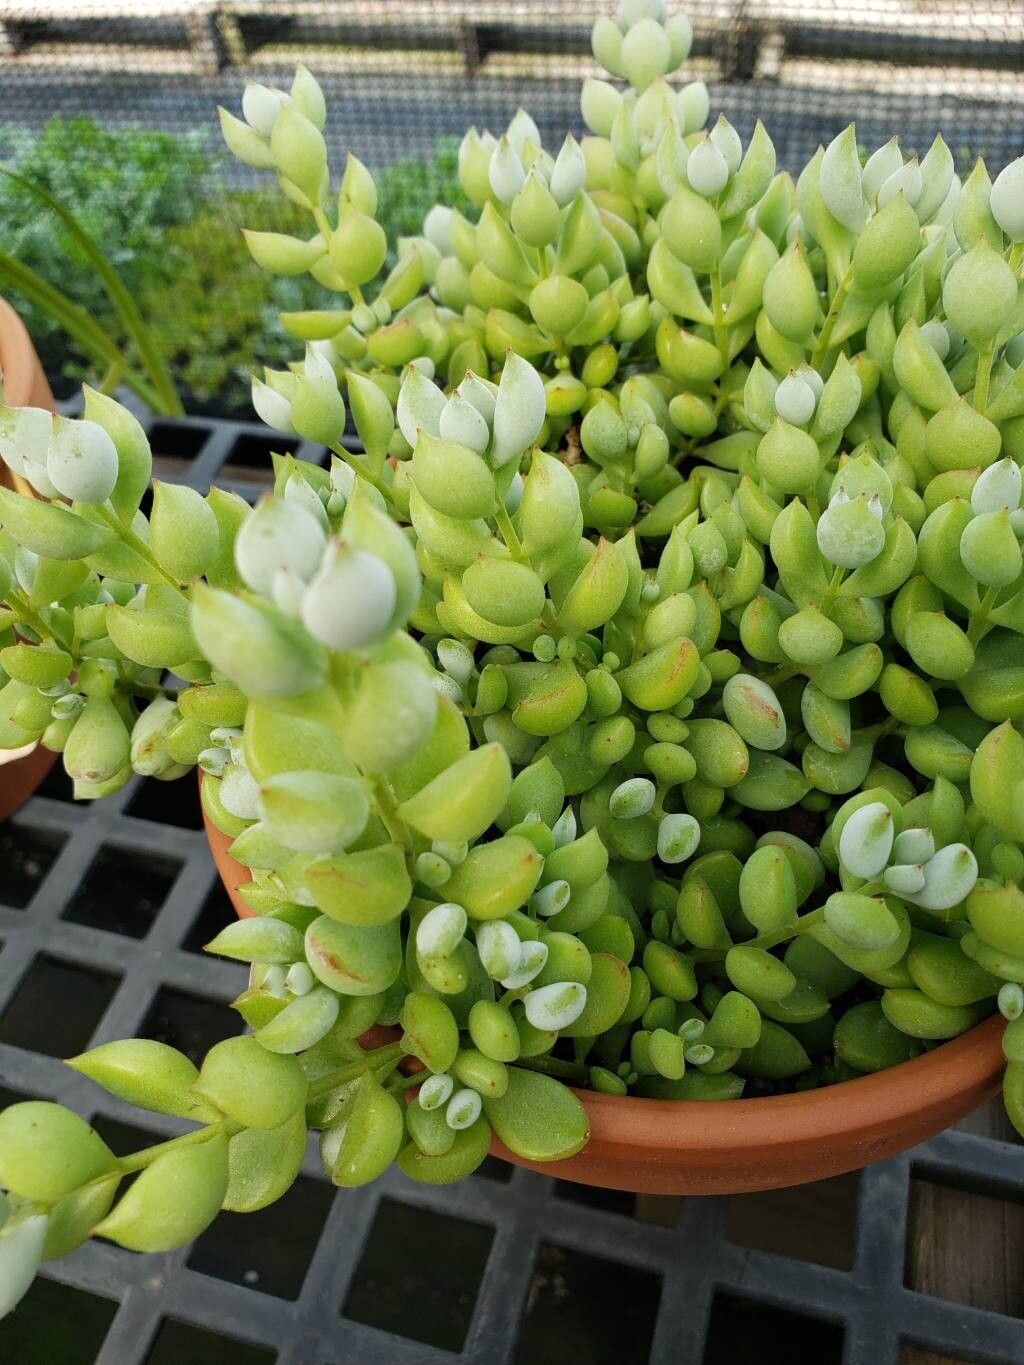
Oh, hello there! Grab a mug of your favorite brew, and let’s chat about one of my absolute favorite succulents: Cotyledon pendens. You know, the one with those charming, trailing stems draped with little bell-shaped flowers that look like they’ve just tumbled out of a fairy tale? It’s truly a showstopper, and if you’ve ever admired one, you’re probably wondering how you can get more of these beauties for yourself. Well, you’re in luck! Propagating Cotyledon pendens is incredibly rewarding, and while it might seem a tad intimidating at first, I’ve found it to be quite forgiving once you know a few key things.
The Best Time to Start
When it comes to Cotyledon pendens, I find the spring is your golden ticket. Think of it as the plant’s natural awakening after its winter rest. The days are getting longer, the temperatures are warming up steadily, and the plant is just bursting with energy. This vigorous growth phase means your cuttings will have the best chance to establish themselves quickly and happily. You can absolutely have success outside of spring, but if you’re looking for the highest success rate, timing is everything here.
Supplies You’ll Need
To get started on your propagation adventure, you’ll want to gather a few essentials. Don’t worry; it’s not a huge shopping list!
- Sharp, clean pruning shears or a sharp knife: For making clean cuts.
- A well-draining potting mix: I love a succulent or cactus mix, or you can make your own by combining potting soil with perlite or pumice (about a 50/50 ratio works wonders).
- Small pots or trays: For your new baby plants.
- Rooting hormone (optional but helpful): This little boost can encourage faster root development.
- A watering can or spray bottle: For gentle watering.
- Patience! This is the most important tool of all.
Propagation Methods
Cotyledon pendens is a trooper when it comes to propagation. The easiest and most effective method I’ve found is using stem cuttings.
Stem Cuttings:
- Take the cutting: Look for healthy, mature stems. Using your clean shears or knife, carefully cut a piece of stem that is about 3 to 6 inches long. Try to get a piece that has at least a few sets of leaves.
- Let it callus: This is a crucial step! Lay your cuttings on a dry surface (like a paper towel or a clean tray) in a bright spot, but out of direct sun, for 2 to 7 days. This allows the cut end to dry out and form a protective callus. This prevents rot when you plant it.
- Apply rooting hormone (optional): If you’re using rooting hormone, dip the callused end of the cutting into the powder.
- Plant your cutting: Fill your small pot with your well-draining soil mix. Make a small hole in the center with your finger or a pencil. Gently insert the callused end of the cutting into the soil, ensuring it’s stable.
- Water sparingly: After planting, give the soil a very light watering. You just want to moisten it slightly, not drench it.
The “Secret Sauce” (Pro Tips)
Now, for a couple of little tricks I’ve learned over the years that can really make a difference.
- Don’t rush the watering: I know it’s tempting to water frequently, especially when you’re eager to see roots. However, for Cotyledon pendens cuttings, let the soil dry out pretty well between waterings once they’re planted. Overwatering is the quickest way to invite rot. Think more “thirst quenching” than “soaking.”
- Bottom heat is your friend: If you have a seedling mat or can place your pots on a warm surface (like near a router or on top of a gently heated appliance if you’re careful), it can significantly speed up root formation. The warmth encourages the plant to put its energy into developing roots.
Aftercare & Troubleshooting
Once your cuttings are planted and have had a chance to settle in, keep them in a bright location with indirect sunlight. Avoid harsh, direct sun, which can scorch delicate new growth.
You’ll know your cutting is happy and has rooted when you start to see new growth appearing at the tip of the stem, or if you gently tug on the cutting and feel some resistance. This usually takes a few weeks to a couple of months.
The most common problem you’ll encounter is rot. If you notice your cutting looking mushy, turning black, or smelling off, it’s likely due to too much moisture. Unfortunately, if rot sets in, it’s hard to save the cutting. Your best bet is to learn from it and try again, paying close attention to your watering and that crucial callusing step. Another sign to watch for is the cutting shriveling up completely; this might mean it’s too dry or just not finding the energy to root.
A Encouraging Closing
Propagating Cotyledon pendens is such a joy. It’s a wonderful way to multiply your collection and share these delightful plants with friends who admire them. Don’t get discouraged if your first few attempts aren’t perfect. Gardening is all about learning and experimenting. Be patient, give your little cuttings the right conditions, and you’ll soon be rewarded with a whole new batch of trailing beauties. Happy propagating!
Resource:
https://identify.plantnet.org/k-world-flora/species/Cotyledon%20pendens%20van%20Jaarsv./data