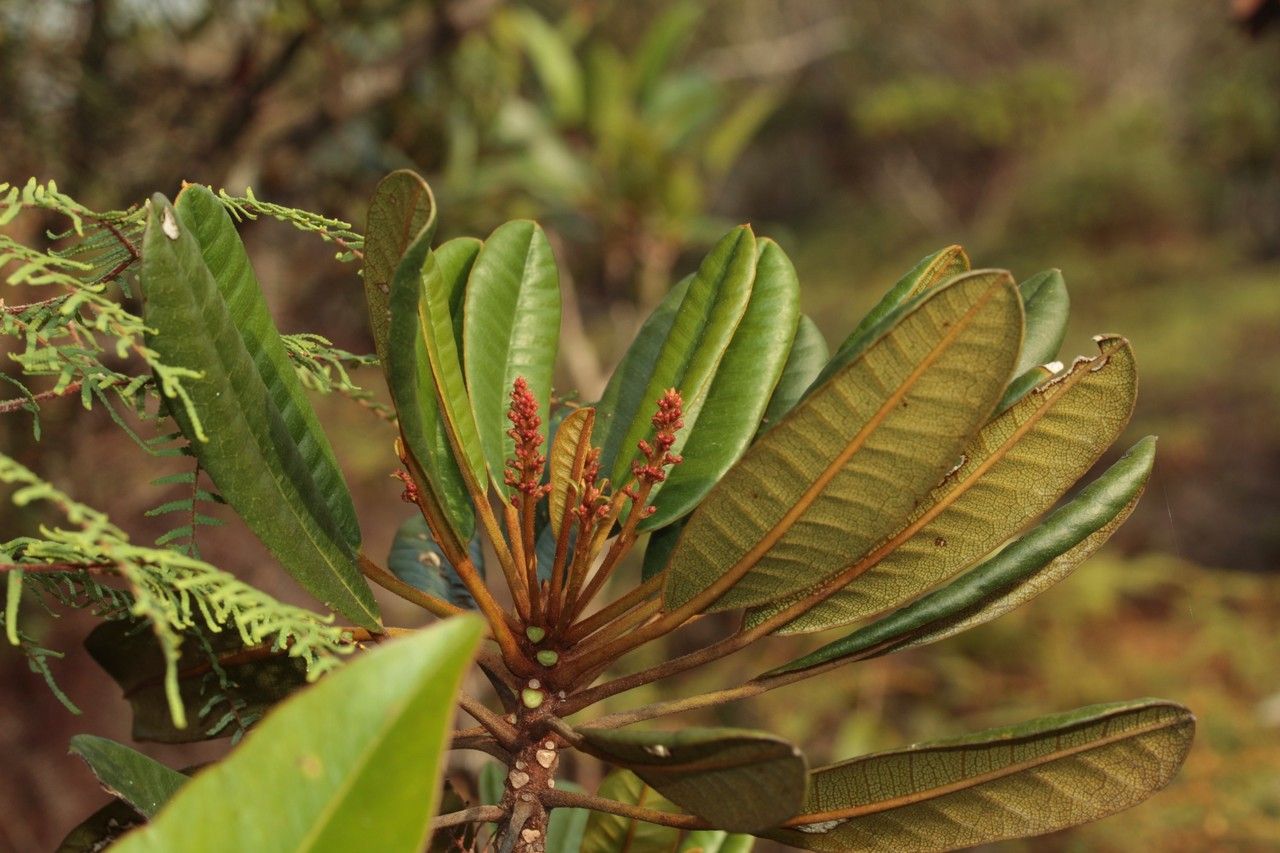
Oh, hello there! It’s so lovely to have you join me for a chat about one of my absolute favorite plants: Soulamea dagostinii. If you’ve seen this beauty, you know why. It has this incredible, airy foliage, often a lovely shade of green or even with subtle hints of bronze, and it just brings a touch of elegance to any space. And guess what? Bringing more of that beauty into your home, or sharing it with friends, is entirely possible – and incredibly satisfying – through propagation!
Now, I’ll be honest, Soulamea dagostinii isn’t always the easiest plant to get started with for absolute beginners. It can be a tad fussy, but with a little attention and the right approach, you’ll be rewarded with a whole new little plant before you know it. Think of it as a rewarding challenge, a chance to really hone your green thumb skills.
The Best Time to Start
When it comes to coaxing new life from your beloved Soulamea, I’ve found that spring and early summer are truly your best bet. This is when the plant is actively growing, energized by longer days and warmer temperatures. You’ll be working with healthy, vigorous stems, which drastically increases your chances of success compared to trying to propagate during its dormant phase. Look for stems that are not too old and woody, but also not brand new and sappy. A semi-hardwood cutting, if you will, is usually ideal.
Supplies You’ll Need
Gathering your supplies beforehand makes the whole process so much smoother. Here’s what I usually have on hand:
- Sharp Pruning Shears or a Knife: For clean cuts that heal well. Make sure they are sterilized with rubbing alcohol between cuts to prevent disease spread.
- Rooting Hormone: A powder or gel. It’s not strictly essential for all plants, but for Soulamea, I find it gives a significant boost.
- Potting Medium: A well-draining mix is crucial. I often use a blend of equal parts perlite and peat moss or coco coir. Some people like to add a bit of fine bark.
- Small Pots or Propagation Trays: With drainage holes, of course!
- Clear Plastic Bag or Dome: To create a humid environment.
- Watering Can or Spray Bottle: For gentle watering.
- Optional: Seedling Heat Mat: For bottom warmth, which can really speed up root development.
Propagation Methods
For Soulamea dagostinii, my go-to method is stem cuttings. It’s reliable and yields great results when done correctly.
- Take Your Cuttings: In spring or early summer, select a healthy stem. Using your sterilized shears, take a cutting that is about 4-6 inches long. Make the cut just below a leaf node (where the leaf attaches to the stem).
- Prepare the Cutting: Gently remove the lower leaves from the cutting. You want to expose at least two to three nodes along the stem. If the cutting has any flowers or developing buds, pinch those off – we want all the energy directed towards root growth, not flowering or fruiting.
- Apply Rooting Hormone: Dip the cut end of the stem into your rooting hormone, ensuring the nodes are covered. Tap off any excess.
- Plant the Cutting: Fill your small pots with your prepared, moistened potting mix. Make a small hole in the center of the mix with your finger or a pencil. Insert the prepared cutting into the hole, ensuring that at least one leaf node is buried beneath the surface. Gently firm the soil around the base of the cutting.
- Create a Humid Environment: Water the soil gently. Then, cover the pot with a clear plastic bag, propping it up with stakes so it doesn’t touch the leaves, or place it under a propagation dome. This traps moisture and creates the high humidity that Soulamea cuttings crave.
- Provide Light and Warmth: Place the pot in a bright location but out of direct, scorching sunlight. If you have a seedling heat mat, this is the time to use it – place the pot on top for consistent bottom warmth.
The “Secret Sauce” (Pro Tips)
Here are a few little tricks I’ve learned over the years that can really make a difference:
- Don’t Drown Your Leaves: When you water, be careful not to let the leaves of your cutting sit in soggy soil or standing water. This is a fast track to rot. Aim to water the soil itself. If the leaves do get wet, gently blot them dry with a paper towel.
- Bottom Heat is Your Friend: As I mentioned, a seedling heat mat can be a game-changer. It encourages root cells to divide and grow much faster than they would at ambient room temperature. If you don’t have a dedicated mat, place your pot near a warm appliance, but always monitor for overheating or drying out.
- Be Patient with Watering: While humidity is key, don’t keep the soil constantly waterlogged. Let the surface of the soil dry out slightly between waterings. This encourages the roots to search for moisture, making them stronger.
Aftercare & Troubleshooting
Once your cuttings have been in their humid little greenhouses for a few weeks, you’ll start to look for signs of life. The best indicator that rooting is happening is new leaf growth. If you gently tug on the cutting and feel a slight resistance, that’s another good sign. Once you see consistent new growth and feel that resistance, you can start to gradually acclimate your new plant to lower humidity. Slowly loosen the plastic bag or open the dome for a few hours each day before removing it entirely. Continue to keep it in bright, indirect light and water when the top inch of soil feels dry.
Troubleshooting is part of the process! The most common issue you might face is rot. If your cutting turns black and mushy, or if the leaves yellow and droop without any signs of rooting, it’s likely a sign of too much moisture and not enough air circulation. If you suspect rot, you might need to start over with a fresh cutting. Another thing to watch for is drying out. If the soil becomes completely dry, the cutting can shrivel and fail. Keep an eye on that moisture level!
A Encouraging Closing
See? It’s not rocket science, but it does take a little care and observation. Don’t get discouraged if your first attempt isn’t a roaring success. Every plant, and every cutting, is a learning experience. The joy of watching those tiny roots emerge and a new leaf unfurl is truly a special feeling. So, be patient, enjoy the process, and happy propagating!
Resource: