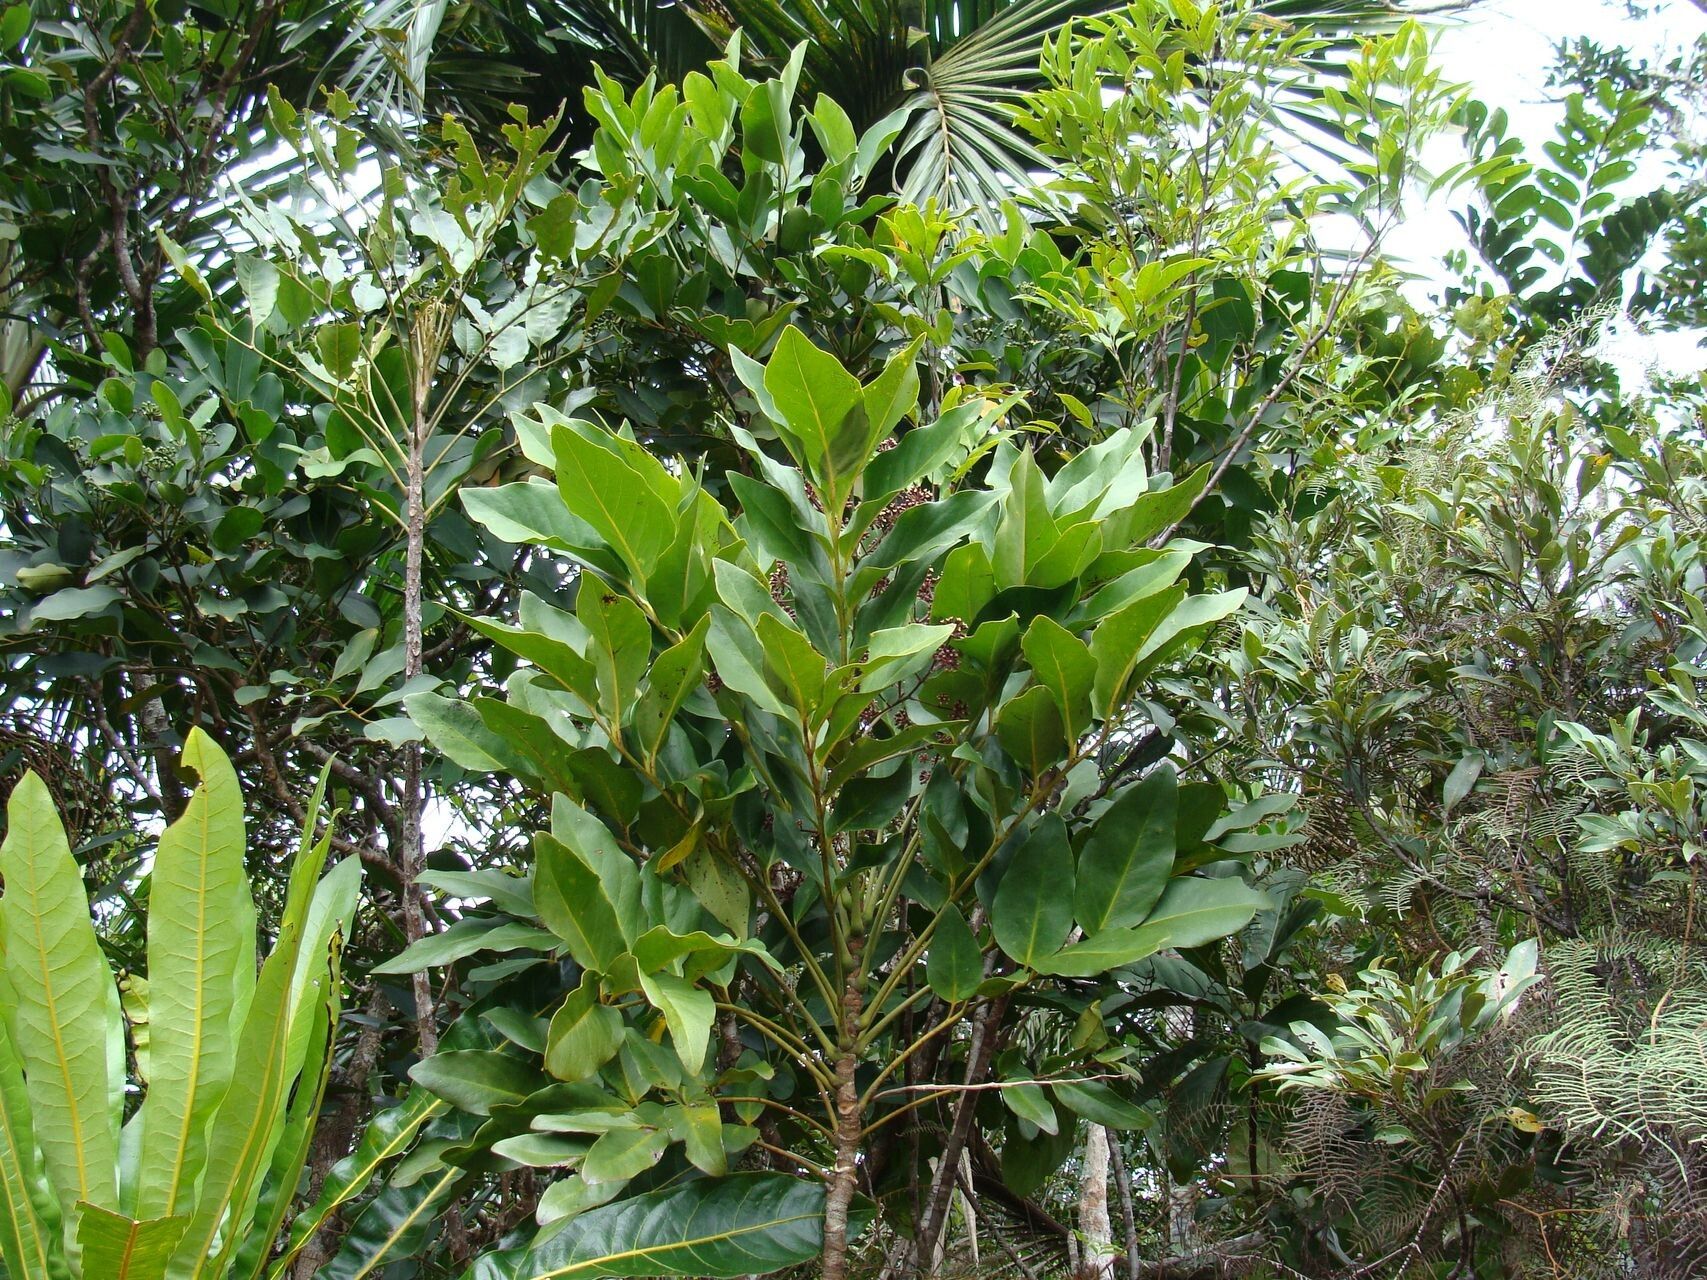
Oh, hello there! I’m so glad you’ve found your way to my little corner of the internet. Today, we’re diving into the wonderful world of propagating Delarbrea montana. If you’ve ever admired its lush foliage and unique charm, you’re in for a treat. Getting more of these beauties for yourself is incredibly satisfying, a real little win in the garden. Now, I won’t lie, Delarbrea montana can be a tad bit fussy, so for absolute beginners, it might be a bit of a learning curve. But with a little patience and these tips, you’ll be well on your way.
The Best Time to Start
For the absolute best chance of success, I always recommend taking cuttings in the late spring or early summer. This is when the plant is actively growing and has a good amount of energy to put into rooting. You’ll notice new growth emerging – that’s the perfect time to snip!
Supplies You’ll Need
Gathering your supplies beforehand makes the whole process smoother. Here’s a little checklist for you:
- Sharp, clean pruning shears or a sharp knife: For making clean cuts.
- Rooting hormone (optional, but recommended for Delarbrea): A powder or gel to encourage root development.
- Well-draining potting mix: A blend of peat moss and perlite or perlite and vermiculite works wonderfully. You want something that dries out nicely.
- Small pots or seedling trays: Clean ones, of course!
- Clear plastic bags or a propagation dome: To create a humid environment.
- Spray bottle: For misting.
- Labels and a permanent marker: To keep track of what you’ve propagated and when.
Propagation Methods
We’ll focus on the most reliable method for Delarbrea montana: stem cuttings.
- Select a healthy stem: Look for a piece of new, but not overly soft, growth. A section about 4-6 inches long is ideal.
- Make a clean cut: Just below a leaf node (where a leaf attaches to the stem). This is crucial because that’s where the magic happens – where roots are most likely to form.
- Remove lower leaves: Strip off the leaves from the bottom half of the cutting. This prevents them from rotting in the soil or water and encourages the plant to send energy to root development. You can leave a few leaves at the top to help with photosynthesis.
- Apply rooting hormone (if using): Dip the cut end into your rooting hormone, tapping off any excess.
- Plant the cutting: Moisten your well-draining potting mix and then gently insert the cutting into it. Make sure at least one leaf node is buried beneath the surface. Firm the soil gently around the stem.
- Create a humid environment: Water your cuttings gently, and then cover them with a clear plastic bag or place them under a propagation dome. Poke a few small holes in the bag for ventilation if you’re not using a dome.
- Find a bright spot: Place your pots in a bright location with indirect light. Avoid direct sunlight, as it can scorch the young cuttings.
The “Secret Sauce” (Pro Tips)
Here are a couple of things I’ve learned over the years that really make a difference for trickier plants like Delarbrea.
- Bottom heat is your friend: If you have a warmth-seeking plant, providing gentle heat from below can significantly speed up root formation. A seedling heat mat works wonders for this. It mimics the warmth of spring soil.
- Don’t be tempted to overwater: This is probably the biggest killer of cuttings. The soil should be consistently moist, but never soggy. Check it regularly and only water when the top inch feels dry. Rot is the enemy here!
Aftercare & Troubleshooting
Once your cuttings have developed roots – you’ll know because they’ll resist a gentle tug when you try to pull them out – it’s time to give them a bit more space.
Carefully transplant your new plant into a slightly larger pot with fresh potting mix. Continue to keep it in bright, indirect light and water consistently. Gradually introduce it to more light over a couple of weeks.
The most common issue you might face is rot. If your cutting starts to look mushy, discolored, or simply collapses, it’s likely rotted from overwatering or poor drainage. Unfortunately, there’s usually no coming back from that, but don’t despair! Just clean up, sanitize your tools, and try again. Sometimes, white mold or fungus can appear on the soil surface. This usually means it’s too wet and not enough air circulation. Gently scrape it off and ensure better airflow.
A Little Patience, A Lot of Reward
Propagating plants is a journey, not a race. There will be times when things don’t quite work out, and that’s perfectly okay. Every gardener has lost cuttings! But when you see those tiny roots emerge, and then watch your new Delarbrea montana thrive, it’s the most wonderful feeling. So, get your hands dirty, be patient, and enjoy the magic of growth! Happy propagating!
Resource:
https://identify.plantnet.org/k-world-flora/species/Delarbrea%20montana%20R.Vig./data