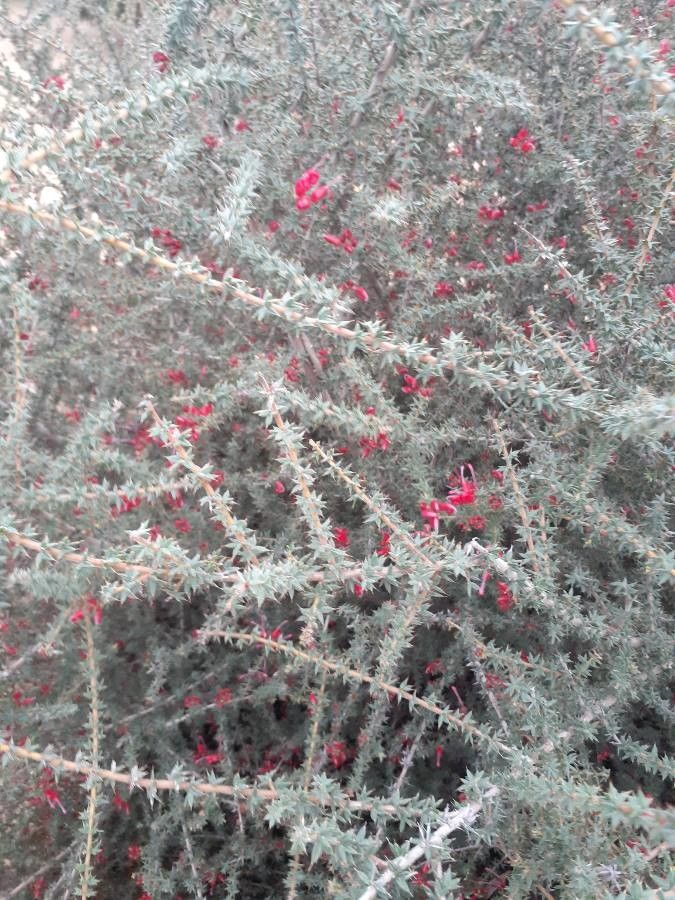
Hello, fellow garden enthusiasts! Today, I want to talk about a truly special Australian native that brings such charm to any garden: Grevillea asteriscosa. Its delicate, star-shaped flowers are a magnet for birds and pollinators, and the silvery-green foliage is a beautiful textural element. Propagating Grevillea asteriscosa can feel a little daunting at first, but trust me, with a bit of understanding and patience, it’s a wonderfully rewarding process. It’s not the absolute easiest plant for the brand-new propagator, but with these tips, you’ll soon be well on your way.
When the Time is Just Right
For Grevillea asteriscosa, the best time to take cuttings is usually in late spring to early summer. This is when the plant is actively growing and has plenty of semi-hardwood material available. You’re looking for stems that have started to firm up a bit, not brand-new, flimsy growth, but also not old, woody stems. Think of a pencil – firm, but still flexible.
Your Propagation Toolkit
Gathering the right gear makes all the difference. Here’s what you’ll want to have on hand:
- Sharp pruning shears or secateurs: Cleanliness is key!
- Rooting hormone: A powder or gel specifically for softwood/semi-hardwood cuttings.
- Small pots or propagation trays: With drainage holes, of course.
- Well-draining potting mix: A good blend is coarse sand, perlite, and a little peat moss or coco coir. Aim for something that won’t hold too much moisture.
- A clear plastic bag or propagator lid: To create a humid microclimate.
- Optional: A heat mat: This is a real game-changer for encouraging root development.
- Labels and a marker: So you don’t forget what you planted where!
Growing New Grevilleas: Step-by-Step
My preferred method for Grevillea asteriscosa is stem cuttings. It’s reliable and gives you a good success rate if you follow these steps carefully.
- Take your cuttings: On a mild morning, select a healthy branch. Using your clean secateurs, take cuttings about 10-15 cm long. Immediately pop them into a jar of water to keep them turgid while you prepare them.
- Prepare the cuttings: Remove the lower leaves from the cutting, keeping just a few at the very top. If the leaves are very large, you can even cut them in half to reduce water loss.
- Apply rooting hormone: Dip the cut end of the stem into some rooting hormone, ensuring it’s evenly coated. Tap off any excess.
- Pot them up: Fill your pots with your special potting mix. Make a small hole with a pencil or your finger and insert the cutting firmly into the mix. Gently firm the soil around the stem.
- Create humidity: Water the soil lightly. Then, cover the pot with a clear plastic bag or place it in a propagator, ensuring the leaves don’t touch the sides or soil. This traps moisture and prevents the cuttings from drying out.
- Find a bright spot: Place your pots in a bright location out of direct, hot sun. A greenhouse or a bright windowsill is perfect.
My Little “Secret Sauce” for Success
Over the years, I’ve learned a few tricks that seem to make all the difference.
- Firstly, bottom heat is incredible. If you have a heat mat, place your pots on it. This gentle warmth applied from below really encourages those roots to get moving. You’ll often see a significant difference in rooting speed.
- Another tip? Don’t be tempted to pull them up and check for roots too early! Patience is a virtue here. Look for signs of new growth at the top, which usually indicates root formation. If you’re unsure, a very gentle tug might reveal some resistance.
- Finally, when you pot up your cuttings, I find that adding a small amount of slow-release native plant fertilizer to the potting mix, or giving them a very dilute feed once they’ve established, can give them that extra boost they often appreciate.
Nurturing Your New Green Children
Once your cuttings have formed a good root system (this can take anywhere from 4-8 weeks, or even longer), you can carefully transplant them into individual pots using a good quality potting mix, preferably one formulated for Australian native plants. Keep them in a bright spot, out of harsh sun, and water them regularly, allowing the soil to dry slightly between waterings.
The most common sign of failure is wilting and browning of the leaves, which usually means the cutting has dried out or rotted. If you notice mould or a mushy stem, it’s likely too much moisture and poor air circulation. Ensure your mix is free-draining and the humidity isn’t excessive once roots start to form.
So there you have it! Propagating Grevillea asteriscosa is a journey, not a race. Embrace the process, celebrate the little victories, and before you know it, you’ll have a whole collection of these beautiful plants to enjoy. Happy propagating!
Resource:
https://identify.plantnet.org/k-world-flora/species/Grevillea%20asteriscosa%20Diels/data