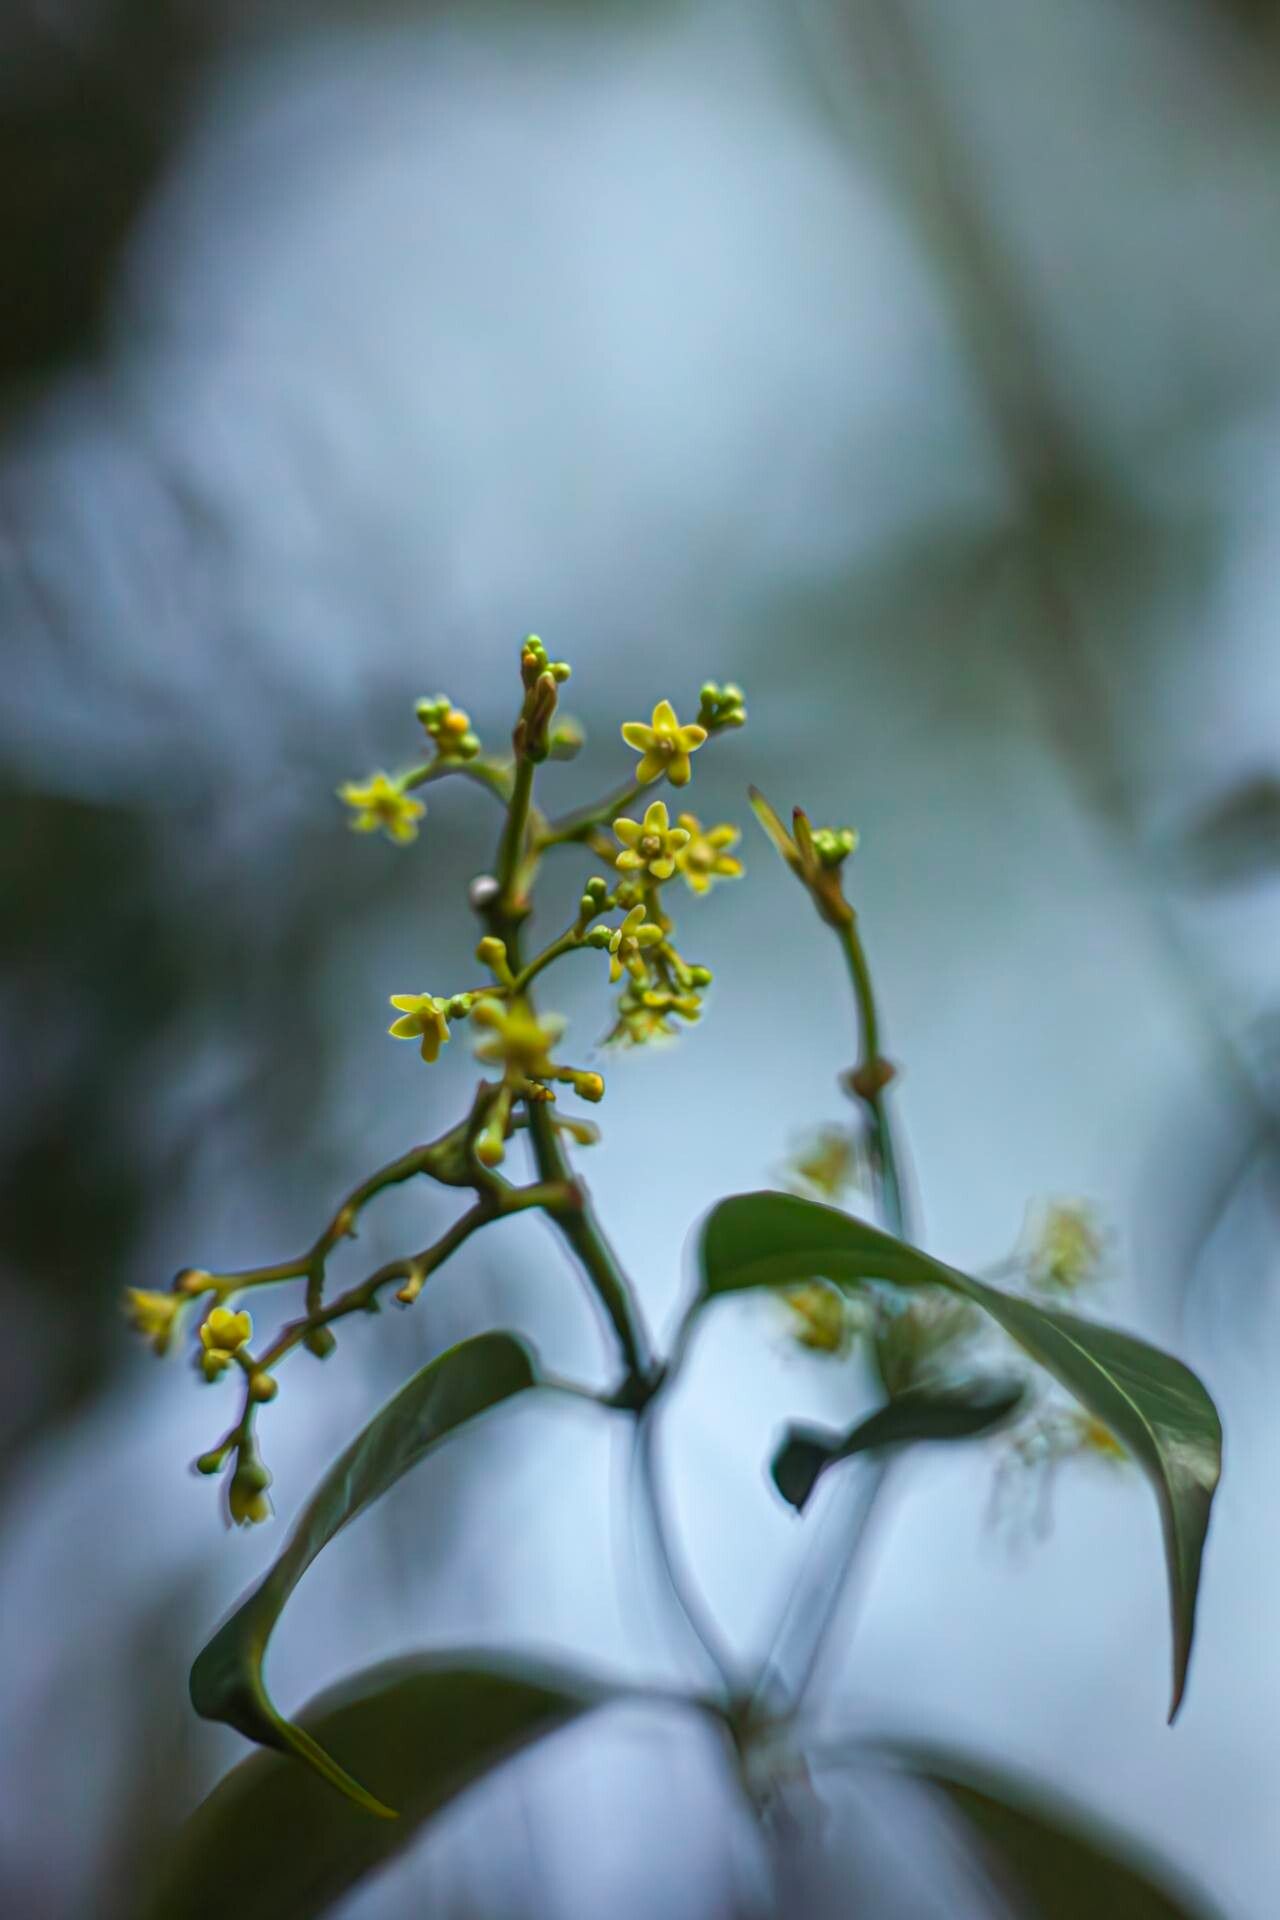
Hello fellow plant lovers! Today, we’re diving into the world of Secamone elliptica, a truly captivating vine. If you’re drawn to its unique, waxy leaves and the joy of seeing a new plant emerge from a piece of its parent, you’re in for a treat. Propagating this beauty might sound a little intimidating, but trust me, with a little know-how, it’s a wonderfully rewarding experience. It’s not the absolute easiest plant to propagate, but it’s certainly not out of reach for most home gardeners willing to give it a go!
The Best Time to Start
Honestly, spring and early summer are your best bets for propagating Secamone elliptica. This is when the plant is actively growing and has plenty of energy stored up. You want to take cuttings from healthy, vigorous stems that are neither brand new and soft nor old and woody. Think of a stem that’s firm but still pliable – that’s your sweet spot.
Supplies You’ll Need
Before we get our hands dirty, let’s gather our tools:
- Sharp pruning shears or a clean, sharp knife: For making clean cuts.
- Rooting hormone (optional but recommended): A powder or gel that encourages root development.
- Potting mix: A well-draining mix is crucial. I like to use a blend of equal parts peat moss, perlite, and a bit of compost.
- Small pots or propagation trays: With drainage holes, of course!
- Plastic bags or a clear plastic dome: To create a humid environment.
- Watering can or spray bottle: For gentle watering.
- Labels: To keep track of your new green babies.
Propagation Methods
Let’s talk cuttings! This is the most common and successful way to propagate Secamone elliptica.
Stem Cuttings:
- Select your cutting: Choose a healthy stem that is about 4-6 inches long. Make sure it has at least two to three sets of leaves.
- Make the cut: Using your clean shears or knife, make a clean cut just below a leaf node. A leaf node is where a leaf attaches to the stem; this is where roots will likely emerge.
- Prepare the cutting: Gently remove the lower leaves, leaving only the top one or two. This prevents the leaves from rotting when buried.
- Apply rooting hormone (optional): Dip the cut end of the stem into your rooting hormone, tapping off any excess.
- Plant your cutting: Fill your small pot with your well-draining potting mix. Make a small hole in the center with your finger or a pencil. Gently insert the cut end of the stem into the hole, ensuring the leaf nodes are in contact with the soil. Firm the soil around the cutting.
- Water gently: Water the soil thoroughly but carefully. You don’t want to disturb the cutting.
- Create humidity: Cover the pot with a clear plastic bag or a propagation dome. Make sure the leaves aren’t touching the sides of the bag if possible. Poke a few small holes in the bag for airflow or open it daily for a few minutes.
- Place in bright, indirect light: Keep your cuttings in a warm spot with plenty of bright, indirect light. Avoid direct sunlight, which can scorch them.
The “Secret Sauce”
Here are a couple of my favorite tricks that have really helped me with trickier propagations:
- Bottom Heat is your friend: If you have a heated propagation mat, use it! Providing gentle bottom heat can significantly speed up root formation and give your cuttings a real boost, especially in cooler spring temperatures.
- Don’t drown them, mist them: While you want the soil to stay consistently moist, it’s easy to overwater. Instead of drenching the pot every time, try lightly misting the soil and the leaves with a spray bottle every few days (or more often if the humidity dome isn’t holding moisture well). This keeps things humid without waterlogging.
Aftercare & Troubleshooting
Once your cuttings have been in their humid little homes for a few weeks, you’ll want to check for roots. You can do this by gently tugging on the stem. If you feel resistance, roots are forming! You can also look for new leaf growth – that’s a good sign too.
Once you see good root development, it’s time to gradually acclimate your new plant to lower humidity. Slowly remove the plastic bag or dome over a week or so, opening it for longer periods each day. Continue to keep it in bright, indirect light.
Common signs of failure usually involve rot. If your cutting turns mushy and black, or if you see mold on the soil surface, it’s likely too much moisture and not enough airflow. Don’t be discouraged if a few cuttings don’t make it – it happens to the best of us! Just clean up the pot and try again.
Happy Propagating!
Seeing a new plant emerge from a tiny cutting is one of the most satisfying parts of gardening. Be patient with your Secamone elliptica cuttings; they can take their time. Enjoy the process, learn from each attempt, and soon you’ll have a whole collection of these stunning vines to share (or keep all to yourself!). Happy growing!
Resource:
https://identify.plantnet.org/k-world-flora/species/Secamone%20elliptica%20R.Br./data