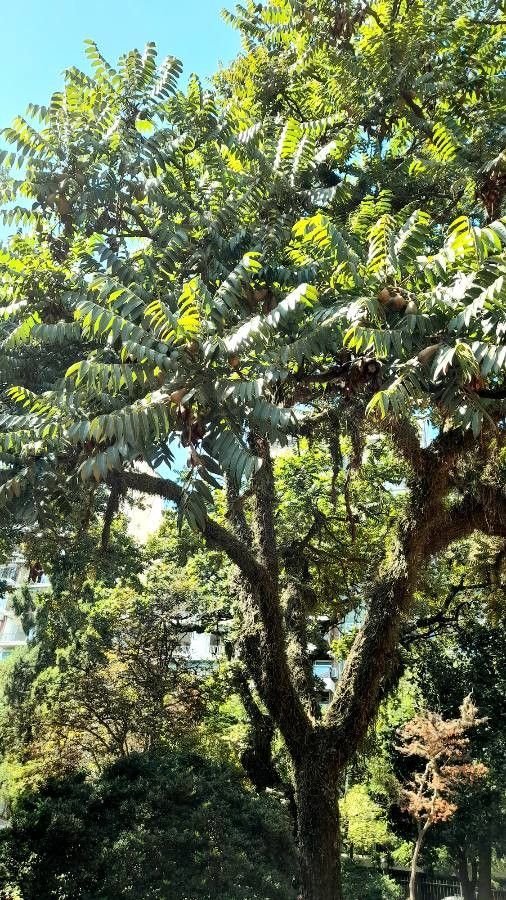
Hello, wonderful gardeners! Today, we’re diving into the world of a truly special tree: Cedrela fissilis, also known as the Brazilian Cedar or Yvyrá-pytá. This tree is a gem, filling the air with a beautiful fragrance and offering gorgeous timber. For me, watching a tiny cutting transform into a robust little tree is one of gardening’s greatest joys. If you’re curious about giving propagation a go, I’m thrilled to share how we can do it with Cedrela fissilis. It’s a plant that rewards patience, and while it might feel a little daunting at first, I promise you, it’s absolutely achievable!
The Best Time to Start
For the highest success rate with Cedrela fissilis, I find late spring to early summer is your golden window. This is when the plant is actively growing and has plenty of energy. You’ll want to take cuttings from young, healthy, and vigorous stems that haven’t flowered yet. Think of it as tapping into the plant’s youthful exuberance!
Supplies You’ll Need
Here’s what I gather before I get started:
- Sharp Pruning Shears or a Clean Knife: Essential for making clean cuts.
- Rooting Hormone: A powder or gel that encourages root development. Not strictly mandatory for all plants, but it really helps with Cedrela fissilis.
- Well-Draining Potting Mix: I like a blend of peat moss, perlite, and a bit of sand. Or, you can buy a good quality seedling mix.
- Small Pots or Seedling Trays: Clean and with drainage holes, of course!
- Plastic Bags or a Propagation Dome: To create a humid environment.
- Watering Can with a Fine Rose: For gentle watering.
- Optional: Bottom Heat Mat: If you have one, it can speed things up considerably.
Propagation Methods
While patience is key, there are a few ways we can coax our Cedrela fissilis into becoming new plants. I find stem cuttings to be the most reliable.
Stem Cuttings:
- Select Your Cuttings: Head out to your Cedrela fissilis on a bright, non-rainy day. Look for stems that are about pencil thickness and a foot long. Make your clean cut just below a leaf node (that little bump where a leaf grows).
- Prepare the Cuttings: Gently strip off the leaves from the bottom two-thirds of the cutting. If there are any large leaves remaining, you can cut them in half – this reduces water loss.
- Apply Rooting Hormone: Dip the cut end of the stem into your rooting hormone, ensuring it’s evenly coated. Tap off any excess.
- Potting Up: Fill your small pots or trays with your well-draining mix. Make a hole in the center with a pencil or your finger.
- Insert Cuttings: Gently place the treated end of the cutting into the hole and firm the soil around it. You can fit several cuttings into one pot, as long as they aren’t touching each other too much.
- Water Gently: Water thoroughly but gently. You want the soil to be moist, not waterlogged.
- Create Humidity: Cover the pots with a plastic bag or a propagation dome. This traps moisture and creates that humid microclimate the cuttings need to reduce stress and encourage rooting. Make sure the leaves don’t touch the plastic bag! You can use stakes to prop it up.
- Provide Warmth and Light: Place the pots in a bright location but out of direct sunlight. A little warmth from a bottom heat mat can be a game-changer here.
The “Secret Sauce” (Pro Tips)
Here are a few little tricks I’ve picked up over the years that make a difference:
- Think “Sauce” Not “Soup”: When you water your cuttings, aim for moist soil, not a swamp. Overwatering is the quickest way to invite rot, and that’s something we absolutely want to avoid with Cedrela fissilis.
- The Gentle Wake-Up: When you see the first signs of new growth (tiny leaves unfurling), don’t immediately rip off the humidity cover. Gradually increase ventilation over a few days. Open the bag a little for an hour, then two, and so on. This allows the new plant to acclimate to drier air.
- Bottom Heat is Magic: Seriously, if you can get your hands on a bottom heat mat, it’s a fantastic investment for propagation. It encourages the roots to form from the bottom up, giving your cuttings a stronger start.
Aftercare & Troubleshooting
Once you start seeing happy new leaves, rejoice! Gently remove the humidity cover. Continue to water as needed, allowing the top inch of soil to dry out slightly between waterings. Don’t fertilize until you see good, healthy new growth – usually a few weeks after rooting.
Common problems include rot, which is usually a sign of too much moisture and poor air circulation. If you see a cutting turning black and mushy, it’s best to discard it. Another sign of trouble is if the cutting wilts and doesn’t perk up after watering; this can also indicate rot or a lack of rooting. Don’t despair if some don’t make it; that’s part of the learning process!
A Encouraging Closing
Taking cuttings and nurturing them into new life is such a rewarding part of our gardening journey. Be patient with your Cedrela fissilis, my friends. Each cutting is a little experiment, and the joy of success is all the sweeter for the anticipation. Happy propagating, and enjoy the green rewards!
Resource:
https://identify.plantnet.org/k-world-flora/species/Cedrela%20fissilis%20Vell./data