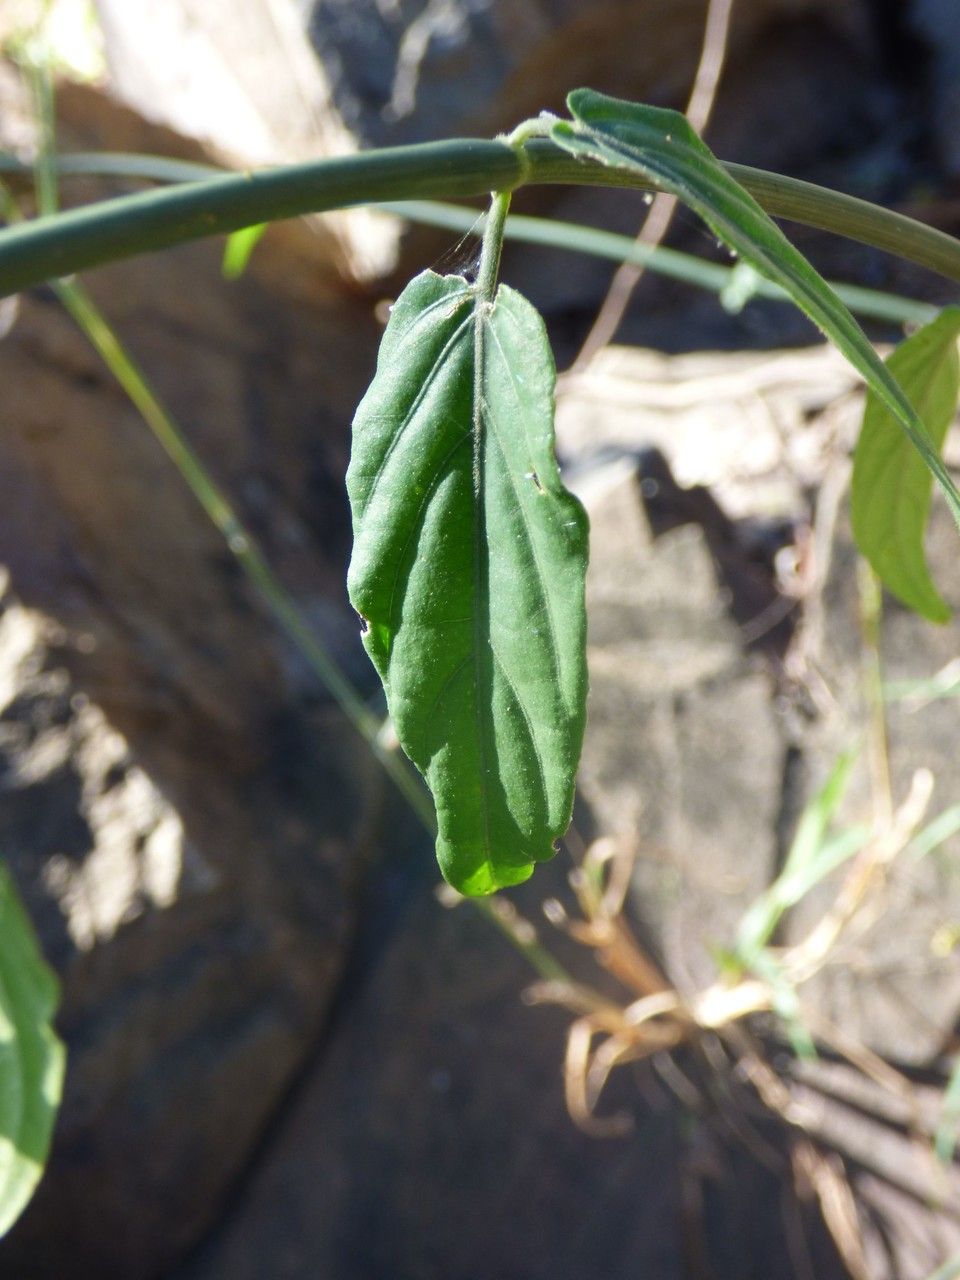
Oh, hello there, fellow plant enthusiast! I’m so glad you’ve come to chat about Clinacanthus nutans, also known as the ‘Sabah snake grass’ or ‘Belalai Gajah’. It’s a truly lovely plant, isn’t it? I’ve always adored its delicate, arching stems and those vibrant green leaves. Beyond its beauty, it’s also cherished for its medicinal properties, making it a rewarding plant to have in your garden, and even more so to share.
If you’re asking about propagating it, I’m happy to tell you that Clinacanthus nutans is generally quite forgiving, even for those just starting their propagation journey. You’ll find it’s a joy to work with!
The Best Time to Start
For the highest success rate, I find that the late spring or early summer is absolutely perfect. This is when the plant is actively growing and has plenty of energy. You’ll want to take cuttings from healthy, mature stems that haven’t flowered yet. Avoid anything that looks limp or stressed.
Supplies You’ll Need
Gathering your supplies beforehand makes the whole process so much smoother. Here’s what I usually have on hand:
- Sharp Pruning Shears or Scissors: Cleanliness is key to prevent disease.
- Rooting Hormone (Optional, but Recommended): This can give your cuttings a real boost. I prefer a powder or gel.
- Well-Draining Potting Mix: A good blend of potting soil, perlite, and a little bit of coarse sand works wonders. You want good aeration.
- Small Pots or Seed Trays: Clean, with drainage holes, of course!
- Watering Can or Spray Bottle: For gentle watering.
- Clear Plastic Bag or Dome: To create a humid environment for your cuttings.
- Labels: So you don’t forget what you planted where!
Propagation Methods
Clinacanthus nutans is wonderfully amenable to propagation, and stem cuttings are my go-to method.
Stem Cuttings
- Select Your Cuttings: As I mentioned, look for healthy, non-flowering stems about 4-6 inches long. Make a clean cut just below a leaf node (where a leaf attaches to the stem). This is where roots will most readily form.
- Prepare the Cuttings: Gently remove the lower leaves from the cutting, leaving just 2-3 leaves at the top. This helps the plant conserve energy. If your cuttings are long, you can even cut them in half, ensuring each piece has at least one leaf node.
- Apply Rooting Hormone (Optional): Dip the cut end of the stem into your rooting hormone. Tap off any excess.
- Plant Your Cuttings: Fill your small pots with your prepared potting mix. Make a small hole in the center with your finger or a pencil. Carefully insert the prepared cutting into the hole, ensuring the leaf node is buried in the soil. Gently firm the soil around the base of the cutting.
- Water Gently: Lightly water the soil until it’s moist but not waterlogged.
- Create Humidity: Place a clear plastic bag over the pot (making sure it doesn’t touch the leaves) or fit a humidity dome over your cuttings. This creates a mini-greenhouse environment that encourages rooting.
- Provide Bright, Indirect Light: Place your pots in a location that receives bright, filtered light. Avoid direct sunlight, which can scorch the delicate cuttings.
Water Propagation (An Alternative)
If you prefer to see the roots develop, water propagation is a lovely option!
- Prepare Your Cuttings: Follow steps 1 and 2 from the stem cutting method.
- Place in Water: Put the prepared cuttings in a clean glass or jar filled with fresh water. Make sure the leaf nodes are submerged, but crucially, don’t let the leaves touch the water. This can lead to rot.
- Change Water Regularly: Change the water every few days to keep it fresh and clean.
- Provide Bright, Indirect Light: Place the jar in a bright spot, away from direct sun.
- Pot Up When Roots Appear: Once you see an inch or so of healthy root growth, you can gently pot your cuttings into your well-draining soil mix, following steps 4-7 from the stem cutting method.
The “Secret Sauce” (Pro Tips)
Here are a couple of things I’ve learned over the years that can really make a difference:
- The Bottom Heat Trick: If you have the option, placing your pots on a gentle heat mat can significantly speed up root development. It mimics the warmth of the soil in warmer months. Just a gentle warmth, not hot!
- Don’t Be Impatient with Leaf Drop: Sometimes, a cutting might drop a leaf or two. Don’t panic! This is often a sign the plant is focusing its energy on root formation. As long as the stem itself looks healthy, give it time.
Aftercare & Troubleshooting
Once you see new growth emerging from your cuttings, that’s a fantastic sign that roots have formed!
- Gradually Acclimate: If you’ve used a plastic bag or dome, start by removing it for a few hours each day, gradually increasing the time until it’s fully removed. This helps the new plant adjust to normal humidity levels.
- Water When Needed: Water when the top inch of soil feels dry to the touch. Avoid overwatering at all costs; soggy soil is the quickest way to invite problems.
- Signs of Trouble: The most common issue you might encounter is rot. If your cutting looks mushy or dark at the base, it’s likely rotted. This is usually due to overwatering and poor drainage. If you catch it early, you might be able to salvage the healthy part of the stem, but often, it’s best to discard it and start fresh. Yellowing leaves can sometimes indicate overwatering, while wilting might mean it needs more moisture, or perhaps it hasn’t rooted yet.
A Little Patience Goes a Long Way
Propagating Clinacanthus nutans is such a fulfilling endeavor. It’s a chance to understand your plant on a deeper level and to share its beauty and benefits with others. Remember to be patient with your little cuttings; they’re working hard to establish themselves. Enjoy the process, and don’t be afraid to experiment. Happy propagating!
Resource:
https://identify.plantnet.org/k-world-flora/species/Clinacanthus%20nutans%20(Burm.f.)%20Lindau/data