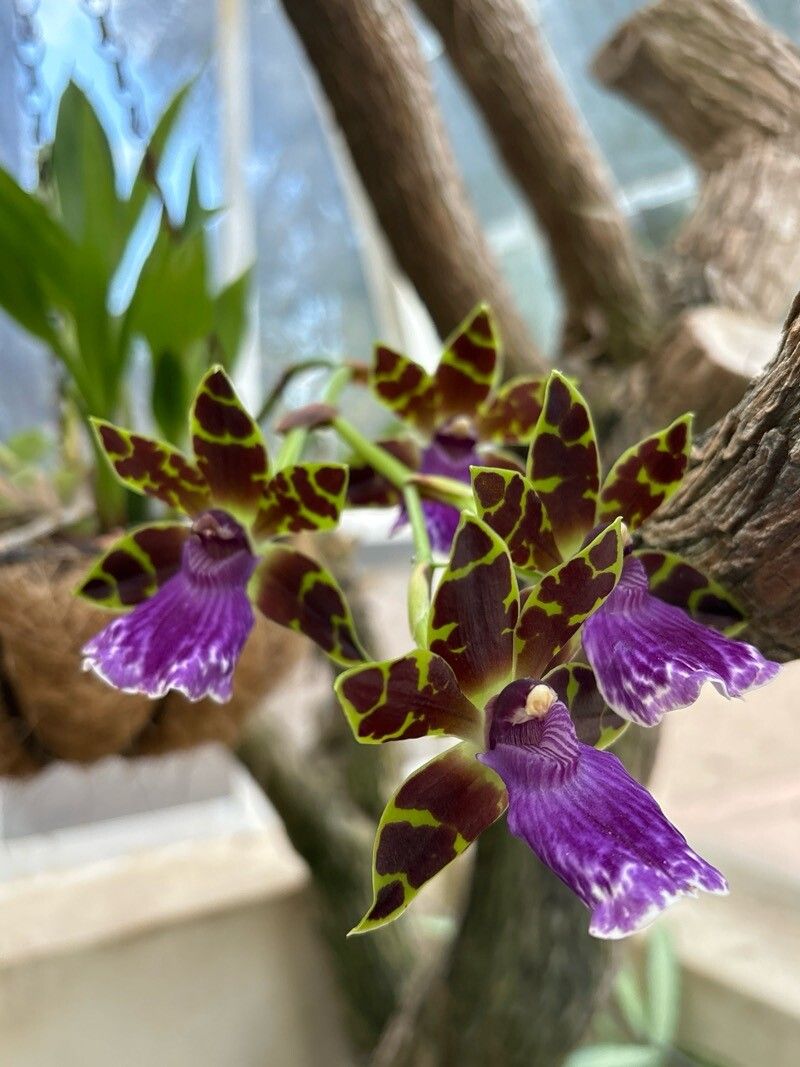
Hey there, fellow plant lovers! I’m so excited to chat with you today about propagating Zygopetalum maculatum. Now, if you haven’t met this beauty yet, imagine vibrant, often fragrant blooms in a riot of purples, greens, and browns. They have this incredible, almost alien allure that just captivates you. And the best part? You can share that magic by propagating them yourself!
Now, will this be a piece of cake for absolute beginners? Honestly, Zygopetalum maculatum can be a little more of a thoughtful process than, say, a succulent cutting. It’s not overly difficult, mind you, but it does require a touch more care and patience. That’s what makes it so rewarding, though – when you get it right, it feels like you’ve unlocked a secret!
The Best Time to Start
For Zygopetalum maculatum, the absolute sweet spot for propagation is during its active growing season. Think late spring and into summer. You’re looking for a plant that has recently finished blooming or is showing strong new growth on its pseudobulbs (those swollen stem bases). This vigorous energy is exactly what you want when you’re asking a plant to make a new one of itself!
Supplies You’ll Need
Here’s what you’ll want to have on hand before you dive in:
- Sharp, clean pruning shears or a sterile knife. Cleanliness is crucial to prevent disease.
- Potting medium. A well-draining orchid mix is ideal. I often mix in some sphagnum moss and perlite to ensure good aeration and moisture retention without getting waterlogged.
- New pots or containers. Small pots (around 4-6 inches) are perfect for divisions, and they should have drainage holes.
- Optional: Rooting hormone. While not strictly necessary for divisions, it can give cuttings a little boost.
- Clearly labeled plant tags. Trust me, you’ll thank yourself later!
- Watering can or spray bottle.
Propagation Methods
The most successful and common way to propagate Zygopetalum maculatum is through division. They tend to grow in clumps, and separating these into smaller, viable sections is the way to go.
Here’s how I do it:
- Gently remove the plant from its pot. Squeeze the pot gently or tap the sides to loosen it. If it’s really stuck, a thin knife around the edge might be needed.
- Brush away as much of the old potting mix as you can. You want to see the pseudobulbs and their roots clearly.
- Identify natural divisions. Look for sections of the plant that have at least two or three pseudobulbs and some healthy-looking roots. You’re essentially looking for pieces that can stand on their own.
- Carefully separate the divisions. You can often do this by hand, gently teasing the roots apart. If they’re really tangled, this is where your pruning shears or sterile knife come in. Cut between the pseudobulbs, making sure each division has enough root mass.
- Trim away any dead or damaged roots or leaves. A clean cut heals better!
- Pot up your new divisions. Place each division in its own pot, using your fresh orchid mix. Ensure the base of the pseudobulbs is just slightly above the surface of the mix.
- Water lightly. Give them a gentle watering to settle the mix around the roots.
The “Secret Sauce”
Years of trial and error have taught me a few tricks that seem to make all the difference:
- Don’t overwater, especially right away. New divisions need time for their roots to establish. While you want the potting mix to be slightly moist, letting it sit boggy will invite rot. I usually wait a day or two after dividing before the first real watering.
- Provide a humid environment. These guys love a good bit of humidity. A small greenhouse, a terrarium, or even just placing the pot on a pebble tray filled with water (making sure the pot isn’t sitting in the water!) can really help them thrive as they establish.
- Consider bottom heat. For any orchid propagation, a gentle warmth from below can be a game-changer. A seedling heat mat set to a low temperature (around 70-75°F or 21-24°C) encourages root development without drying out the plant too quickly.
Aftercare & Troubleshooting
Once your new divisions are potted, give them a bright, indirect light spot. Avoid direct sun, as it can scorch those tender new leaves. Continue to water when the potting mix is just starting to feel dry to the touch – this is key.
The most common issue you’ll face is rot. If you see pseudobulbs shriveling and turning mushy, or leaves browning and yellowing from the base upwards, it’s usually a sign of too much moisture or poor drainage. At this point, you might need to unpot the division, trim away the rot with your sterile knife, and repot in dry mix, holding back on watering for a while. It’s heartbreaking, I know, but it’s part of the learning journey!
A Gentle Encouragement
Propagating Zygopetalum maculatum is a beautiful way to expand your collection and share these stunning orchids. Be patient with your new divisions. It can take several months, and sometimes even a year, for them to truly establish and show significant new growth. Enjoy the process, learn from each step, and celebrate every new leaf and emerging root. Happy growing!
Resource:
https://identify.plantnet.org/k-world-flora/species/Zygopetalum%20maculatum%20(Kunth)%20Garay/data