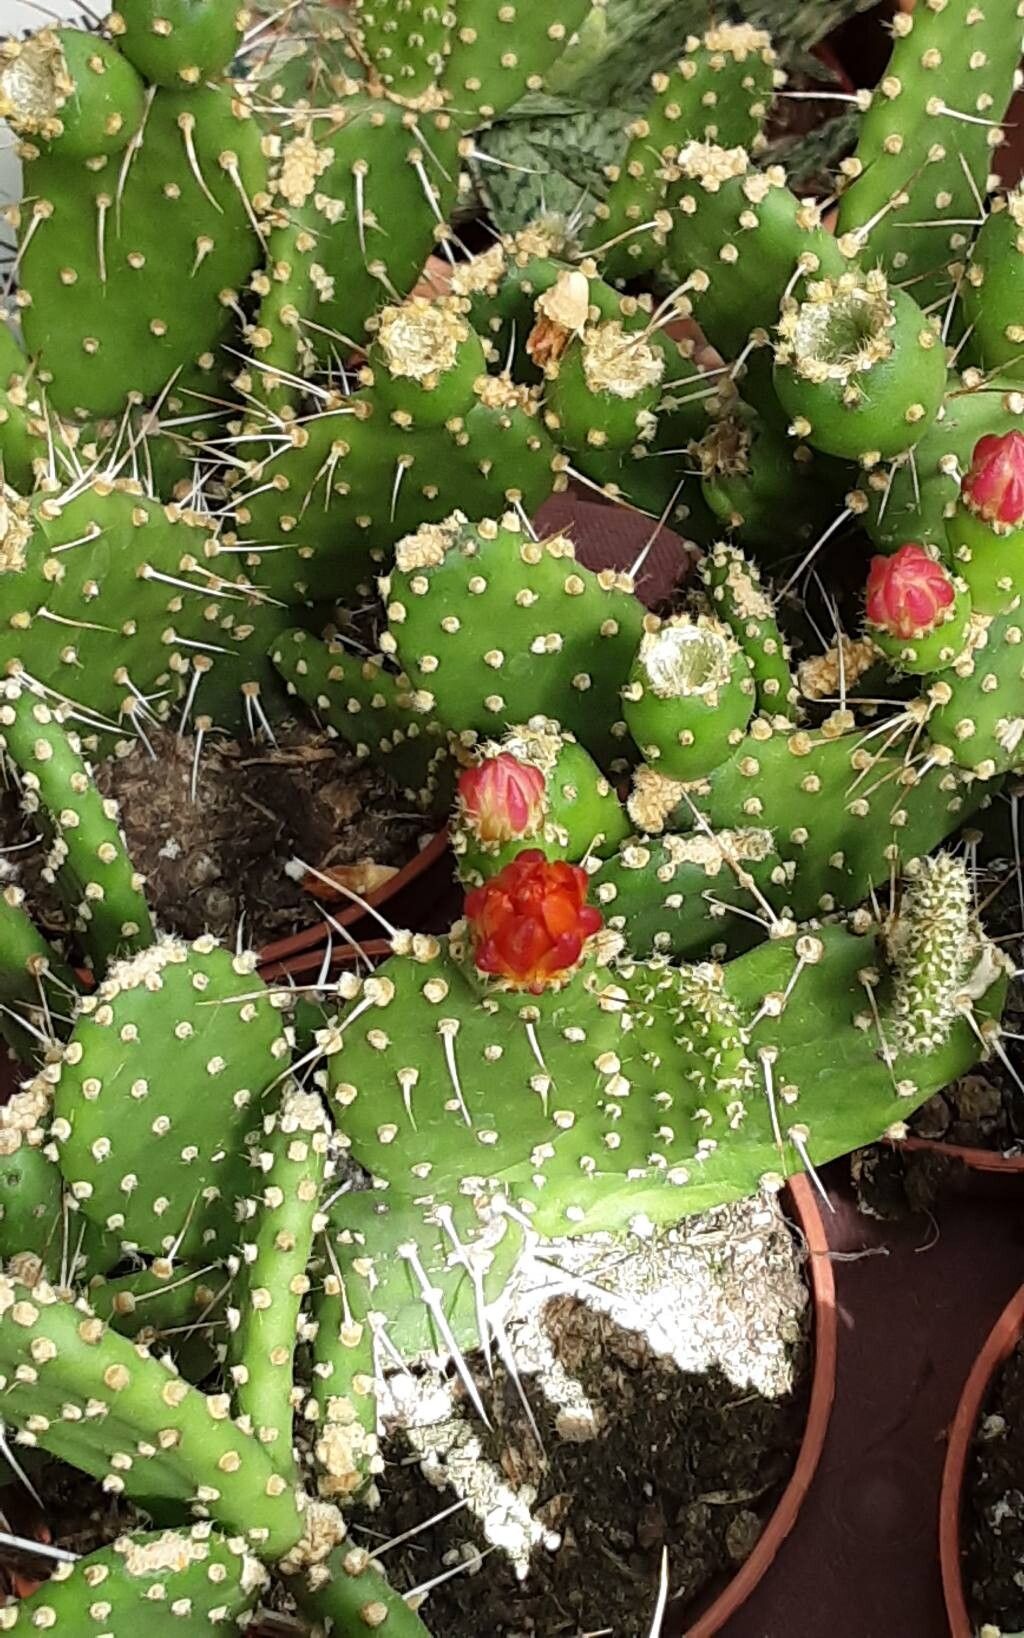
Hello, fellow plant lovers! Today, I want to share a little secret from my own garden: the magic of propagating Tacinga palmadora. If you’ve ever admired this striking cactus, with its paddle-shaped segments and delicate flowers, you’ve probably wondered how to get more of these beauties for yourself. And I’m here to tell you, it’s absolutely doable and incredibly rewarding!
Why Propagate Tacinga Palmadoro?
There’s a special satisfaction in nurturing a new plant from a small piece of its parent. For Tacinga palmadora, growing new plants is a fantastic way to fill out your collection or share these unique specimens with friends. Don’t be intimidated; while it’s a cactus, propagating it is surprisingly straightforward, even for those just dipping their toes into the world of propagation.
The Best Time to Start
Honestly, the best time to propagate Tacinga palmadora is during its active growing season. Think late spring through early summer. This is when the plant is energized and ready to put out new growth and, crucially, new roots. Starting then gives your cuttings the longest possible window to establish themselves before cooler weather arrives.
Supplies You’ll Need
Gathering your supplies beforehand makes the whole process smoother. Here’s what I always have on hand:
- Sharp, clean pruning shears or a knife: Essential for making clean cuts.
- Tacinga palmadora cuttings: Of course!
- Well-draining potting mix: I often use a cactus/succulent mix, sometimes amended with perlite or pumice for extra aeration. A 50/50 blend works wonders.
- Rooting hormone (optional but recommended): This really gives your cuttings a helpful boost. Look for one specifically for cacti and succulents if you can.
- Small pots or trays: Terracotta pots are my go-to because they breathe well.
- Gloves (optional): Cacti can be pokey!
- Watering can or spray bottle: For gentle watering.
Propagation Methods: Stem Cuttings are Key!
For Tacinga palmadora, the most successful and widely used method is stem propagation. It’s simple and effective.
- The Cut: Select a healthy, mature paddle (segment) from your parent plant. Using your sharp, clean shears, make a clean cut at the joint where the paddle connects to the main stem or another paddle. Avoid taking overly long segments for your first try; a piece that’s 4-6 inches long is usually perfect.
- Callousing is Crucial: This is perhaps the most important step for cactus propagation. After you’ve taken your cutting, you can’t just stick it in the soil. Let the cut end dry and form a callous. Place your cutting in a dry, airy spot away from direct sunlight for 3-7 days. You’ll see the cut end turn dry and a bit brown and leathery. This prevents rot.
- Wipe Away Spines (Optional): If your cutting has particularly fierce spines, you might want to gently remove some of them from the bottom portion that will go into the soil, or just be careful.
- Rooting Hormone (If Using): Once the callous has formed, lightly dip the dried end into your rooting hormone. Tap off any excess.
- Planting Your Cutting: Fill your small pot with your well-draining potting mix. Make a small hole in the center of the soil. Gently insert the calloused end of your Tacinga palmadora cutting into the hole.
- Firm It Up: Gently firm the soil around the base of the cutting to keep it upright and stable. It should be able to stand on its own.
The “Secret Sauce” (Pro Tips)
Here are a few tricks I’ve learned over the years that can really help your propagation efforts:
- “Dry” Planting is Best: For the initial planting, I usually avoid watering immediately. Let the cutting settle into its new soil for a few days to a week. This further reduces the risk of rot by allowing any microscopic damage from planting to start healing.
- Bottom Heat is a Game Changer: If you have the means, placing your potted cuttings on a seedling heat mat can dramatically speed up root development. Cacti generally love warmth, and consistent bottom heat mimics their natural environment and encourages root growth.
- Embrace the Wait: Cacti aren’t the fastest rooters. Patience is key. Don’t be tempted to constantly dig them up to check for roots. Trust the process!
Aftercare & Troubleshooting
Once your cutting is planted, position it in a bright location, but avoid intense, direct sunlight for the first few weeks. This can scorch a brand-new cutting.
When you finally decide to water (after that initial dry period), do so lightly. You want the soil to be slightly moist, not soggy. Water again only when the soil has dried out completely. You can gently tug on the cutting after about 4-6 weeks. If you feel resistance, congratulations! Roots are forming.
The biggest culprit for propagation failure with cacti is rot. If your cutting starts to look mushy, discolored, or smells funny, it’s likely rotting. Sadly, at that point, it’s usually best to discard it and start again. Rotting is almost always caused by too much moisture and not enough airflow.
Happy Growing!
Propagating Tacinga palmadora is a wonderful journey. It’s a lesson in patience and observation, and the reward of seeing a new plant flourish is truly unmatched. Take that cutting, follow these steps, and enjoy watching your new cactus grow. Happy gardening!
Resource: