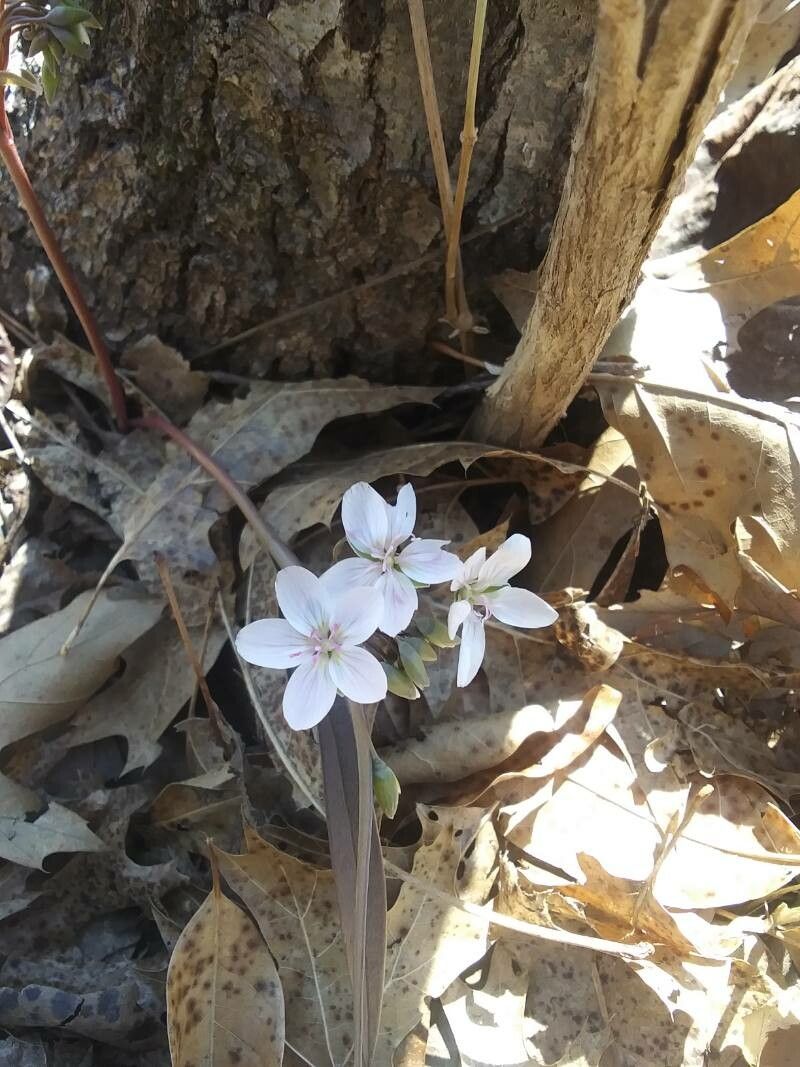
Oh, hello there! Welcome to my little virtual garden corner. Today, we’re diving into the delightful world of Claytonia rosea, also known as the pink purslane for its lovely rosy blooms and succulent-like leaves. It’s one of those plants that just brightens up a shady spot with its cheerful color, and honestly, having more of them feels like a little victory. Propagating this beauty is a truly rewarding experience, and I’m happy to say, it’s quite achievable for beginners. You don’t need to be a seasoned pro to give this a go!
The Best Time to Start
When it comes to getting the most bang for your buck with Claytonia rosea, the sweet spot is definitely during its active growing season. Think late spring through summer. This is when the plant is full of vigor, producing new growth that’s eager to take root. Starting then gives your new little ones the best chance to establish themselves before the cooler weather rolls in.
Supplies You’ll Need
Gathering your tools is half the fun, right? Here’s what you’ll want to have on hand:
- Sharp, clean pruning shears or a sharp knife: For making those precise cuts.
- Well-draining potting mix: A blend of potting soil, perlite, and a bit of coarse sand works wonders. You want it to dry out fairly quickly.
- Small pots or trays: Clean ones, of course! Even yogurt cups with drainage holes will do in a pinch.
- Rooting hormone (optional but recommended): This can give your cuttings a little boost. Look for a powder or gel.
- Watering can with a fine rose: To water gently without disturbing your new propagations.
- Plastic bag or propagation dome: To keep humidity levels high, especially in the beginning.
Propagation Methods
For Claytonia rosea, a couple of methods really shine. Let’s walk through them:
1. Stem Cuttings: My Favorite Approach
This is my go-to for a reason. It’s straightforward and usually yields great results.
- Step 1: Find a healthy, non-flowering stem. Look for one that’s about 3-4 inches long.
- Step 2: Using your clean shears or knife, carefully cut the stem just below a leaf node. This is where roots are most likely to form.
- Step 3: Gently remove the lower leaves from the cutting, leaving just a few at the top. This prevents them from rotting in the soil.
- Step 4 (Optional): Dip the cut end of the stem into your rooting hormone. Tap off any excess.
- Step 5: Moisten your potting mix in your small pots.
- Step 6: Make a small hole in the soil with your finger or a pencil.
- Step 7: Insert the cutting into the hole, ensuring the leaf nodes that were under the soil are covered.
- Step 8: Gently firm the soil around the cutting.
- Step 9: Water lightly to settle the soil.
- Step 10: Cover the pot loosely with a plastic bag or place it in a propagation dome. This creates a mini-greenhouse effect.
2. Division: For Established Plants
If you have a larger, established clump of Claytonia rosea that you want to make more of, division is your friend!
- Step 1: Water your plant thoroughly about a day before you plan to divide it. This helps reduce transplant shock.
- Step 2: Carefully remove the entire plant from its pot or gently dig it up from the ground.
- Step 3: Inspect the root ball. You’re looking for natural divisions where you can gently pull or break apart the plant. You can use your fingers or a clean trowel if it’s a bit stubborn. Ensure each division has some healthy roots and a few shoots.
- Step 4: Pot up the divisions into their own pots filled with your well-draining potting mix.
- Step 5: Water them in well.
The “Secret Sauce” (Pro Tips)
Now, for a couple of little tricks I’ve learned over the years that can make all the difference:
- Don’t let the leaves touch the water (when water propagating): While I mainly advocate for soil propagation for Claytonia rosea, if you do decide to try water propagation for a stem, make sure the leaves are above the water line. Any submerged foliage will quickly turn mushy and rot, and it can even take the whole cutting down with it.
- Bottom heat is your friend: Especially if you’re propagating early in the season or your home tends to be on the cooler side, a gentle bottom heat from a seedling mat can significantly speed up root development. This mimics the warmth of the soil in summer and gives those roots a real incentive to grow.
- Be patient with drainage: Claytonia rosea, like many succulents, hates soggy feet. When you’re potting up your cuttings or divisions, really ensure your soil mix is airy and drains freely. I often add a bit more perlite than I might for other houseplants.
Aftercare & Troubleshooting
Once your cuttings have been in their little humid homes for a few weeks, you might start to see some new growth. That’s a great sign!
- Gradual Acclimation: Once you see little roots poking out the drainage holes or new tiny leaves appearing, it’s time to gradually introduce them to the outside air. Start by opening the plastic bag or dome for a few hours a day, and slowly increase that time over a week.
- Watering: Water when the top inch of soil feels dry. It’s better to water thoroughly less often than to keep the soil constantly moist.
- Light: Place your new plants in a spot with bright, indirect light. Avoid direct, scorching sun, which can be too harsh for delicate new growth.
Troubleshooting: The most common issue you’ll run into is rot. If you see your cutting turning soft, mushy, or brown and dying back quickly, it’s a sign of overwatering and potentially poor drainage. Pull it out, inspect for rot, and if it looks bad, sadly, it’s best to compost it. If you catch it early, you might be able to salvage a healthy section. Yellowing leaves without new growth can sometimes indicate it’s not getting enough light or nutrients, but with cuttings, patience is key.
A Little Encouraging Word
Growing plants from cuttings or divisions is an absolute joy. It’s a tangible way to connect with nature’s cycle and a fantastic way to fill your garden or share your plant love with friends. Be patient with your little Claytonia rosea propagations. Not every single one will make it, and that’s perfectly okay. Just enjoy the process, celebrate the successes, and learn from any little hiccups along the way. Happy growing!
Resource:
https://identify.plantnet.org/k-world-flora/species/Claytonia%20rosea%20Rydb./data