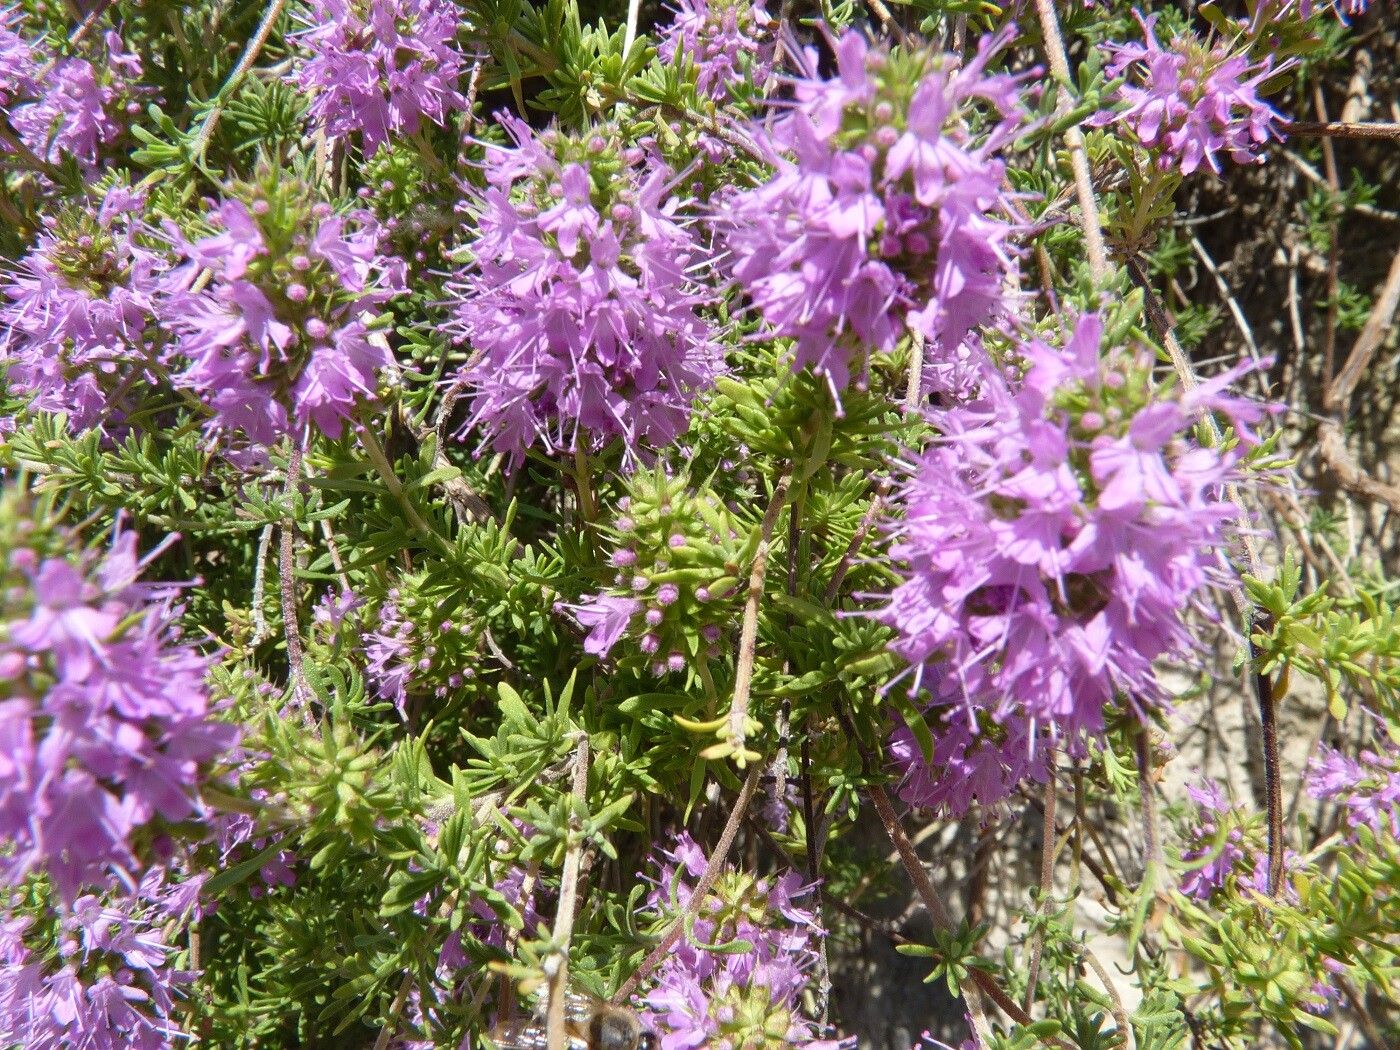
Hello there, fellow plant lovers! It’s so lovely to have you join me for a chat about one of my absolute favorites: Thymus saturejoides, also known as Wild Thyme or Moroccan Thyme. If you’ve ever encountered this little gem, you’ll know why I’m so smitten. Its delicate, aromatic foliage and charming little flowers bring such a touch of the Mediterranean to any garden or windowsill. And the scent? Simply divine, especially when warmed by the sun.
Happily, if you’ve been eyeing this one and wondering if it’s a good candidate for a beginner project, I’m here to tell you wholeheartedly: yes! Propagating Thymus saturejoides is wonderfully straightforward and incredibly rewarding. There’s a special kind of joy in watching a tiny cutting transform into a thriving new plant you grew yourself.
The Best Time to Start
For the absolute best chance of success, I always recommend starting your propagation efforts in late spring or early summer. This is when the plant is actively growing and has plenty of young, pliable stems. You want to take cuttings from stems that are neither too soft and new nor too woody and old. Think of it as looking for that perfect “semi-hardwood” stage – firm, but still a little bendy.
Supplies You’ll Need
Gathering your supplies beforehand makes the whole process much smoother. Here’s what I always have on hand:
- Sharp pruning shears or a clean knife: For taking clean cuts.
- Small pots or seed trays: With drainage holes, naturally!
- A well-draining potting mix: A good quality seed starting mix or a blend of potting soil and perlite (about 50/50) works brilliantly. You could also use a mix of sand and compost.
- Rooting hormone (optional but helpful): A powder or gel can give your cuttings a little boost.
- A watering can or spray bottle: For gentle watering.
- Plastic bags or a propagation dome: To create a humid environment.
- Labels: To remember what you’ve planted and when!
Propagation Methods: Stem Cuttings
This is hands-down my favorite and most successful method for Thymus saturejoides.
- Select Your Cuttings: Head out to your Thymus saturejoides plant and look for healthy, non-flowering stems.
- Make the Cut: Using your clean shears or knife, cut sections about 3-4 inches long. Make your cut just below a leaf node (where the leaves attach to the stem). This is where the magic really happens in terms of root development.
- Prepare the Cuttings: Gently remove the leaves from the bottom half of each cutting. You want to leave 2-3 sets of leaves at the very top. If your plant has any tiny flower buds, pinch those off too – they divert energy away from root growth.
- Apply Rooting Hormone (Optional): Dip the cut end of each stem into your rooting hormone powder or gel. Tap off any excess.
- Plant Them Up: Fill your small pots or trays with your chosen potting mix. Moisten it slightly.
- Insert Your Cuttings: Make a small hole in the soil with a pencil or your finger. Gently insert the prepared cutting into the hole, ensuring the bare stem part is covered. Firm the soil gently around the base to provide support.
- Create a Humid Home: Water the soil very gently. You want it moist, not soggy. Now, cover the pots with a clear plastic bag or a propagation dome to maintain high humidity. You can also just place the pots in a clear plastic bag and seal it loosely.
The “Secret Sauce” – Insider Tips
Here are a few little tricks I’ve picked up over the years that can really make a difference:
- Bottom Heat is Your Friend: Thymus saturejoides loves a little warmth from below. Placing your pots on a heat mat designed for propagation can significantly speed up root formation. It mimics what happens naturally in warmer soil.
- Don’t Let the Leaves Touch the Water: If you’re trying water propagation (which I find less reliable for thyme but still doable), ensure none of the leaves are submerged. Rot sets in quickly when leaves sit in water. Only the bare stem should be in contact. With stem cuttings, this translates to making sure no leaves dip below the soil line.
- Air Circulation is Key: While humidity is vital, stagnant air can encourage fungal diseases. Open the plastic bag or dome for about 15-30 minutes each day to allow for fresh air exchange.
Aftercare & Troubleshooting
Once your cuttings are potted up, place them in a bright location but out of direct, scorching sunlight.
Keep the soil consistently moist but never waterlogged. You’ll know roots are forming when you see new leaf growth appearing at the top, or when you can gently tug on a cutting and feel slight resistance. This usually takes anywhere from 3 to 6 weeks.
Troubleshooting:
- Wilting Cuttings: This can happen if they dry out too much or if they’re getting too much direct sun. Increase humidity, move to a shadier spot, and ensure consistent moisture.
- Rotting or Mushy Stems: This is usually a sign of too much moisture and poor drainage, or not enough air circulation. Discard any affected cuttings, ensure your soil drains well, and increase your daily airing time.
A Little Patience Goes a Long Way
And there you have it – your guide to propagating Thymus saturejoides! It’s a patient gardener who reaps the rewards, so don’t be discouraged if a few cuttings don’t make it. That’s perfectly normal! Focus on creating the right conditions, and enjoy the process of nurturing these little life. Happy propagating!
Resource:
https://identify.plantnet.org/k-world-flora/species/Thymus%20saturejoides%20Coss./data