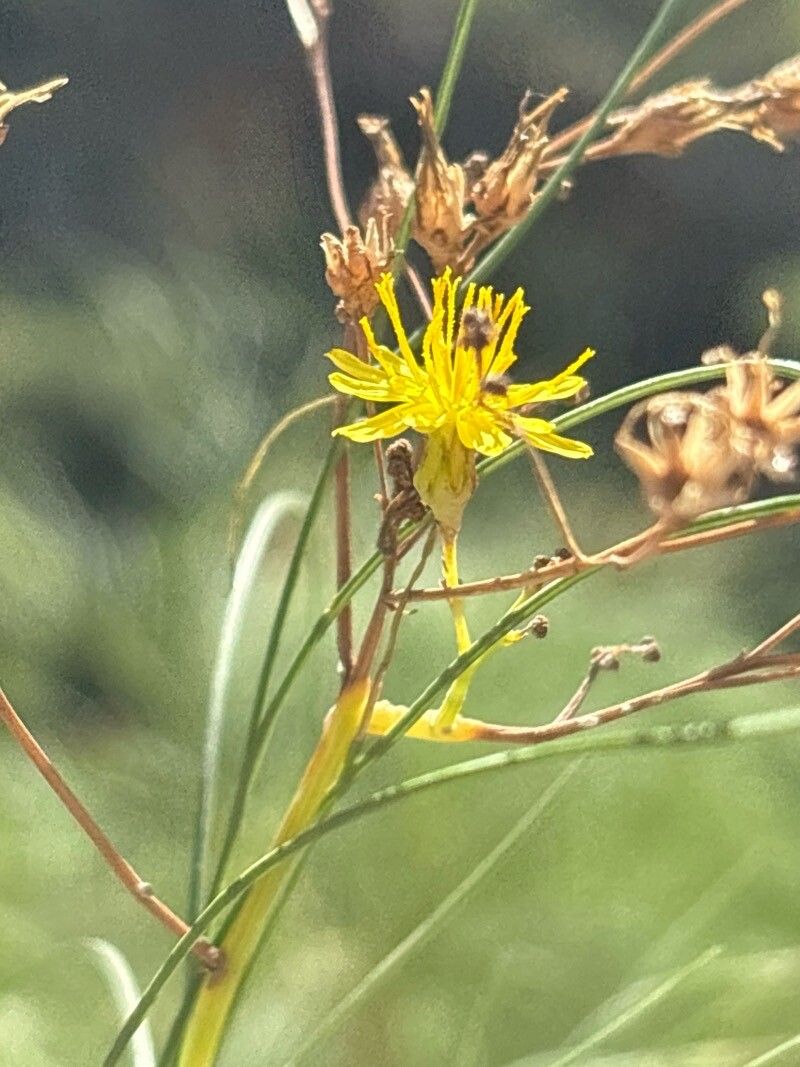
Hello, fellow plant lovers! Today, we’re going to dive into the wonderful world of propagating Sonchus microcarpus. If you’re looking for a plant that’s a bit of a showstopper with its delicate, fern-like foliage and lovely little yellow blooms, then this is definitely one to consider. And the best part? It’s surprisingly rewarding to grow your own from cuttings or divisions. For beginners, I’d say Sonchus microcarpus is moderately easy. It’s not the easiest plant to start with, but with a little attention to detail, you’ll have success.
The Best Time to Start
Generally, the sweet spot for propagating Sonchus microcarpus is late spring to early summer. This is when the plant is in a period of active growth, meaning it has plenty of energy to put into developing new roots from your cuttings or divisions. You can sometimes get away with it in early autumn, but the cooler temperatures mean things will likely take longer. Aim for when the days are getting longer and the weather is warming up nicely.
Supplies You’ll Need
Before we get started, let’s gather our tools. Having everything ready makes the process so much smoother!
- Potting Mix: A well-draining mix is crucial. I like to use a blend of equal parts peat moss or coco coir, perlite, and coarse sand. You can also find commercially available “seed starting” or “cuttings” mixes that work beautifully.
- Clean Pots or Containers: Small pots, cell trays, or even recycled yogurt containers with drainage holes will do.
- Sharp Pruning Shears or a Craft Knife: For making clean cuts. Sterilize them with rubbing alcohol before each use to prevent disease.
- Rooting Hormone (Optional but Recommended): This isn’t strictly necessary for Sonchus microcarpus, but it can significantly speed up root development and increase your success rate. Look for one that contains IBA.
- Small Watering Can or Spray Bottle: For gently watering your new propagations.
- Plastic Bag or Propagator Lid: To create a humid environment around your cuttings.
- Labels and a Marker: So you don’t forget what you planted where!
Propagation Methods
Sonchus microcarpus is well-behaved and can be propagated using a couple of straightforward methods.
Stem Cuttings
This is my go-to method for multiplying this lovely plant.
- Take Your Cuttings: In late spring or early summer, select a healthy, non-flowering stem from a mature plant. Using your sterilized shears, cut a piece about 4-6 inches long. Make the cut just below a leaf node (the point where a leaf attaches to the stem).
- Prepare the Cuttings: Gently remove the lower leaves from the cutting, leaving just a couple of leaves at the very top. This prevents them from rotting in the soil. If your cutting is a bit floppy, you can trim some of the larger top leaves in half to reduce water loss.
- Apply Rooting Hormone (Optional): Dip the cut end of the stem into your rooting hormone powder or gel, tapping off any excess.
- Plant the Cuttings: Fill your clean pots with your well-draining potting mix. Make a small hole in the center with your finger or a pencil. Insert the cut end of the stem into the hole, ensuring it’s deep enough to be stable. Gently firm the soil around the stem.
- Water Gently: Water the soil lightly to settle it around the cuttings. You want the soil to be moist, but not waterlogged.
- Create Humidity: Place a clear plastic bag over the pot, or cover it with a propagator lid. This will create a mini-greenhouse effect, keeping humidity high for the cuttings. Make sure the leaves don’t touch the sides of the bag if possible.
Division
If your mature Sonchus microcarpus is looking a bit crowded in its pot or in the ground, division is a wonderful way to get new plants and tidy up your existing one.
- Prepare the Plant: Water the parent plant thoroughly a day or two before you plan to divide it. This helps reduce transplant shock.
- Remove from Pot/Ground: Carefully remove the entire plant from its pot or gently dig it up from the garden.
- Locate Divisions: Look for natural divisions in the root ball. You should see distinct crowns or clumps.
- Separate Gently: Using your hands or a clean trowel/knife, gently pull or cut the plant into smaller sections. Aim for sections that have at least a few stems and a good amount of roots.
- Replant Immediately: Pot up the divisions into new containers filled with your well-draining potting mix, or replant them in their desired garden locations. Water them in well.
The “Secret Sauce” (Pro Tips)
After years of getting my hands dirty, I’ve learned a few things that can really make a difference!
- The Magic of Bottom Heat: If you’re serious about speeding things up with stem cuttings, invest in a heating mat. Placing your pots on a gentle heat source (around 70-75°F or 21-24°C) really encourages root formation. It’s like giving them a warm hug in spring!
- Don’t Drown Your Cuttings: While humidity is key, overwatering is the fastest way to kill cuttings. The soil should feel consistently moist, like a wrung-out sponge, never soggy. If you see water pooling on the surface, you’ve added too much.
- Be Patient with Foliage: You might be tempted to pull off any new leaves that emerge on your cuttings. Resist! As long as those leaves are healthy, they’re helping the plant produce energy. Only remove them if they start to yellow or look diseased.
Aftercare & Troubleshooting
Once you see signs of root development – perhaps new growth emerging or you can gently tug on a cutting and feel resistance – it’s time to start easing them out of dormancy.
Remove the plastic bag or propagator lid for a few hours each day, gradually increasing the time over a week. This allows the young plants to acclimate to the ambient humidity. Continue to water gently and consistently. Once the roots have filled the pot and you see strong new growth, you can transplant them into slightly larger pots or their final garden locations.
The most common issue you’ll encounter is rot. If your cuttings turn black and mushy, it’s a clear sign of too much moisture and not enough air circulation. Ensure your soil is well-draining, and don’t overwater. Sometimes, wilting can just mean the cutting hasn’t rooted yet and is struggling to take up water. As long as the stem is firm and green, there’s still hope!
A Little Encouragement
Propagating plants is all about observation and a bit of patience. Don’t get discouraged if your first few attempts aren’t perfect. Every plant I’ve ever successfully propagated started as a little experiment. Enjoy the process, learn from your plants, and soon you’ll be sharing your own Sonchus microcarpus offspring with friends! Happy gardening!
Resource: