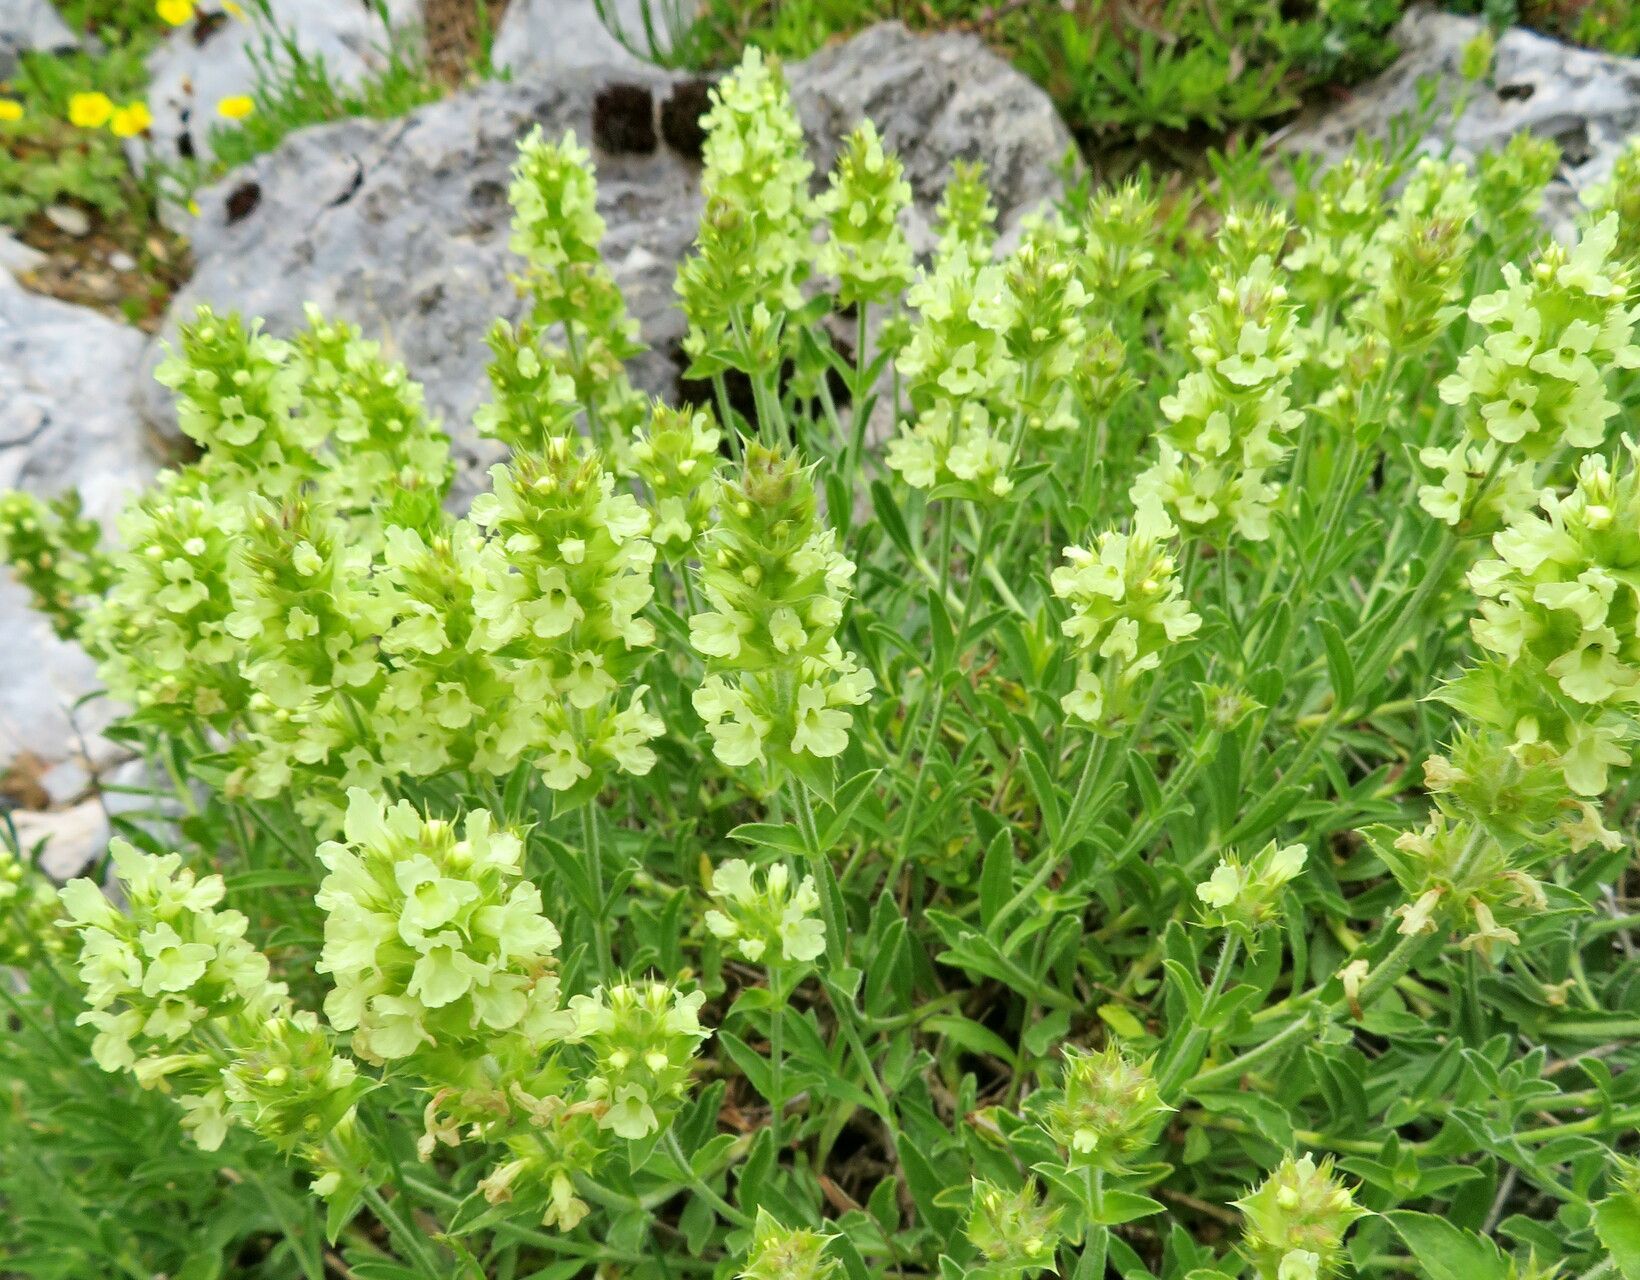
Hello there, fellow plant enthusiasts! So, you’ve fallen for the charms of Sideritis glacialis, haven’t you? I get it. This little gem, often called Mountain Tea, has this incredible, almost medicinal aroma that just fills the air. Plus, its delicate white flowers are a magnet for pollinators. Growing it from scratch is a truly rewarding experience, and once you get the hang of it, you’ll be sharing these beauties with everyone you know. Now, I won’t lie and say it’s the absolute easiest plant for a complete beginner to start with, but it’s certainly achievable with a little patience and a few key tricks.
The Best Time to Start
For Sideritis glacialis, spring and early summer are your golden ticket. This is when the plant is actively growing and has plenty of energy to put into forming new roots. Try to select stems that are neither brand new and soft nor old and woody – think of them as being in that perfect “youthful but established” phase.
Supplies You’ll Need
To give your cuttings the best start, gather these items:
- Sharp pruning shears or a clean craft knife: A clean cut is crucial to prevent disease.
- Rooting hormone (optional but recommended): This can give your cuttings a helpful boost. Get one specifically for softwood or semi-hardwood cuttings.
- Well-draining potting mix: A good blend of peat moss, perlite, and a bit of sand works wonders. You want something that lets water escape quickly.
- Small pots or seed trays: Make sure they have drainage holes!
- Plastic bags or a propagation dome: To keep humidity high.
- Watering can or spray bottle: For gentle watering.
- Labels: So you don’t forget what you’ve planted where!
Propagation Methods
I find that stem cuttings are the most reliable way to propagate Sideritis glacialis. Here’s how I do it:
- Take Your Cuttings: In late spring or early summer, select healthy, non-flowering shoots. Using your sterilized pruning shears, cut stems that are about 4-6 inches long. Make your cut just below a leaf node (where the leaves attach to the stem).
- Prepare the Cuttings: Gently remove the lower leaves from the cutting, leaving just the top two pairs of leaves. If your leaves are quite large, you can even cut them in half to reduce water loss.
- Apply Rooting Hormone (Optional): Dip the cut end into your rooting hormone, tapping off any excess. This step isn’t strictly necessary for Sideritis, as it can root reasonably well without it, but it does speed things up.
- Plant Your Cuttings: Fill your small pots or trays with your well-draining mix. Make a small hole in the center of each pot with a pencil or your finger. Insert the cutting so that the leaf nodes are buried in the soil. Gently firm the soil around the stem.
- Water Gently: Water thoroughly but gently, allowing excess water to drain away.
The “Secret Sauce” (Pro Tips)
Here are a few things I’ve learned over the years that really make a difference:
- The “Bottom Heat” Trick: Placing your pots on a heated propagation mat can be a game-changer. It encourages root development from the bottom up and dramatically increases your success rate, especially if your room is a bit on the cooler side.
- Don’t Let Leaves Drown: If you choose to try water propagation (which can work, but is a bit trickier for Sideritis), absolutely do not let any leaves sit in the water. They’ll rot immediately, taking your cutting with them. Only the bare stem should be submerged. Ensure you change the water every few days to keep it fresh.
- Patience is Key with Soil: When using soil, I find pressing down too hard can hinder root formation. After planting, I’ll often give the pot a firm tap on the counter instead of pressing down with my hands. This settles the soil nicely around the roots without compacting it.
Aftercare & Troubleshooting
Once your cuttings are planted, it’s time to create a good environment. Cover the pots with a plastic bag or place them under a propagation dome to maintain high humidity. Keep them in a bright spot, but avoid direct sunlight, which can scorch young cuttings.
Check the soil moisture regularly – you want it to be consistently moist, but not waterlogged. A common sign of trouble is rot, which usually shows up as a mushy, discolored stem base. If you see this, sadly, that cutting is likely lost, and it’s best to discard it to prevent it from affecting others. Another sign of failure is if the leaves start to yellow and wither even with adequate moisture – this could mean the cutting hasn’t taken, or it’s getting too much direct sun.
Roots can take anywhere from 3 to 8 weeks to appear. You’ll know they’ve established when you see new leaf growth or when you gently tug on the cutting and feel some resistance. Once roots are well-formed, you can gradually acclimatize them to normal conditions by removing the plastic covering for short periods each day before removing it completely. Then, transplant them into slightly larger pots.
Don’t get discouraged if a few don’t make it – it’s all part of the learning process! Keep experimenting and observing, and you’ll soon be a Sideritis glacialis propagation pro. Happy gardening!
Resource:
https://identify.plantnet.org/k-world-flora/species/Sideritis%20glacialis%20Boiss./data