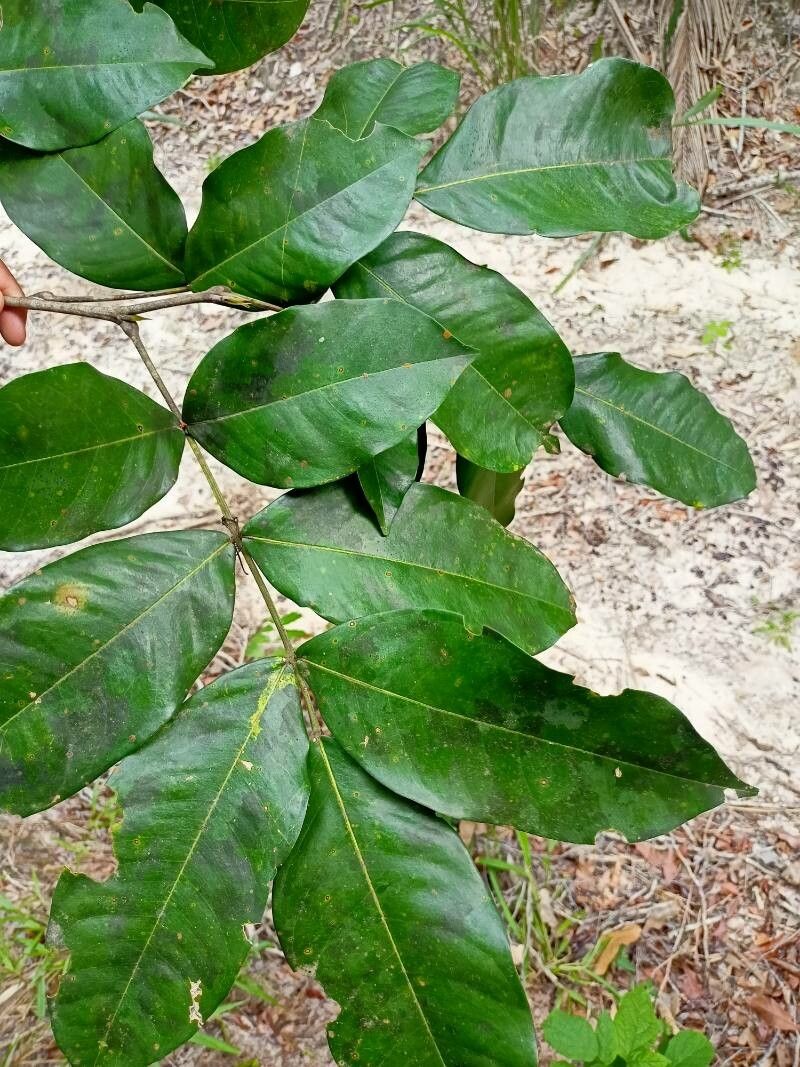
Hey there, fellow plant lovers! Today, I want to chat about a truly special member of the garden family: Swartzia apetala. Even if you haven’t heard of it, trust me, this beauty is worth getting to know. Its gorgeous foliage and, if you’re lucky, delicate blooms really bring a unique charm to any space. And the best part? Sharing that charm by propagating it yourself is incredibly rewarding. Now, for the honest truth: Swartzia apetala can be a tad finicky for absolute beginners. But don’t let that discourage you! With a little patience and these tips, you’ll be well on your way to success.
When to Get Propagation Started
Timing is everything, right? For Swartzia apetala, the sweet spot is during its active growing season. Think late spring or early summer, after the risk of frost has passed and the plant is really pushing out new growth. This is when the stems have plenty of energy and are most likely to root for you. You’re looking for stems that are semi-hardwood – not brand new, floppy growth, but not old, woody material either. A good test is if a stem snaps cleanly when you bend it gently.
Gather Your Gear
Before we dive in, let’s get our toolkit ready. Having the right supplies makes all the difference:
- Sharp Pruning Shears or a Blade: Clean cuts are crucial to prevent disease.
- Rooting Hormone: This is often a game-changer for trickier plants like ours. Look for one containing IBA (indole-3-butyric acid).
- Well-Draining Potting Mix: I like a blend of equal parts peat moss, perlite, and a bit of coarse sand. It needs to let air and water move freely.
- Small Pots or Flats: Clean, small pots (around 3-4 inches) are perfect. Make sure they have drainage holes!
- Plastic Bag or Humidity Dome: To keep the humidity high around your cuttings.
- Small Watering Can or Spray Bottle: For gentle watering.
- Labels and a Permanent Marker: Don’t forget to label your cuttings!
Let’s Propagate! Stem Cuttings are Your Friend
For Swartzia apetala, stem cuttings are generally the most reliable method. Here’s how I do it:
- Take Your Cuttings: Using your clean pruning shears, select healthy stems from your mature plant. Aim for cuttings that are about 4-6 inches long, with at least two sets of leaves. Make your cut just below a leaf node (where a leaf attaches to the stem).
- Prepare the Cuttings: Gently remove the lower leaves from the bottom half of the cutting. This prevents them from rotting when buried in the soil. You can leave the top couple of sets of leaves on, or even trim larger ones in half to reduce water loss.
- Apply Rooting Hormone: Dip the cut end of the stem into your rooting hormone. Tap off any excess. This stuff is like a little boost of encouragement for your plant!
- Plant Your Cuttings: Fill your clean pots with your prepared potting mix. Make a small hole in the center with your finger or a pencil. Carefully insert the rooting hormone-coated end of the cutting into the hole, ensuring it’s deep enough to be stable but not so deep it touches the bottom of the pot. Gently firm the soil around the base of the cutting.
- Mist and Cover: Give your cuttings a light mist of water. Then, place a plastic bag over the pot, creating a mini-greenhouse effect, or use a humidity dome. This is vital to keep the moisture levels high, which the cuttings will need to develop roots.
My Little “Secret Sauce”
Now for a couple of little tricks I’ve picked up over the years that really seem to help:
- Bottom Heat is Your Buddy: If you have a very finicky plant or you’re trying this in cooler weather, place your pots on top of a heat mat designed for plants. This gentle warmth from below encourages root development without cooking the top growth. I swear by this for plants that are a bit stubborn.
- Don’t Drown Them: While high humidity is critical, waterlogged soil is the enemy. You want the soil to be consistently moist, not soggy. If you can press the soil and water oozes out, it’s too wet. It’s better to slightly underwater and then mist than to overwater from the start.
Aftercare and When Things Go Wrong
Once your cuttings are planted, find them a spot with bright, indirect light. Avoid direct sun, which can scorch those tender new leaves. Keep that humidity up with your plastic bag or dome.
The most common thing you’ll be doing is checking the moisture of the soil every few days and misting as needed. You’ll know your cuttings are rooting when you see new leaf growth appearing. This can take anywhere from 4 to 12 weeks, so patience is key!
Of course, sometimes things don’t go according to plan. The most common sign of trouble is rot. If your cutting turns mushy, black, or starts to fall apart, it’s usually a sign of too much moisture and not enough air circulation. If you see this happening, you might have to discard the affected cutting and reassess your watering and humidity levels for the others. Sometimes, a cutting just fails to root, and that’s okay too! It’s all part of the learning curve.
Keep Going, You’ve Got This!
Propagating Swartzia apetala might take a little extra effort, but seeing those tiny roots develop and new shoots emerge is such a satisfying feeling. Think of each new plant as a little piece of your garden, grown with your own two hands. Don’t get discouraged if your first few attempts aren’t perfect. Just keep trying, keep observing, and most importantly, enjoy the magical process of bringing new life into the world. Happy gardening!
Resource:
https://identify.plantnet.org/k-world-flora/species/Swartzia%20apetala%20Raddi/data