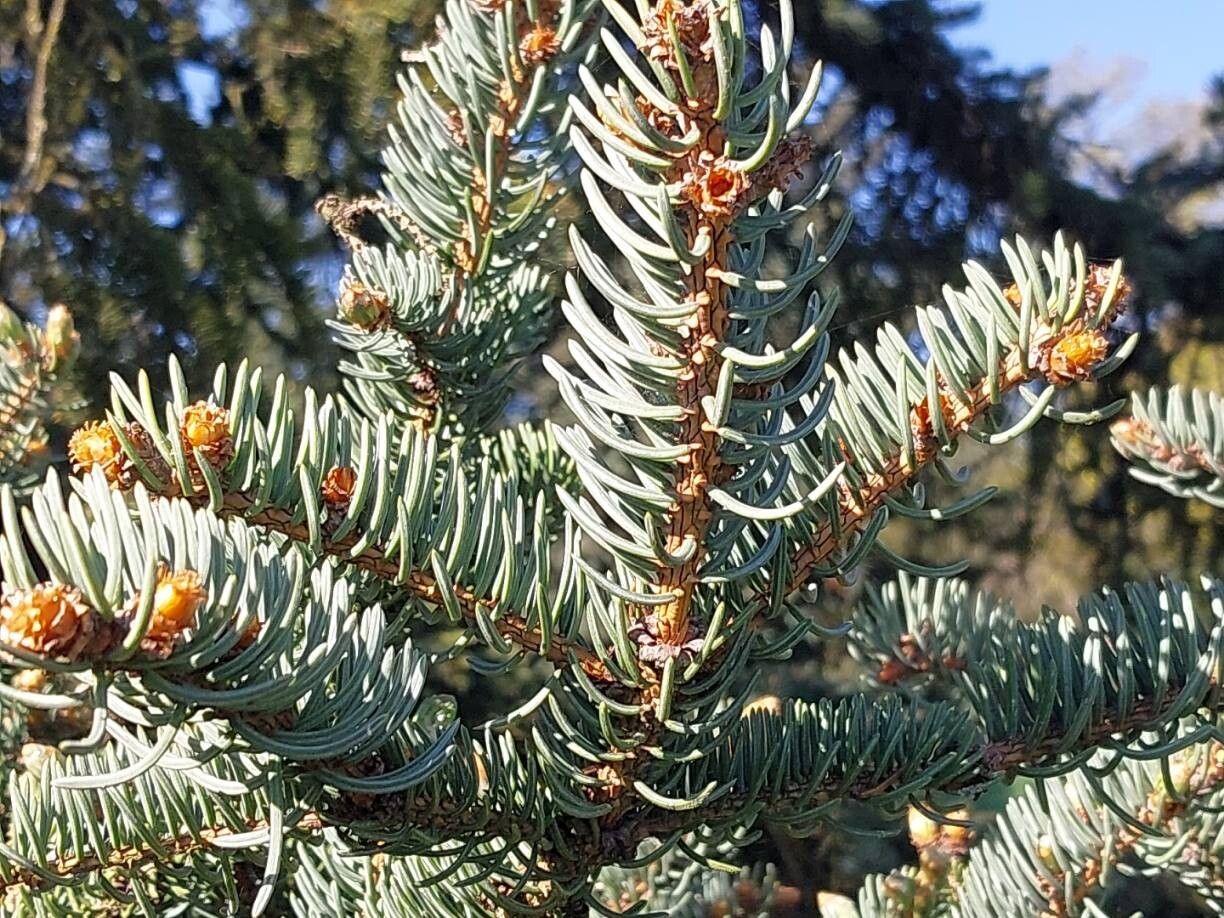
Oh, have you fallen in love with Picea retroflexa, the Himalayan Spruce? I don’t blame you one bit! Its elegant, arching branches and the delicate way its needles unfurl are just pure magic. Growing your own from cuttings is one of the most satisfying things you can do in the garden. It’s a little bit of a project, and for absolute beginners, I’d say it leans towards the moderately challenging side, but don’t let that deter you! With a bit of patience and this guide, you’ll be well on your way.
The Best Time to Start
For conifers like Picea retroflexa, the golden rule is to take your cuttings in late spring to early summer. This is when the new growth, called “enation” or “softwood,” is starting to mature but is still flexible. It’s still tender enough to root, but it’s got enough energy reserves to get the job done.
Supplies You’ll Need
Here’s what I always have on hand:
- Sharp Pruning Shears or a Knife: Cleanliness is key to preventing disease.
- Rooting Hormone: A powdered or gel form works well. I prefer a gel myself; it seems to stick to the cutting better.
- Well-Draining Potting Mix: A 50/50 blend of perlite and peat moss or coir is my go-to. You can also find specific coniferous cutting mixes.
- Small Pots or Trays: Make sure they have drainage holes.
- Plastic Bags or a Propagator: To create a humid environment.
- Water: For misting.
- Labels: You’ll thank yourself later for knowing what’s what!
Propagation Methods: Stem Cuttings
This is hands-down the most reliable way to propagate Picea retroflexa.
- Select Your Cuttings: Look for healthy branches with new growth from the current season. You want pieces that are about 4 to 6 inches long. Gently snap one off – if it snaps cleanly, it’s usually good. What we’re after is a section that has a bit of the previous year’s wood at the base (this is the “heel”) and then a good portion of the soft, new growth.
- Prepare the Cuttings: Strip off any lower needles from the bottom 1-2 inches of the cutting. This is important because any foliage below the soil line will rot.
- Apply Rooting Hormone: Dip the cut end into your rooting hormone. Swirl it around gently to ensure an even coating. Tap off any excess.
- Plant Your Cuttings: Make a hole in your prepared potting mix with a pencil or your finger. This prevents you from rubbing off the rooting hormone. Insert the cutting into the hole and firm the soil gently around it.
- Create a Humid Environment: Water the pot lightly. Then, cover the pot loosely with a clear plastic bag or place it in a propagator. You want to create a mini-greenhouse effect. Make sure the leaves don’t touch the plastic, as this can encourage rot. I often use stakes to prop up the bag.
- Provide the Right Conditions: Place your pots in a bright spot, but out of direct sunlight. That sun can scorch those tender new cuttings. Keep the soil consistently moist, but never waterlogged.
The “Secret Sauce” (Pro Tips)
Here are a couple of things I’ve learned over the years that really make a difference:
- The “Heel” is Your Friend: When you’re selecting cuttings, try to get a piece that has a tiny bit of older wood at the base. This “heel” seems to encourage faster and stronger root development. It’s like giving the cutting a head start.
- Bottom Heat Works Wonders: If you’re serious about propagation, investing in a propagator with a heated base can be a game-changer, especially for conifers. That gentle warmth from below signals to the cutting that it’s time to get to work on those roots. You’ll notice a difference in rooting speed.
Aftercare & Troubleshooting
Be patient! Rooting can take anywhere from 6 weeks to several months. You’ll know your cutting has rooted when you give it a gentle tug and feel resistance, or you might see new growth appearing.
Once roots have formed, you can gradually acclimate your new sapling to normal humidity by opening the plastic bag a little more each day for a week or so. Then, you can transplant it into its own small pot with a good quality potting mix. Continue to keep it well-watered and out of harsh sun.
The most common issue you’ll face is rot. If your cuttings turn black and mushy, it’s usually a sign of too much moisture and not enough air circulation. Ensure your soil drains well and that the environment isn’t too wet. If you see signs of mold, remove the affected cutting immediately.
A Encouraging Closing
Watching a tiny cutting transform into a thriving little tree is a truly magical experience. Don’t get discouraged if not every cutting takes – it’s all part of the learning process. Enjoy the journey, celebrate your successes, and soon you’ll have beautiful new Picea retroflexa to grace your garden. Happy growing!
Resource:
https://identify.plantnet.org/k-world-flora/species/Picea%20retroflexa%20Mast./data