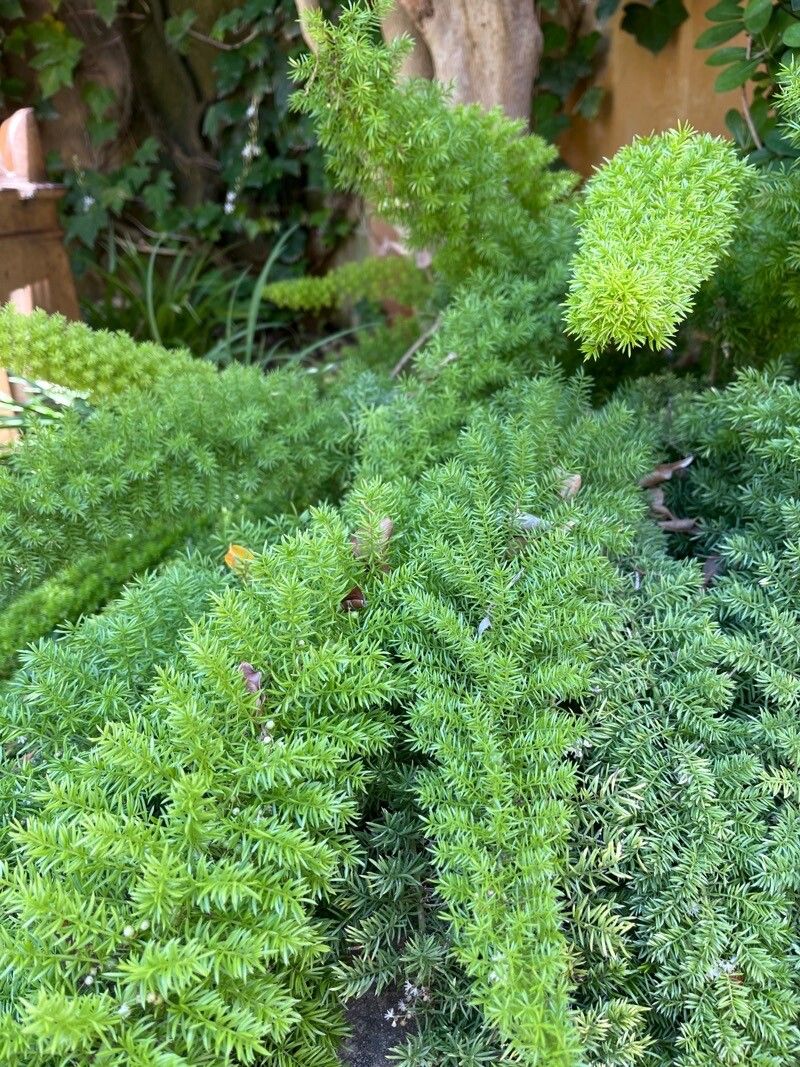
Hello there, fellow plant lovers! It’s so wonderful to have you join me today. If you’ve ever admired the delicate, feathery beauty of Asparagus divaricatus, also known as Asparagus Fern, you’ve probably wondered if you could bring that charm into more corners of your home or garden. I’m here to tell you, yes, you absolutely can! Propagating this lovely plant is a truly rewarding experience, and while not tricky, it does require a touch of patience. For beginners, it’s a fantastic way to build confidence with plant propagation.
The Best Time to Start
Honestly, the universe seems to align best for propagating Asparagus divaricatus in late spring or early summer. This is when the plant is actively growing, fueled by longer days and warmer temperatures. It’s like giving your cuttings the best possible head start on developing strong roots.
Supplies You’ll Need
Gathering your tools beforehand makes the whole process so much smoother. Here’s what I recommend having on hand:
- Sharp pruning shears or a clean knife: For making precise cuts.
- Rooting hormone (optional but helpful): Especially useful for encouraging quicker root development.
- Well-draining potting mix: A blend of perlite, peat moss, and a little bit of compost works like a charm. You can also use a cactus and succulent mix.
- Small pots or trays: Clean, with drainage holes, of course!
- Plastic bags or a propagation dome: To create a humid environment.
- Watering can with a fine rose: For gentle watering.
- Labeling stakes: So you don’t forget what you’ve potted!
Propagation Methods
For Asparagus divaricatus, division is our star player. While stem cuttings can be a bit more challenging with this specific plant, division is wonderfully straightforward and effective.
Division: Sharing the Wealth!
This is the method I find most successful and least fussy for Asparagus Fern. It involves separating a mature plant into smaller divisions, each with its own root system and shoots.
- Prepare your mother plant: Gently remove your Asparagus divaricatus from its pot. If it’s been in the same pot for a while, you might need to loosen the edges with your knife.
- Examine the root ball: Gently shake off some of the excess soil. You’re looking for natural divisions – clumps of roots and stems that can be separated.
- Make the division: Using your hands or a clean knife, carefully separate the root ball into smaller sections. Aim for each division to have at least one or two healthy shoots and a good portion of roots. Don’t be afraid to give it a gentle tug or a clean cut if needed.
- Pot up the divisions: Fill your clean pots with the well-draining potting mix. Make a hole in the center of the soil just large enough for the roots of your new division.
- Plant the divisions: Place each division in its pot, ensuring the crown (where the roots meet the stems) is at or slightly above soil level. Gently firm the soil around the roots.
- Water lightly: Water each division thoroughly but gently until you see water draining from the bottom.
The “Secret Sauce” (Pro Tips)
Now, let’s sprinkle in a few of my tried-and-true tricks for success:
- Don’t overwater new divisions: It’s tempting to flood them, thinking they need it. But with a compromised root system, they are more susceptible to rot. Water when the top inch of soil feels dry.
- Embrace the humidity tent: After potting, cover each pot loosely with a plastic bag or place them under a propagation dome. This creates a mini-greenhouse effect, keeping the humidity high and reducing stress on the new cuttings while they establish. Make sure the foliage doesn’t touch the bag if possible to prevent rot. Open the tent for a few minutes each day to allow for air circulation.
- Think about bottom heat: Asparagus divaricatus loves a little warmth from below. Placing your pots on a heat mat designed for seedlings can significantly speed up root development. It mimics the cozy conditions of spring.
Aftercare & Troubleshooting
Once your divisions are potted, find them a spot with bright, indirect light. Avoid direct, scorching sun, which can damage their delicate fronds. Keep the soil consistently (but not soggily) moist.
You’ll know roots are forming when you see new growth emerging from the crown, or when you gently tug on the plant and feel some resistance. This usually takes a few weeks.
The most common pitfall is rot, which usually stems from overwatering or poor drainage. If you see yellowing leaves that quickly turn mushy and brown, or if the base of the stem seems to be softening, it’s a sign of too much moisture. Don’t despair! Sometimes, if you catch it early, you can trim away the rotten parts and try to salvage the healthy sections in fresh, dry soil.
A Encouraging Closing
Propagating plants is such a delightful journey of discovery. Be patient with your new Asparagus divaricatus babies. They’re working hard to send down roots and unfurl their lovely fronds. Enjoy the process, celebrate every new sprout, and soon you’ll have even more of these airy beauties to share or simply to enjoy. Happy propagating!
Resource: