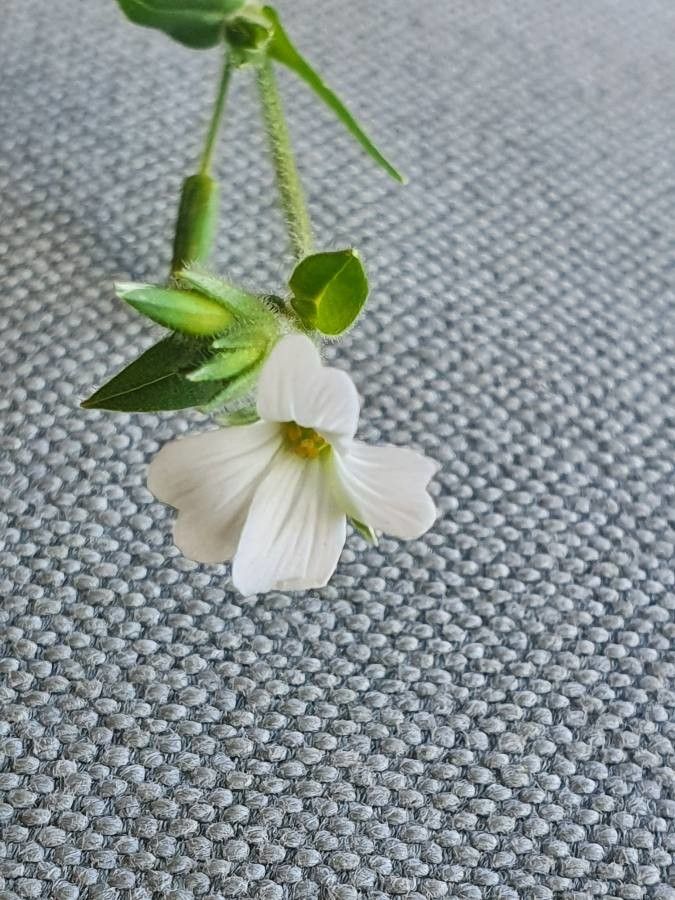
Hello fellow garden enthusiasts! Today, I want to share a little secret with you: propagating Galium kenyanum. If this delicate charmer isn’t in your garden yet, you’re in for a treat. Its masses of tiny white flowers, reminiscent of a starry sky, create a stunning ethereal effect, especially when cascading from containers or rambling through borders. And the best part? It’s incredibly rewarding to multiply this beauty yourself! Now, if you’re new to the propagation game, I’d say Galium kenyanum is a moderately rewarding challenge. It’s not quite sink-or-swim for beginners, but it does ask for a little bit of gentle attention.
The Best Time to Start
For my money, the absolute sweet spot for propagating Galium kenyanum is late spring to early summer. This is when the plant is actively growing, bursting with energy. You’ll find it produces plenty of pliable, healthy stems that are eager to root. Starting during this period gives your new cuttings ample time to establish themselves before the cooler weather sets in.
Supplies You’ll Need
Here’s what you’ll want to have on hand:
- Sharp pruning shears or a clean, sharp knife: For taking clean cuts.
- Seedling potting mix or a well-draining compost: I like a mix of peat, perlite, and a bit of compost.
- Small pots or trays: Clean ones are key!
- Rooting hormone (optional but helpful): Especially for stem cuttings. A powder or gel will work.
- A watering can or misting bottle: For gentle watering.
- Plastic bags or a propagator lid: To create a humid environment.
Propagation Methods
I find that stem cuttings are your best bet for Galium kenyanum. It’s a tried-and-true method that usually yields great results.
- Select Your Cuttings: Look for healthy, non-flowering stems that are about 4-6 inches long. You want stems that are firm but still a bit bendy – not woody, and not too soft and leggy.
- Make the Cut: Using your clean shears or knife, make a clean cut just below a leaf node. A leaf node is where a leaf attaches to the stem; this is where the magic happens for root formation.
- Prepare the Cuttings: Gently remove the lower leaves from the stem, leaving just a few at the very top. If you’re using rooting hormone, dip the cut end into it according to the product’s instructions.
- Planting: Fill your small pots with your well-draining potting mix. Make a small hole in the center of the soil with your finger or a pencil.
- Insert the Cuttings: Gently insert the cut end of the stem into the hole, ensuring the leaf nodes are buried. Firm the soil gently around the base to hold it in place.
- Water Gently: Water lightly but thoroughly to settle the soil. You don’t want to drown your cuttings.
- Create Humidity: Cover each pot loosely with a clear plastic bag or place the pots inside a propagator with a lid. This traps moisture and creates a humid microclimate, which is crucial for cuttings to root.
The “Secret Sauce” (Pro Tips)
Here are a couple of things I’ve learned over the years that really make a difference:
- Don’t let the leaves touch the water if you’re considering water propagation. While some plants are happy to root in water, Galium kenyanum can be prone to rot this way. If you do try water, make sure only the stem is submerged, not the leaves.
- Bottom heat is your friend! If you have a heat mat designed for seedlings, place your pots on it. This gentle warmth encourages root development from below, often speeding up the process considerably.
Aftercare & Troubleshooting
Once your cuttings are planted, place them in a bright spot with indirect light. Avoid direct sun, as it can scorch the delicate new growth. Keep the soil consistently moist but not soggy. Mist the leaves occasionally if you’re not using a plastic bag or propagator.
You’ll know your cuttings have rooted when you see new growth appearing at the top, or when you gently tug on a cutting and feel resistance. This can take anywhere from 3 to 6 weeks.
Now, what if things go wrong? The most common culprit is rot. If you see your cuttings turning yellow, mushy, or developing dark spots, it’s usually a sign of overwatering or poor drainage. Ensure your soil drains well and don’t let them sit in water. If you catch it early, you might be able to salvage a cutting by taking a fresh one from a healthier part of the parent plant and trying again with more careful watering.
A Encouraging Closing
Propagating plants is a bit like nurturing a tiny gardener’s dream. It requires patience, a watchful eye, and a good dose of optimism. Don’t be discouraged if not every cutting takes. Each attempt is a learning experience, bringing you closer to that green-thumb magic. Enjoy the process, celebrate your successes, and before you know it, you’ll have a garden overflowing with beautiful Galium kenyanum! Happy propagating!
Resource:
https://identify.plantnet.org/k-world-flora/species/Galium%20kenyanum%20Verdc./data