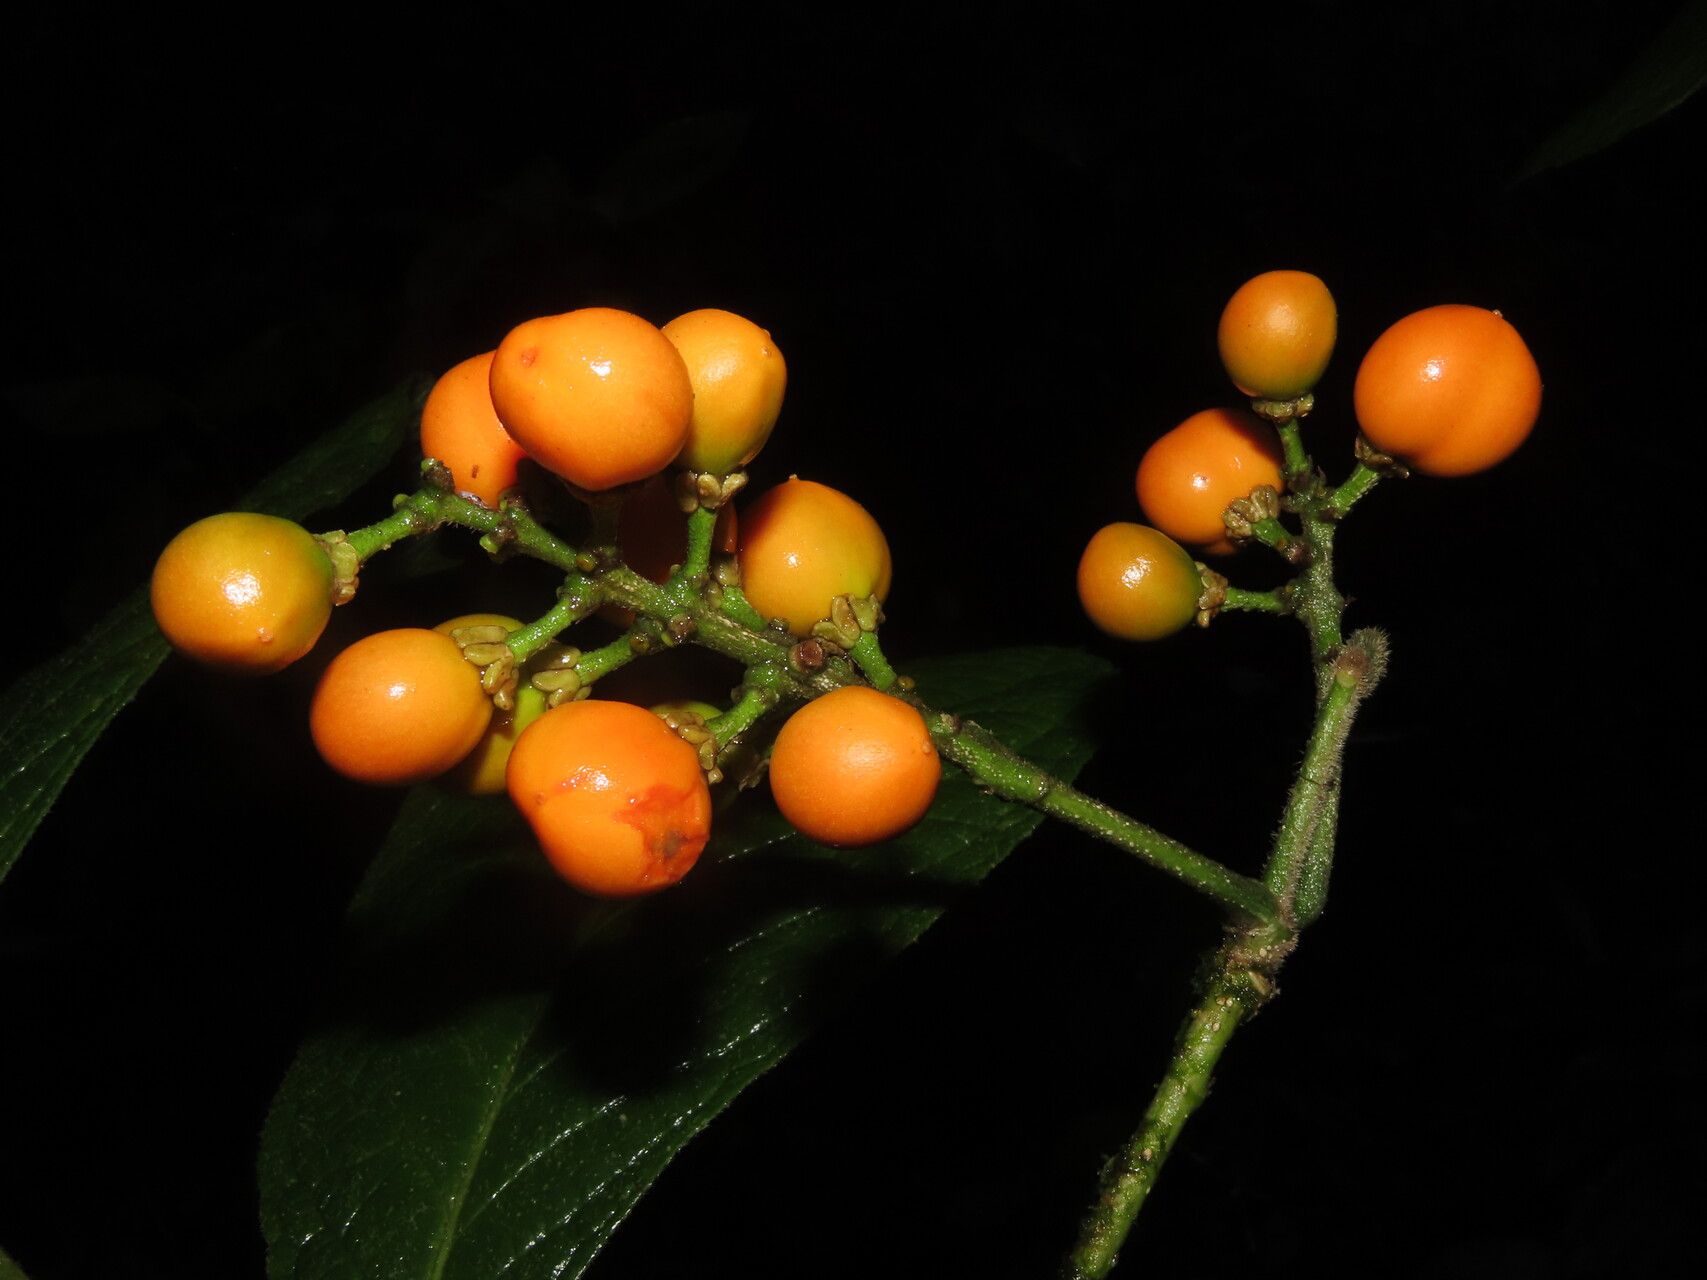
Welcome, fellow garden enthusiasts! Today, we’re diving into the wonderful world of Bunchosia macrophylla, also known as the Peanut Butter Tree. If you haven’t encountered this beauty yet, imagine glossy, deep green leaves that unfurl to reveal delicate, star-shaped flowers. And the best part? They develop into small, reddish-orange fruits that, yes, really do have a subtle peanut butter aroma! It’s a truly unique and rewarding plant to have in your garden.
Propagating your own Peanut Butter Tree is a fantastic way to share its charm, fill out your garden space, or simply enjoy the satisfaction of bringing new life from an existing one. Now, is it a beginner-friendly project? Honestly, I’d say it leans a bit more towards the intermediate gardener. It’s not unreasonably difficult, but it does require a little bit of patience and a keen eye. But don’t let that deter you! With a few tips, you’ll be well on your way.
The Best Time to Start
For the highest success rate with Bunchosia macrophylla, the sweet spot is late spring to early summer, right as the plant is in its active growth phase. You’re looking for new, but not soft, growth – what we horticulturists call “semi-ripe” cuttings. These have a good balance of flexibility and sturdiness, which makes them more likely to root. Trying to propagate from very soft, brand-new growth or old, woody stems is generally less successful.
Supplies You’ll Need
Here’s what you’ll want to gather before you get your hands dirty:
- Sharp, clean pruning shears or a sharp knife: This is crucial for making clean cuts to prevent disease.
- Rooting hormone (optional but highly recommended): A powdered or liquid hormone helps stimulate root development.
- Well-draining potting mix: I like a blend of equal parts peat moss, perlite, and coarse sand for good aeration.
- Small pots or seed trays: Clean and sterilised, of course!
- Plastic bags or a propagator lid: To maintain humidity.
- Watering can or spray bottle: For gentle watering.
- Labels and a marker: To keep track of your cuttings!
- Bottom heat source (optional but beneficial): A heat mat kept at around 70-75°F (21-24°C) can significantly speed up rooting.
Propagation Methods
Let’s get to the hands-on part! The most reliable method for Bunchosia macrophylla is typically stem cuttings.
Stem Cuttings
- Select Your Cuttings: Head out to your mature Peanut Butter Tree with your clean pruning shears. Look for healthy stems that are about pencil-thick and have made some growth this season. You want to take cuttings that are 6-8 inches long. Make the cut just below a leaf node (where a leaf attaches to the stem).
- Prepare the Cuttings: Gently remove the leaves from the lower half of each cutting. It’s important to leave at least two or three leaves at the top. If the remaining leaves are very large, you can carefully snip them in half to reduce water loss through transpiration.
- Apply Rooting Hormone: Dip the cut end of each prepared cutting into your rooting hormone, ensuring it’s coated. Tap off any excess.
- Plant Your Cuttings: Fill your small pots or seed trays with your well-draining potting mix. Make a small hole with your finger or a pencil and insert the coated end of the cutting. Gently firm the soil around it. You can usually fit 2-3 cuttings per small pot, spaced a few inches apart.
- Water and Cover: Water the soil gently until it’s moist but not soggy. Then, place the pot inside a clear plastic bag, zipping it loosely, or cover the tray with a propagator lid. This creates a humid microclimate essential for rooting.
- Provide the Right Environment: Place your cuttings in a bright location out of direct sunlight. A warm spot is best. If you have a heat mat, place the pots on top of it.
The “Secret Sauce” (Pro Tips)
Here are a couple of tricks up my sleeve for boosting your success:
- The “No Fog” Rule: While humidity is key, you don’t want condensation building up so heavily inside the plastic bag or propagator that the leaves are constantly dripping. If you see excessive condensation, open the bag or propagator for a few hours to let it air out slightly. Too much moisture can lead to fungal diseases and rot.
- Bottom Heat is Your Friend: I know I mentioned it in the supplies list, but seriously, bottom heat makes a huge difference for woody plants like Bunchosia macrophylla. It encourages root cells to form and grow much more efficiently than just ambient room temperature. It’s like giving the roots a gentle, consistent warm hug.
Aftercare & Troubleshooting
Once your cuttings have been planted for about 6-8 weeks, it’s time to gently check for roots. You can do this by giving a cutting a very slight tug. If you feel resistance, you’ve got roots!
- Acclimating to Open Air: Once roots have formed, gradually remove the plastic bag or propagator lid over a week or two. This allows the new plant to get used to lower humidity.
- Transplanting: When you’re confident your new plant has a robust root system, you can transplant it into a slightly larger pot with fresh potting mix.
- Common Signs of Failure: The most common issue is rot. If your cutting turns black and mushy, or simply slumps over and dies without any sign of rooting, it’s likely rot. This is usually caused by too much moisture or poor drainage. Another sign of failure is if the cutting dries out completely – ensuring steady moisture and humidity helps prevent this. Don’t be discouraged if a few don’t make it; it’s part of the learning process!
A Little Patience Goes a Long Way
Propagating plants is a journey, not a race. There will be moments of anticipation, perhaps a little worry, but ultimately, the reward of seeing those tiny roots emerge and a new plant unfurl is simply magical. Be patient, enjoy the process, observe your cuttings, and celebrate every little success. Happy propagating!
Resource:
https://identify.plantnet.org/k-world-flora/species/Bunchosia%20macrophylla%20Rose/data