Hey there, fellow plant lovers!
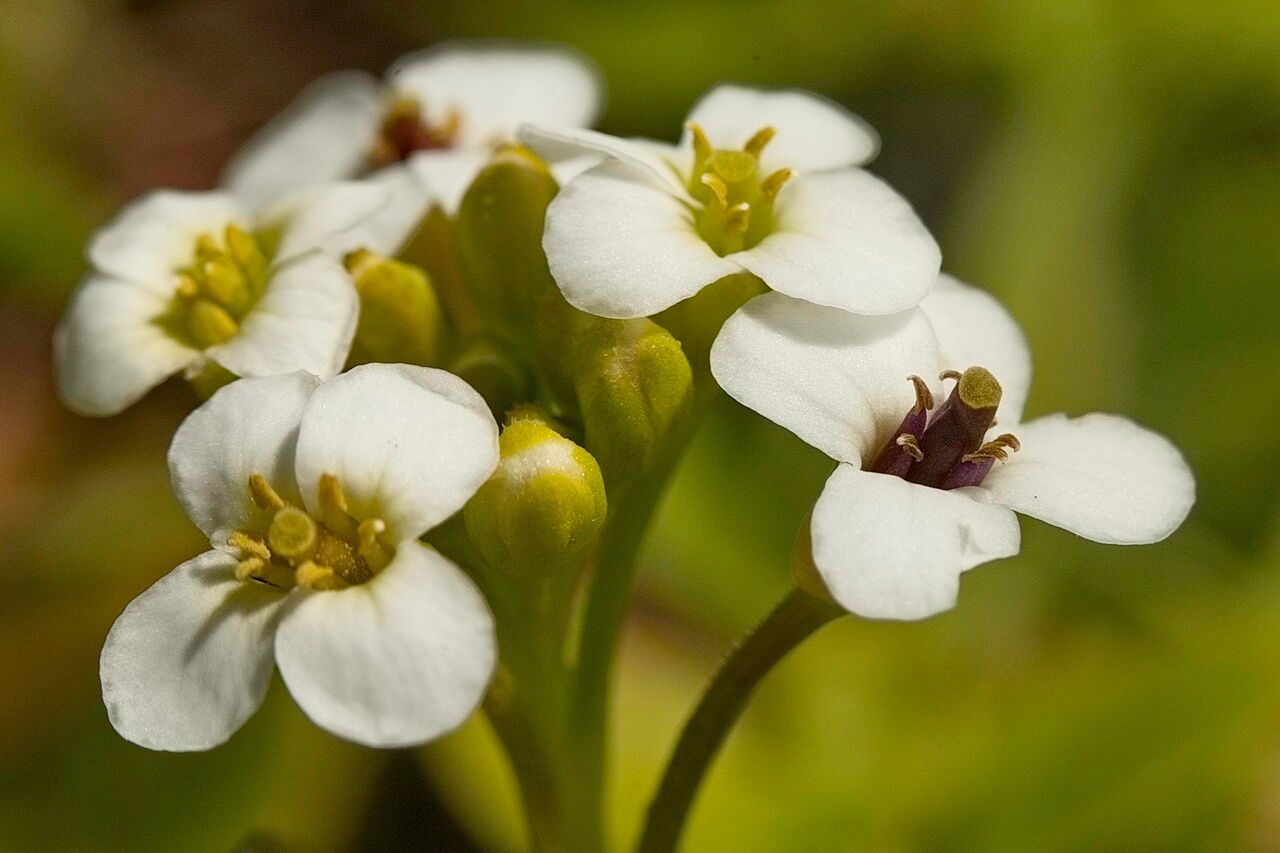
You know those vibrant Nasturtiums that just burst with color and that peppery zing in your garden? Well, I’ve got a special one for you today: Nasturtium microphyllum. Its delicate, intricate leaves have a charm all their own, and honestly, being able to create more of these beauties from your existing plants is one of the most satisfying gardening joys. If you’re new to the plant propagation world, I think you’ll find microphyllum to be a wonderfully encouraging plant to start with. It’s quite forgiving!
When to Get Greening
The absolute best time to think about propagating Nasturtium microphyllum is during its active growing season. For most of us, that means late spring through summer. You want to work with healthy, vigorous stems. Trying to propagate too early in the spring when things are just waking up, or late in the fall when it’s prepping for dormancy, can make things a bit trickier. Wait until it’s truly thriving.
Your Propagation Toolkit
Here’s what you’ll want to have on hand to make this process smooth sailing:
- Sharp Pruning Shears or a Craft Knife: Clean, sharp tools are crucial for making clean cuts and minimizing damage to the parent plant.
- Small Pots or Seed Starting Trays: Whatever you have that’s clean and has drainage holes will work.
- Well-Draining Potting Mix: I like to use a blend of seed starting mix with a good amount of perlite or coarse sand mixed in. This is key to preventing soggy roots.
- Rooting Hormone Powder or Gel (Optional but Recommended): This can give those cuttings a nice little boost to get roots going faster.
- Plastic Bags or a Propagator: Something to cover your pots and keep humidity levels up.
- Watering Can with a Fine Rose: Gentle watering is important.
Getting Down to Business: Stem Cuttings
This is my go-to method for Nasturtium microphyllum. It’s straightforward and usually yields great results.
- Select Your Cuttings: Look for healthy, non-flowering stems on your mature plant. You want stems that are firm but not woody. Aim for cuttings that are about 4-6 inches long.
- Make the Cut: Using your clean shears or knife, make a clean cut just below a leaf node. A leaf node is where a leaf attaches to the stem – that’s where the magic of root formation often happens.
- Prepare the Cutting: Gently remove the lower leaves from the cutting, leaving just two or three leaves at the top. If the remaining leaves are quite large, you can even snip them in half to reduce water loss.
- Apply Rooting Hormone (If Using): Dip the cut end of the stem into your rooting hormone. Tap off any excess.
- Plant Your Cuttings: Moisten your potting mix thoroughly. Then, gently insert the cut end of each stem cutting into the soil. Make sure the nodes where you removed the leaves are buried.
The “Secret Sauce”: My Best Little Tricks
I’ve learned a thing or two over the years, and a few little things can make a big difference with Nasturtiums.
- Keep the Leaves Dry: When you water, be careful not to let the leaves of the cuttings sit in water. This is a fast track to rot. Water the soil, not the foliage.
- Bottom Heat is Your Friend: If you have the option, placing your pots on a gentle heat mat (a seed starting mat works wonders) can really speed up root development. It mimics the warmth of the soil in summer and encourages those roots to form.
- Don’t Rush to Uncover: Resist the urge to remove the plastic cover too soon. Those high humidity levels are essential for the cuttings while they establish roots. Peek occasionally to ensure the soil is still moist, but generally, let them have their steamy spa treatment for a few weeks.
Life After Roots & What to Watch For
Once you start to see new leaf growth on your cuttings, that’s a good sign that roots are forming! You can gently tug on a cutting – if there’s resistance, you’ve got roots.
- Transitioning: Once roots are established, you can gradually acclimate them to drier air by removing the plastic covering for longer periods.
- Watering: Water them when the top inch of soil feels dry. Don’t let them dry out completely, but also avoid waterlogging.
- Troubleshooting – The Dreaded Rot: If your cuttings turn mushy, black, or just give up the ghost, it’s usually a sign of root rot. This often happens from overwatering or poor drainage. If you see signs of rot, sadly, it’s best to discard the affected cuttings and start again, but be sure to review your watering habits and soil mix. Sometimes, if it’s just one leaf or tip that’s affected, you might be able to carefully trim it away and save the rest, but be vigilant.
Go Forth and Multiply!
Isn’t it wonderful to think about all the new plants you can create? Propagation is like unlocking a little bit of gardening magic. Be patient with your cuttings. Some will take off quickly, others might be a bit slower. Just enjoy the process, learn from each step, and soon you’ll have a delightful abundance of Nasturtium microphyllum to share or tuck into every corner of your garden! Happy propagating!
Resource: