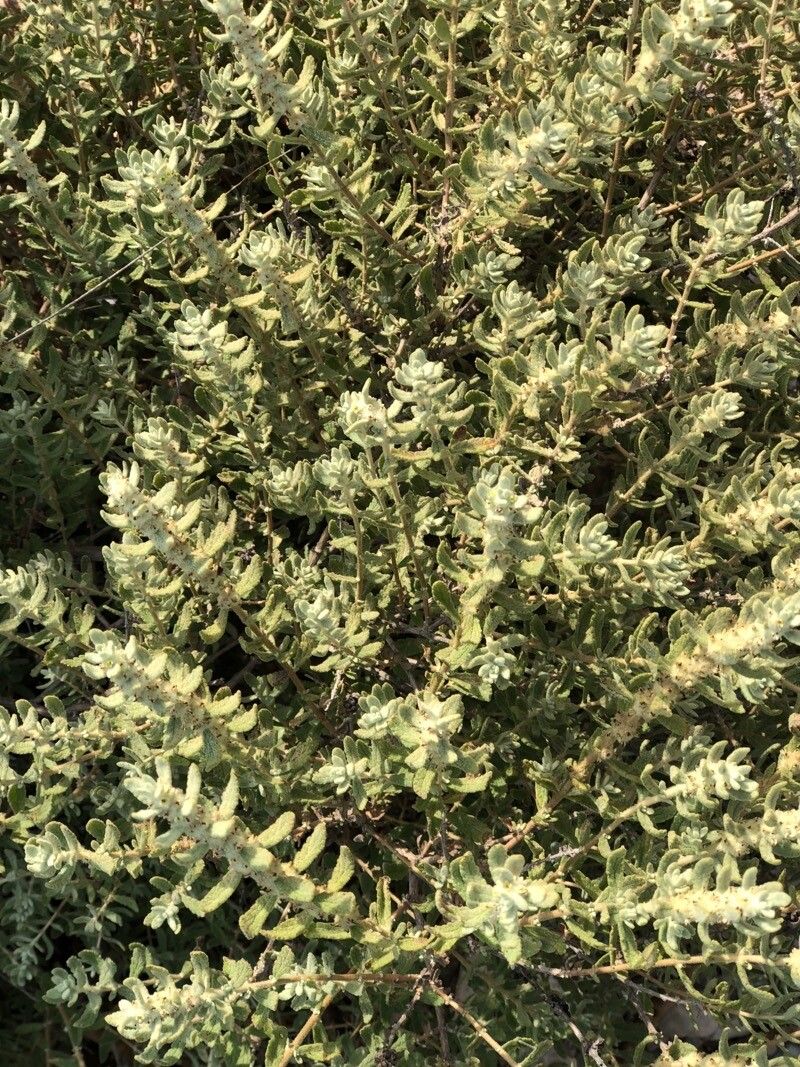
Hey there, plant pals! Today, we’re diving into the wonderful world of Buddleja scordioides, often called Desert Bush or Matorral. If you love plants that invite all sorts of pollinators and offer a lovely, often fragrant, bloom, you’ll adore this one. Propagating your own Buddleja scordioides is such a satisfying way to fill your garden or share the joy with friends. And the good news? It’s quite approachable, even for those of you just starting out on your gardening journey! Let’s get growing.
The Best Time to Start
For the most success, I always recommend taking cuttings in the late spring or early summer. This is when the plant is actively growing, meaning those new stems have plenty of energy to put into developing roots. You’ll be looking for what we call “semi-hardwood” cuttings. Think of it as a stem that was soft and flexible a few weeks ago but is now starting to firm up a bit. It bends but doesn’t snap easily.
Supplies You’ll Need
Before we get our hands dirty, let’s gather our tools:
- Sharp pruning shears or a clean knife: You want a clean cut to minimize damage.
- Rooting hormone (optional but highly recommended): This gives your cuttings a helpful boost.
- Small pots or propagation trays: Anything that can hold soil and allow for drainage.
- A good potting mix: I like a mix that’s light and well-draining. A blend of about 50% peat moss or coco coir and 50% perlite or coarse sand works wonders.
- A plastic bag or humidity dome: To keep those cuttings from drying out.
- Water: For misting and watering.
- Label markers: So you don’t forget what you planted where!
Propagation Methods: The Cutting Way
The most popular and effective way to propagate Buddleja scordioides is through stem cuttings. It’s straightforward and yields great results.
- Select Your Cuttings: Head out to your healthy Buddleja scordioides plant. Look for those semi-hardwood stems we talked about. Choose ones that are free from flowers and any signs of disease.
- Make the Cut: Using your sharp shears or knife, take cuttings that are about 4-6 inches long. Make your cut just below a leaf node (where the leaf attaches to the stem). This is where the magic happens for root development.
- Prepare the Cuttings: Gently remove the lower leaves from the cutting, leaving just a few at the very top. If the leaves are quite large, you can even snip them in half to reduce water loss through transpiration.
- Apply Rooting Hormone (if using): Dip the cut end of each stem into your rooting hormone powder. Tap off any excess. This might seem like a small step, but it really can improve your success rate.
- Planting Your Cuttings: Fill your pots or trays with your well-draining potting mix. Make a little hole in the center with a pencil or your finger. Insert the cut end of your cutting into the hole, ensuring the leaf nodes are below the soil surface. Gently firm the soil around the stem. You can fit several cuttings into one pot, as long as they aren’t touching each other.
- Water and Cover: Water the soil gently but thoroughly. Then, the crucial step: create a humid environment. You can cover the pot with a clear plastic bag (propping it up with stakes so it doesn’t touch the leaves) or place it inside a mini greenhouse or propagator.
The “Secret Sauce” (Pro Tips)
Now, for a couple of little tricks I’ve learned over the years:
- The “Bottom Heat” Boost: If you have the option, placing your propagation trays on a heating mat can significantly speed up root development. Plants just love a bit of warmth coming up from below, especially when the air might be a bit cooler.
- “Don’t Drown Yer Babies”: When watering your cuttings, especially once they’re in the soil, avoid waterlogging. The goal is consistently moist, not soggy. Soggy soil is the fast track to rot.
Aftercare & Troubleshooting
Once your cuttings are planted and covered, find them a spot with bright, indirect light. Direct sun can scorch those tender new stems. Keep the soil consistently moist – check it daily.
You’ll know your cuttings are rooting when you see new leaf growth after a few weeks, or when you gently tug on a stem and feel resistance. This is the best sign!
Now, what if things go wrong? The most common issue is rot. If you see stems turning black and mushy, or mold appearing on the soil surface, it’s usually a sign of too much moisture and not enough air circulation. You might need to remove the affected cuttings and ensure the soil is draining well. Sometimes, it’s just meant to be, and not every cutting will take. Don’t get discouraged!
A Encouraging Closing
And there you have it! Propagating Buddleja scordioides is a rewarding journey. Be patient with your little cuttings. They have their own timeline. My best advice? Enjoy the process, observe what happens, and learn from each batch. Soon enough, you’ll have a whole new generation of these beautiful plants to enjoy. Happy propagating!
Resource:
https://identify.plantnet.org/k-world-flora/species/Buddleja%20scordioides%20Kunth/data