Bringing More Sunshine: Propagating Iris danfordiae
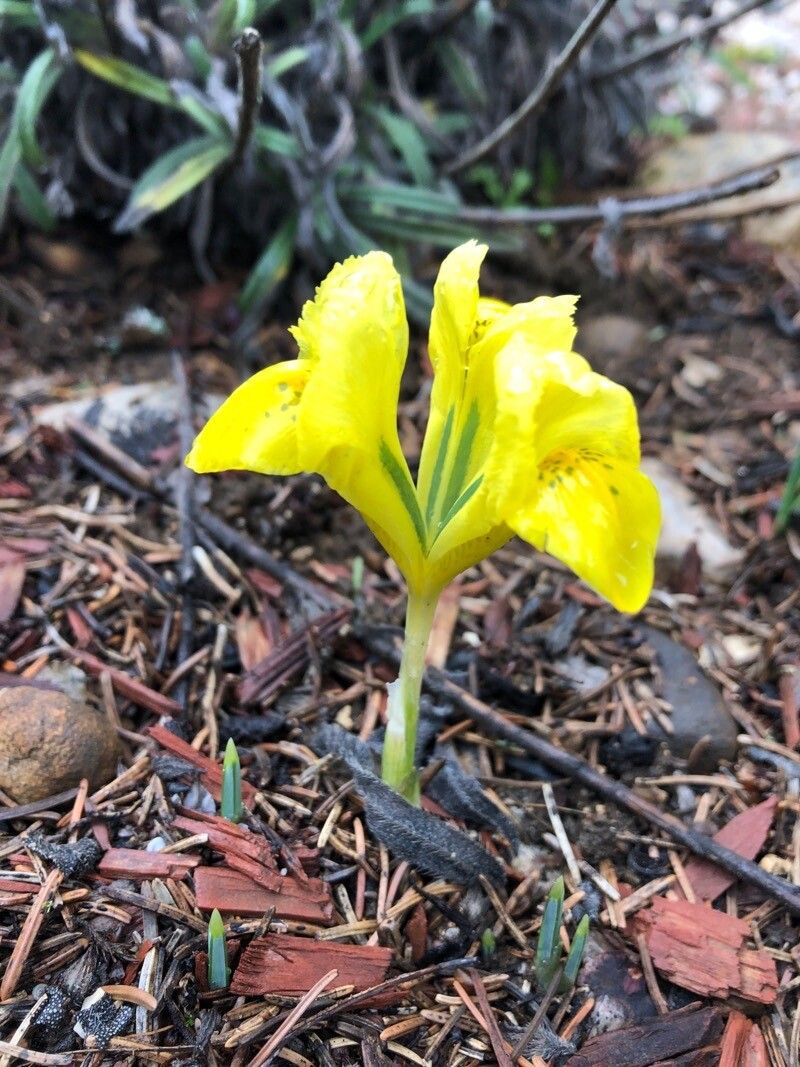
Ah, Iris danfordiae! Those cheerful, bright yellow blooms that burst forth so early in the spring, often peeking through the last vestiges of snow. They’re a true beacon of hope, aren’t they? And as much as I adore seeing them scattered through my garden, there’s a special kind of joy in creating more of them. Propagating these little gems is incredibly rewarding, and honestly, I find them quite approachable for even those just dipping their toes into the world of plant propagation.
When to Get Digging
The absolute best time to propagate Iris danfordiae is in the late summer to early autumn, after they’ve finished their blooming and their foliage has started to yellow and die back naturally. This is when the bulbs are in their dormant or semi-dormant state, giving them a little break before they need to put on their spring show. Trying to do it when they’re actively growing is just asking for trouble – you’ll likely stress them out more than help them.
Gathering Your Tools
So, what do you need to get this propagation party started? It’s not much, really. You’ll want:
- Clean trowel or small spade: For gently loosening the soil around the parent bulb.
- Sharp, clean pruning shears or a knife: To separate the offsets if needed. Always make sure they’re sterilized – we don’t want to introduce any nasty germs! A quick wipe with rubbing alcohol works wonders.
- Well-draining potting mix: I like to use a seed starting mix or a blend of potting soil, perlite, and a bit of sand. The key is for water to flow through easily.
- Small pots or trays: Enough to give your new divisions some breathing room.
- Optional: Rooting hormone: While not strictly necessary for Iris danfordiae, it can give a little boost to stronger root development.
- Watering can or spray bottle: For gentle hydration.
The Art of Division: My Go-To Method
Iris danfordiae are best propagated by division. Luckily, this plant tends to produce little baby bulbs, called offsets, around the base of the main bulb. Here’s how I do it:
- Gently Unearth: Carefully dig around the base of your Iris danfordiae plant. I like to get my trowel in a few inches away from the main stalk and gently lever the soil upwards.
- Shake Off Excess Soil: Once the bulb is exposed, gently shake off most of the soil. You’ll start to see those little offsets clinging to the mother bulb. They look like tiny onions!
- Separate the Offsets: Now, this is where the gentle touch comes in. Carefully twist or gently cut any offsets away from the main bulb. If the offset already has a small root base, even better! Try not to damage the roots too much. If an offset is very tightly attached, it’s often better to leave it for another year than to risk breaking it off.
- Inspect and Trim: Take a look at your divisions. Discard any that look soft, mushy, or diseased. You can trim off any overly long roots, but generally, I leave them be.
- Plant Them Up: Fill your small pots with that well-draining potting mix. Make a little hole in the center and place your offset in it, tucking the pointy end upwards. The top of the bulb should be just at or slightly below the soil surface. Don’t bury them too deep!
- Water Lightly: Give them a gentle watering, just enough to settle the soil.
My “Secret Sauce” Tips
Over the years, I’ve learned a few tricks that seem to make a real difference.
- The “Air Dry” Trick: After dividing, I often let the offsets sit out of the soil for a day or two in a cool, dry, shady spot. This helps any cut surfaces to callus over, reducing the risk of rot when they go back into the soil. It’s like giving them a little healing time.
- Don’t Overwater, Ever! This is probably the biggest pitfall for new gardeners. These bulbs hate sitting in soggy soil. I err on the side of underwatering initially. The soil should be barely moist, not wet. I usually check by sticking my finger about an inch down.
Tending to Your New Sprouts
Once your new Iris danfordiae divisions are planted, place your pots in a cool, bright location, but out of harsh direct sunlight. Think of it as a cozy, well-lit room. Keep the soil lightly moist – never waterlogged. When you see the first signs of new green growth appearing, that’s a fantastic sign your little bulbs have taken root!
Troubleshooting is usually about addressing the environment. The most common issue you’ll encounter is rot. If you see a division turning mushy and black, it’s a sure sign of too much moisture and poor drainage. In this case, it’s usually best to discard the affected bulb to prevent it from spreading. If you simply don’t see any growth after several weeks, don’t despair yet! They can be a bit slow to start, especially if the conditions aren’t quite perfect. Just ensure they’re not too wet and continue to offer them good light.
The Patience of a Gardener
Propagating Iris danfordiae is a beautiful way to extend the joy these little harbingers of spring bring to our gardens. Be patient; nature has its own pace. Enjoy the process of nurturing these tiny bulbs, and soon you’ll be rewarded with a dazzling display of cheerful yellow blooms. Happy gardening!
Resource:
https://identify.plantnet.org/k-world-flora/species/Iris%20danfordiae%20(Baker)%20Boiss./data