Hello there, fellow plant enthusiasts! It’s wonderful to have you join me today for a cozy chat about a truly special orchid: Bulbophyllum amplebracteatum.
Bulbophyllum Amblebracteatum: A Treasure Worth Growing
You know, there are some plants that just capture your heart. For me, Bulbophyllum amplebracteatum is one of them. Its striking, often quite intricate blooms are a sight to behold, and bringing a new one into existence right in your own home? That’s a different kind of magic altogether. While it might sound a little intimidating, I find that propagating this particular bulbophyllum is actually quite achievable with a little know-how. It’s less about a steep learning curve and more about understanding its specific needs.
When to Get Your Hands Dirty
For the best chance of success with Bulbophyllum amplebracteatum, I’ve found that starting your propagation efforts in late spring or early summer works wonders. This is when the plant is usually in a strong growth phase, meaning it’s got plenty of energy to put into developing new roots and shoots. You’ll see the most vibrant activity then.
Gathering Your Gardening Companions
Before we dive in, let’s make sure you have everything you need. A well-equipped toolkit makes all the difference!
- Sterile pruning shears or a sharp knife: Cleanliness is paramount to prevent disease.
- Well-draining orchid mix: I like a blend of coarse bark, perlite, and a bit of charcoal.
- Small pots or community trays: Choose something appropriate for the size of your cuttings.
- Sphagnum moss or perlite: For maintaining humidity around your cuttings.
- Rooting hormone (optional but helpful): A powdered or liquid form can give your cuttings a boost.
- Clear plastic bags or a propagation dome: To create a humid environment.
- Water: Preferably distilled or rainwater to avoid mineral buildup.
Bringing New Life: Propagation Methods
For Bulbophyllum amplebracteatum, division is my go-to method. It’s the most straightforward and often yields the healthiest results.
-
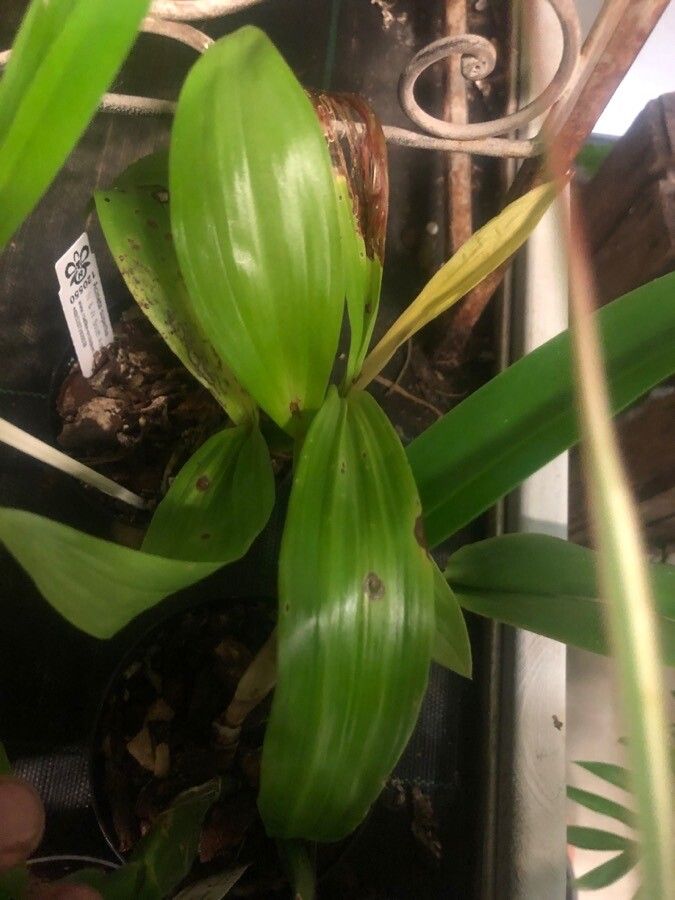
Assess Your Orchid: Gently remove your Bulbophyllum amplebracteatum from its pot. You want to look for established clumps with several healthy pseudobulbs (those bulb-like structures at the base of the leaves). The ideal candidate for division will have at least two to three healthy pseudobulbs attached to a strong rhizome (the creeping stem).
-
Gently Separate: Using your sterile shears or knife, carefully cut through the rhizome to divide the plant into smaller sections. Aim to give each new division at least two to three pseudobulbs and some healthy roots. Don’t be afraid to cut through the rhizome; it’s quite resilient.
-
Inspect and Trim: Once divided, inspect each new piece. Remove any dead or mushy roots. If you can, trim back any excessively long, straggly roots to encourage new growth.
-
Repotting: Prepare your new pots with your fresh, well-draining orchid mix. Place your newly divided Bulbophyllum amplebracteatum sections into the pots, tucking the roots in gently. Ensure the new pseudobulbs are sitting just at or slightly above the surface of the mix.
-
Initial Watering: Water thoroughly after potting. This helps to settle the mix around the roots.
The “Secret Sauce”: My Experienced Gardener’s Tips
Here are a few little tricks I’ve picked up over the years that really help these little guys thrive.
- Don’t Over-Pot: It’s tempting to give a division a big pot, but for orchids, it’s usually better to go a bit smaller. This prevents the potting mix from staying too wet for too long, which is a common culprit for rot.
- Patience with New Growth: Don’t expect immediate blooms or massive new leaves. Bulbophyllum amplebracteatum can take its time establishing. Look for tiny new root tips or a swelling at the base of a pseudobulb – these are signs of progress!
- Humidity is Your Friend (But Not Soggy Air): These orchids love humidity, but they hate sitting in wet conditions. I often place my divisions in a loosely covered community tray or tent them loosely with a clear plastic bag for a few weeks. This creates a humid microclimate without waterlogging the roots. Make sure to “burp” the bag or tray daily by opening it for a few minutes to allow for air circulation.
TLC for Your New Sprouts and What to Watch For
Once your Bulbophyllum amplebracteatum divisions have been potted, keep them in bright, indirect light. Avoid direct sun, as it can scorch the delicate new growth. Water when the potting mix is just starting to dry out, but don’t let it become bone dry. Mist the foliage lightly between waterings if your environment is particularly dry.
The most common challenge you might face is rot. This often happens from overwatering or poor air circulation. Signs of rot include mushy, dark, or black pseudobulbs and roots. If you see this, carefully remove the affected parts with your sterile tools. You might need to repot in fresh, drier mix. If a cutting completely collapses, don’t despair! It happens to the best of us. It’s a learning experience, and you can always try again.
Happy Growing!
Propagating Bulbophyllum amplebracteatum is a wonderfully rewarding journey. It requires a bit of patience, a keen eye, and a gentle touch, but the feeling of success when your new plant flourishes is truly special. So gather your tools, embrace the process, and enjoy watching new life emerge from your beloved orchid. Happy gardening!
Resource: