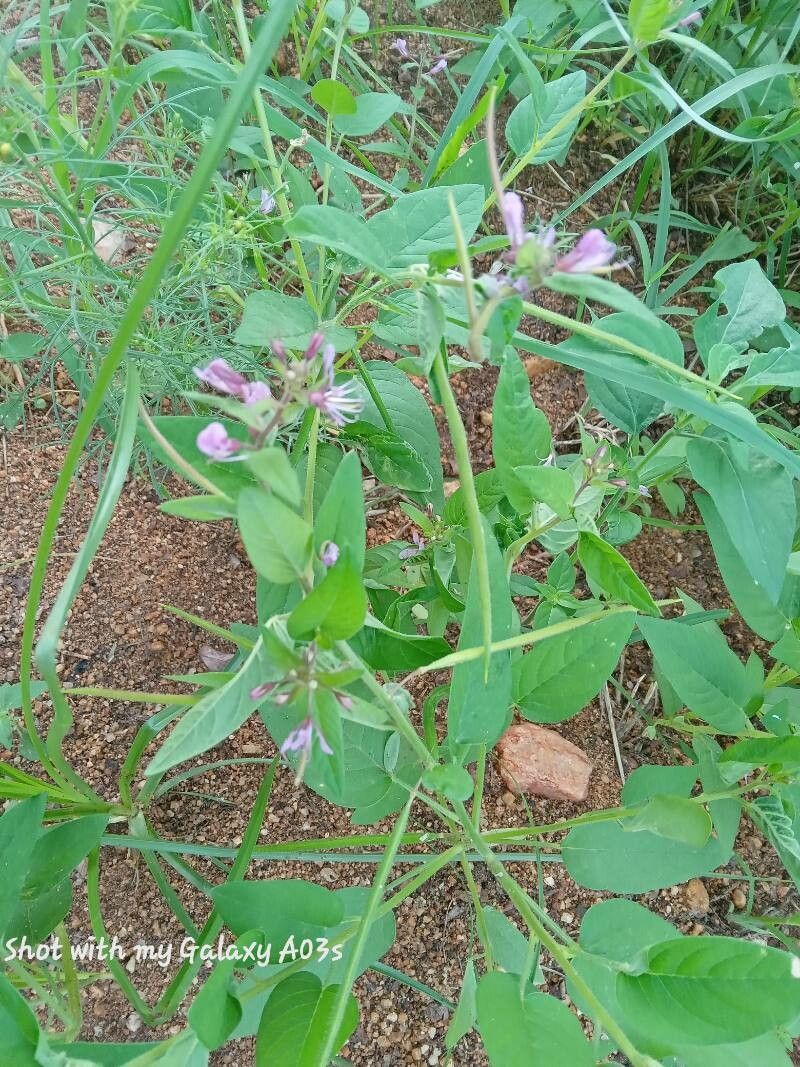
Hello, fellow garden enthusiasts! Today, we’re diving into something truly special: Cleome monophylla. If you’re looking for a plant that brings graceful, airy beauty to your garden, with delicate pink or white flowers that unfurl like tiny parachutes, you’ve found a winner. And the best part? You can easily multiply this stunning plant yourself! Propagating Cleome monophylla is a wonderfully rewarding process, and I’m thrilled to share my tips with you. For beginners, I’d say this plant is quite forgiving, making it a fantastic choice to get your propagation journey started.
The Best Time to Start
For the absolute best chance of success with Cleome monophylla, you want to work with healthy, actively growing material. This usually means late spring to early summer, just as the plant is really hitting its stride. You can also take cuttings in the early fall, before the weather gets too cold. The key is to harvest cuttings from a vigorous, healthy plant.
Supplies You’ll Need
Gathering your supplies beforehand will make the whole process smoother. Here’s what I always have on hand:
- Clean, sharp pruning shears or a knife: For making clean cuts.
- Rooting hormone powder (optional but helpful): Encourages faster root development.
- Well-draining potting mix: A good blend of peat moss or coco coir with perlite or vermiculite works wonderfully. Seed starting mix is also a great option.
- Small pots or trays with drainage holes: Little pots are perfect for cuttings.
- Clear plastic bags or a propagation dome: To maintain humidity around your cuttings.
- Watering can or spray bottle: For gentle watering.
Propagation Methods: Let’s Get Growing!
Cleome monophylla is a joy to propagate, and stem cuttings are my go-to method. It’s straightforward and yields great results.
Stem Cuttings
- Take Your Cuttings: With those clean shears, snip off healthy stems that are about 4-6 inches long. Look for stems that are actively growing but not flowering just yet. Make the cut just below a leaf node (where a leaf meets the stem).
- Prepare the Cuttings: Gently remove the lower leaves from the cutting, leaving just a few at the top. This prevents them from rotting in the soil and encourages the plant to focus its energy on root production.
- Dip in Rooting Hormone (Optional): If you’re using rooting hormone, dip the cut end of the stem into the powder. Tap off any excess. This step isn’t strictly necessary for Cleome monophylla, but it can speed things up.
- Plant Your Cuttings: Fill your small pots with the well-draining potting mix. Make a small hole in the center of the soil with your finger or a pencil. Insert the cut end of the Cleome cutting into the hole, ensuring the leaf nodes are buried. Gently firm the soil around the stem.
- Water Gently: Water the soil thoroughly but gently, so you don’t dislodge the cuttings.
The “Secret Sauce” (Pro Tips!)
Here are a few little things I’ve learned over the years that really make a difference:
- Don’t let the leaves touch the water: If you decide to try water propagation (which is also possible!), make sure only the stem is submerged. Any leaves dipping into the water are just asking for trouble with rot.
- Humidity is your friend: Once your cuttings are planted, pop them into a clear plastic bag or cover them with a propagation dome. This creates a mini greenhouse, keeping the humidity high and preventing the cuttings from drying out while they establish roots.
- A little warmth helps: If you have a heating mat designed for seedlings, placing your pots on it can really boost root development. It mimics the warmth of spring soil, which signals to the plant that it’s time to grow!
Aftercare & Troubleshooting
Once your cuttings are planted, situate them in a bright location with indirect light. Avoid intense, direct sun, which can scorch young, tender cuttings. Keep the soil consistently moist but not waterlogged. You’ll know your cuttings are happy and developing roots when you see new growth appearing. This can take anywhere from 2 to 6 weeks, so be patient!
The most common sign of trouble is rot. If your cuttings turn mushy, discolored, or start to fall apart, it’s likely rot. This is usually caused by too much moisture and poor air circulation. If you spot this, remove the affected cuttings immediately and adjust your watering and humidity levels.
Happy Propagating!
Watching a new plant emerge from a tiny cutting is one of the most magical things in gardening. Don’t be discouraged if your first few attempts aren’t perfect. Gardening is all about learning and experiencing. So grab your shears, get your hands dirty, and enjoy the process of bringing more of these lovely Cleome monophylla blooms into your world. Happy growing!
Resource:
https://identify.plantnet.org/k-world-flora/species/Cleome%20monophylla%20L./data